It's quite rare to find much detail on this obscure joint-effort between IBM Japan and Canon. So here we go.
There are broadly two IBM versions of this type of machine along with a variety of Canon-branded machines which are similar to the two IBM machines.
550BJ - main unique points are a black and white screen and no trackpoint. Equivilent Canon machine was the Canon BN120C.
- IBM 486SLC 25 MHz CPU
- WD90C26 video controller
- Monochrome 9.5" STN display with 640x480 resolution
- 2 or 6 MB RAM, 10 MB max
- none, 120 or 170 MB HDD
- 3.5" 1.44 MB Floppy drive
- (2) Type II PCMCIA slot or (1) type III
- Integrated Canon BubbleJet printer
555BJ - main unique points are a colour passive screen with 33Mhz CPU and trackpoint II.
- IBM 486SLC2 50 MHz CPU
- Trackpoint II
- WD90C24 video controller with 1MB
- 10.3" STN display with 640x480 resolution
- 4 MB RAM standard, 10 MB max
- none, 170 or 340 MB HDD
- 3.5" 1.44 MB Floppy drive
- (2) Type II PCMCIA slot or (1) type III
- Integrated Canon BubbleJet printer
Canon Machines
Canon NoteJet 486
It uses the Cyrix 486SLC clocked at 25 MHz as a CPU. It weighs 7.7 pounds and the dimensions are 12.2 by 10 by 2 inches. The list price was $2499. The CPU was manufactured by Texas Instruments. The NoteJet 486 was made in three different versions: the model 1 has a 85MB disk, the model 2 has a 130MB disk and the model 3 has a 180MB disk. No trackpoint.
Canon NoteJet II 486C
The NoteJet II 486C uses a 486SLC2 processor at 50 MHz and weighs 8.6 pounds. It has a 10.3 inch DSTN and two PCMCIA slots. It has 4MiB RAM with a 130MB HDD or a 260MB HDD. Has trackpoint equivalent.
Canon NoteJet IIIcx/BN 200
The printer is based on the Canon BJC-70. It uses a Pentium I clocked at 90 MHz, 16MiB of RAM and a HDD of 810MB. It has an internal PCI bus and IrDA, a Sound Blaster card, two Type II PC Card slots or one Type III PC card slot. It uses an external AC adapter. Has a trackpoint equivalent.
Canon BN22
Canon marketed the NoteJet 486 in Europe as the Canon BN22, because the AC adapter and keyboard have differences. No trackpoint.
Canon BN120C
The Canon BN120C uses a 100 MHz Intel 486, 810MB HDD and 16MiB RAM - no trackpoint.
Canon BN200
The Canon BN200 is an upgrade from the BN22. It has an active matrix 800x600 LCD. Has a trackpoint equivalent.
Video Teardowns and Details
Here is a video showing how to completely disassemble the machine:
IBM Thinkpad 550BJ Teardown Part 1
IBM Thinkpad 550BJ Teardown Part 2
I have a boxed one, which I wanted to preserve from damage to it's internals.
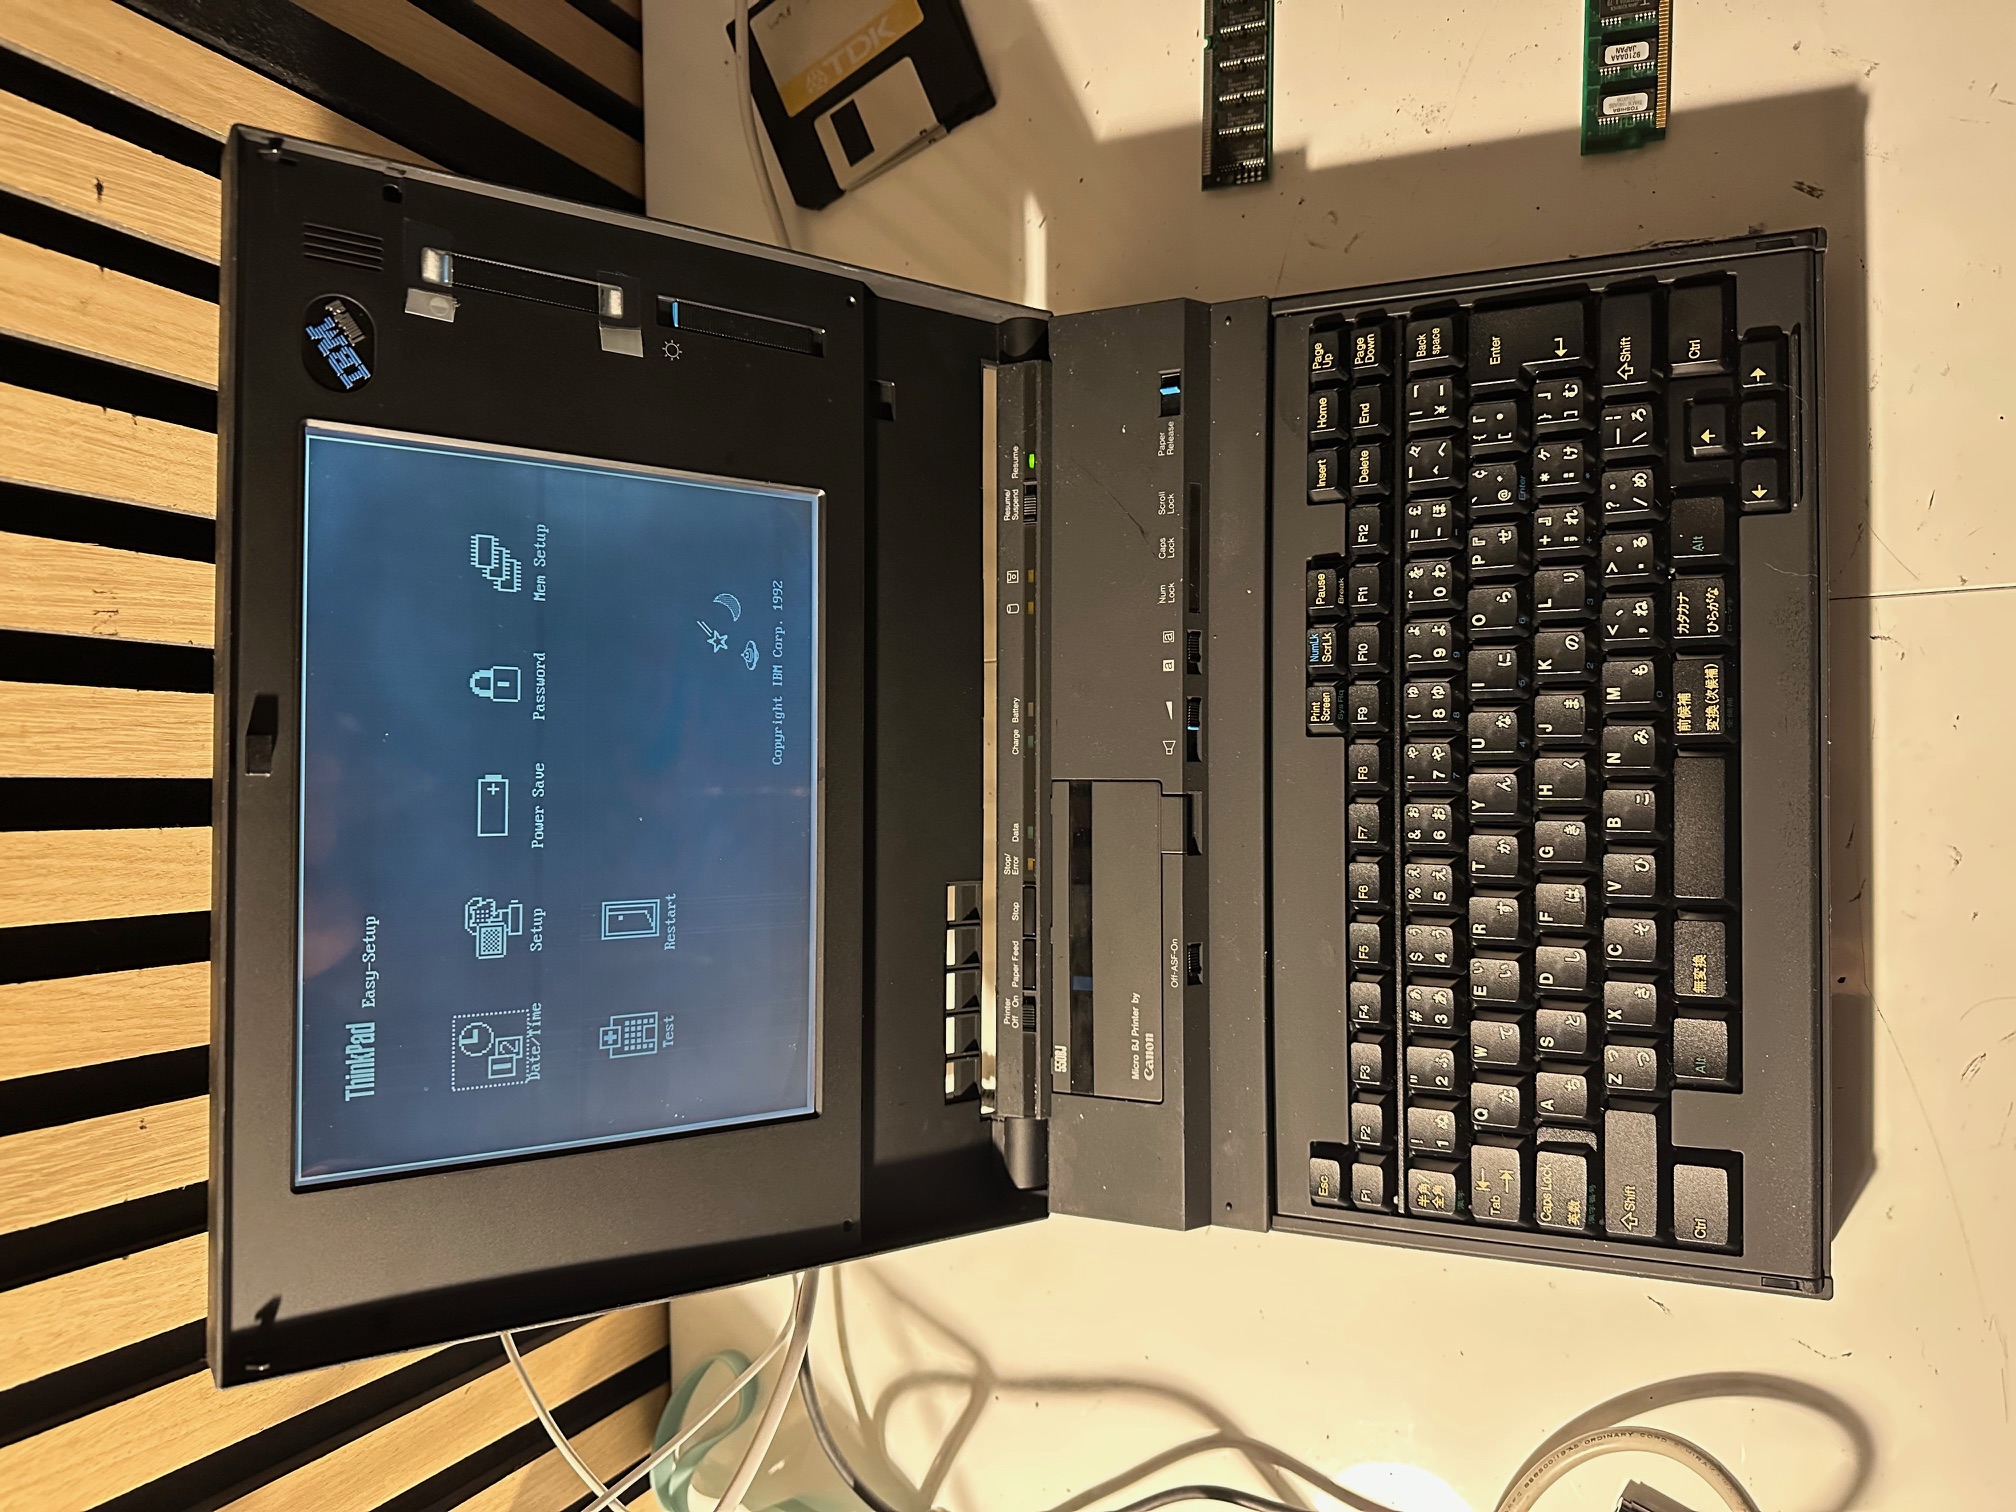
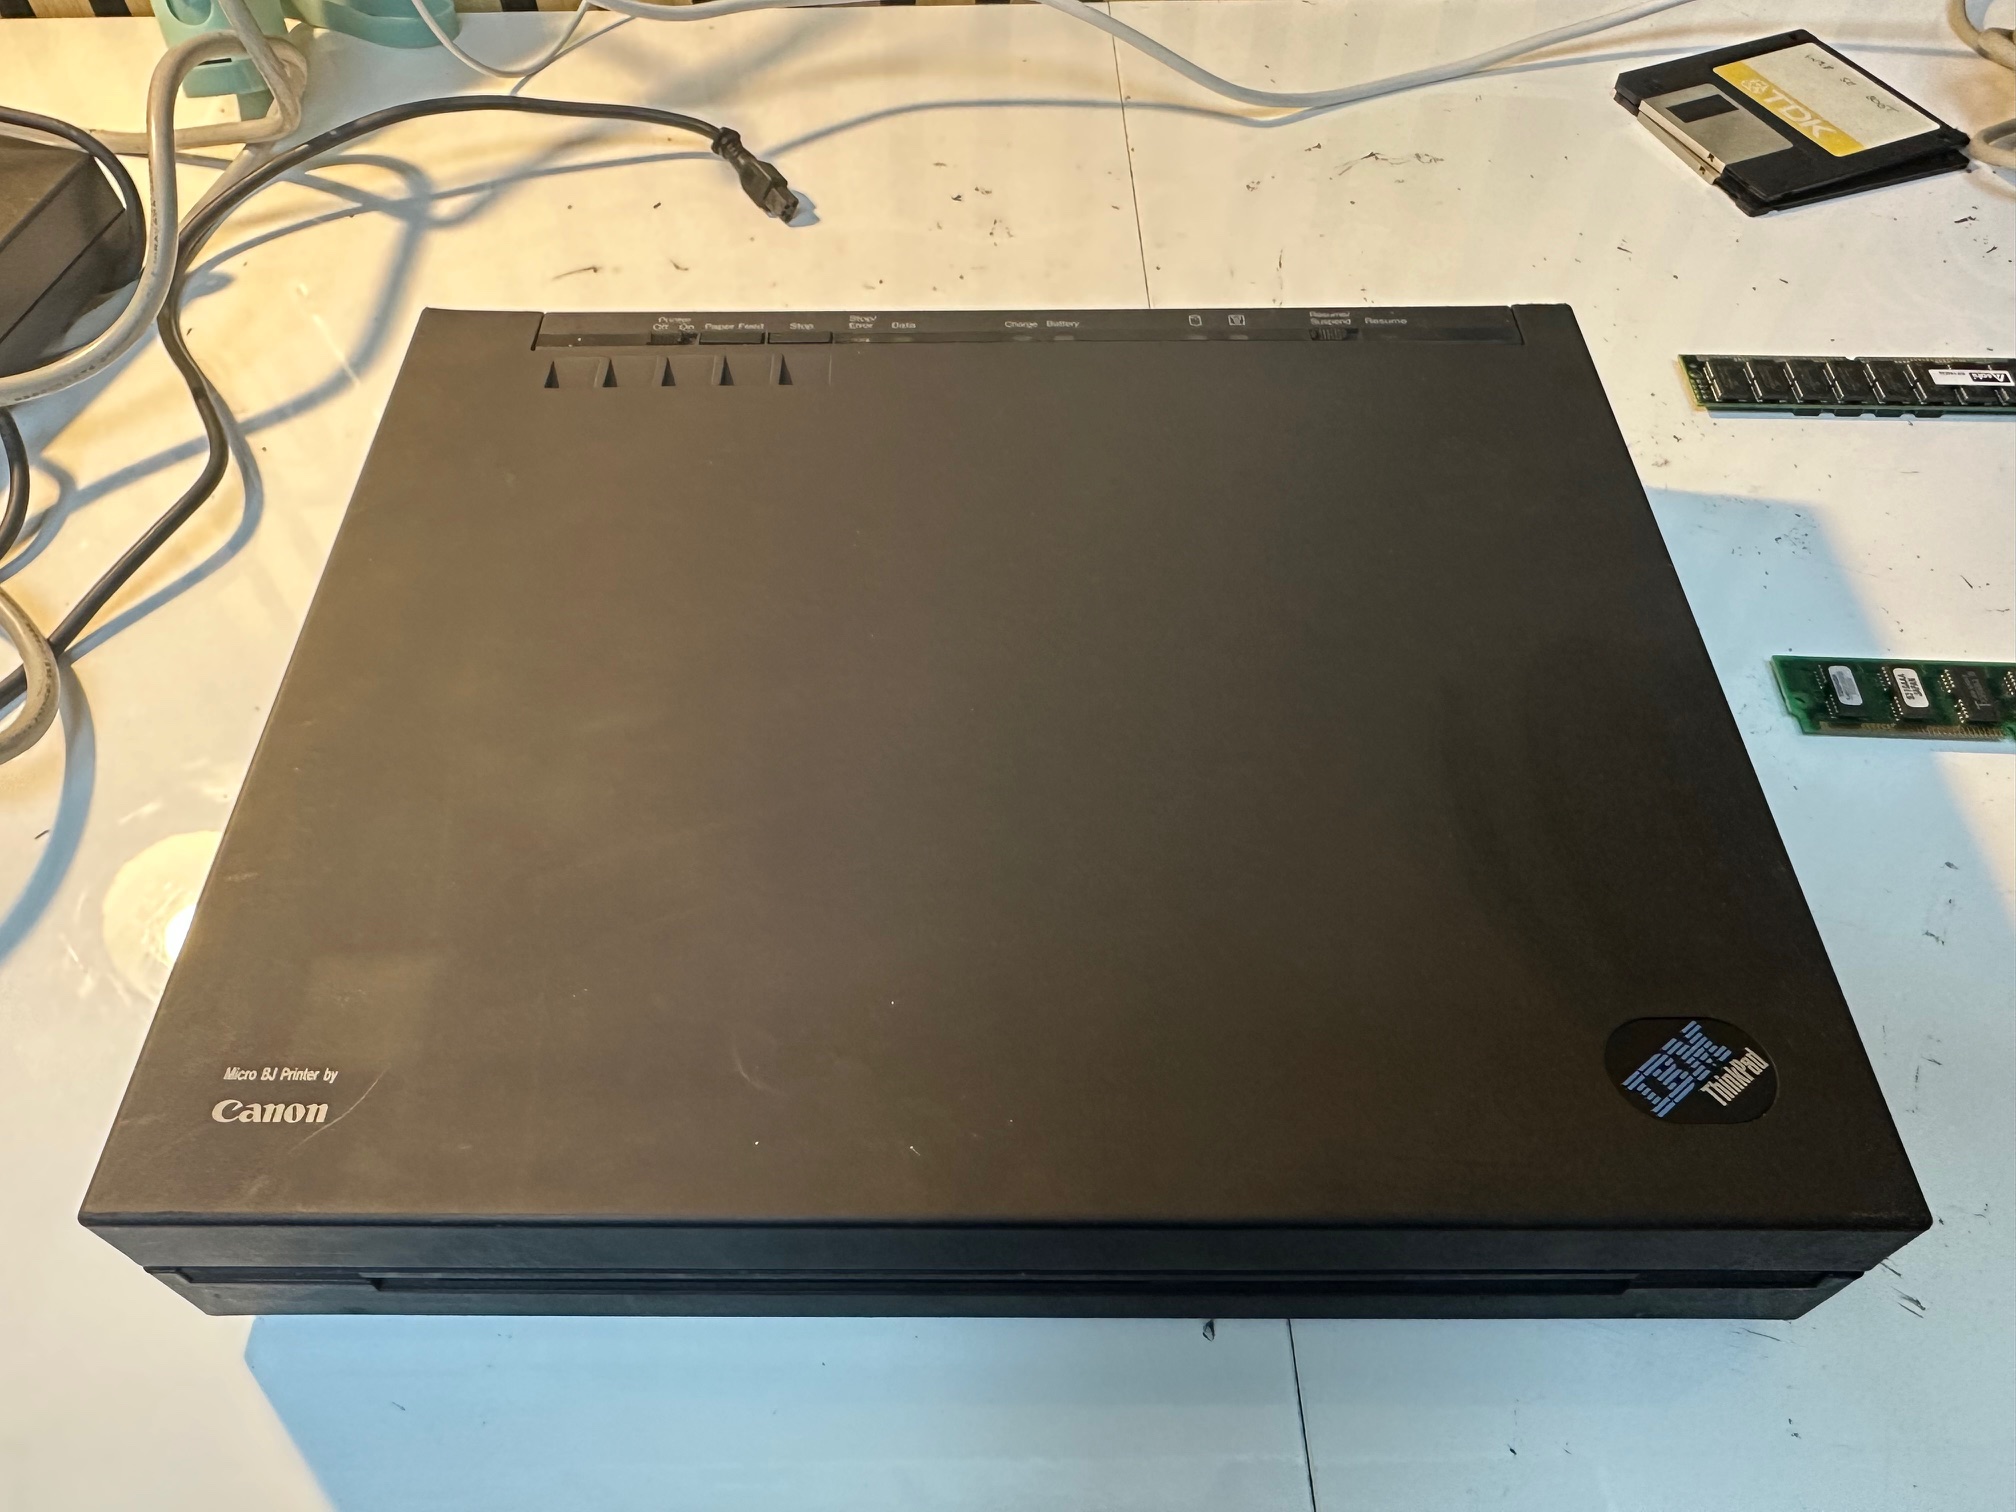
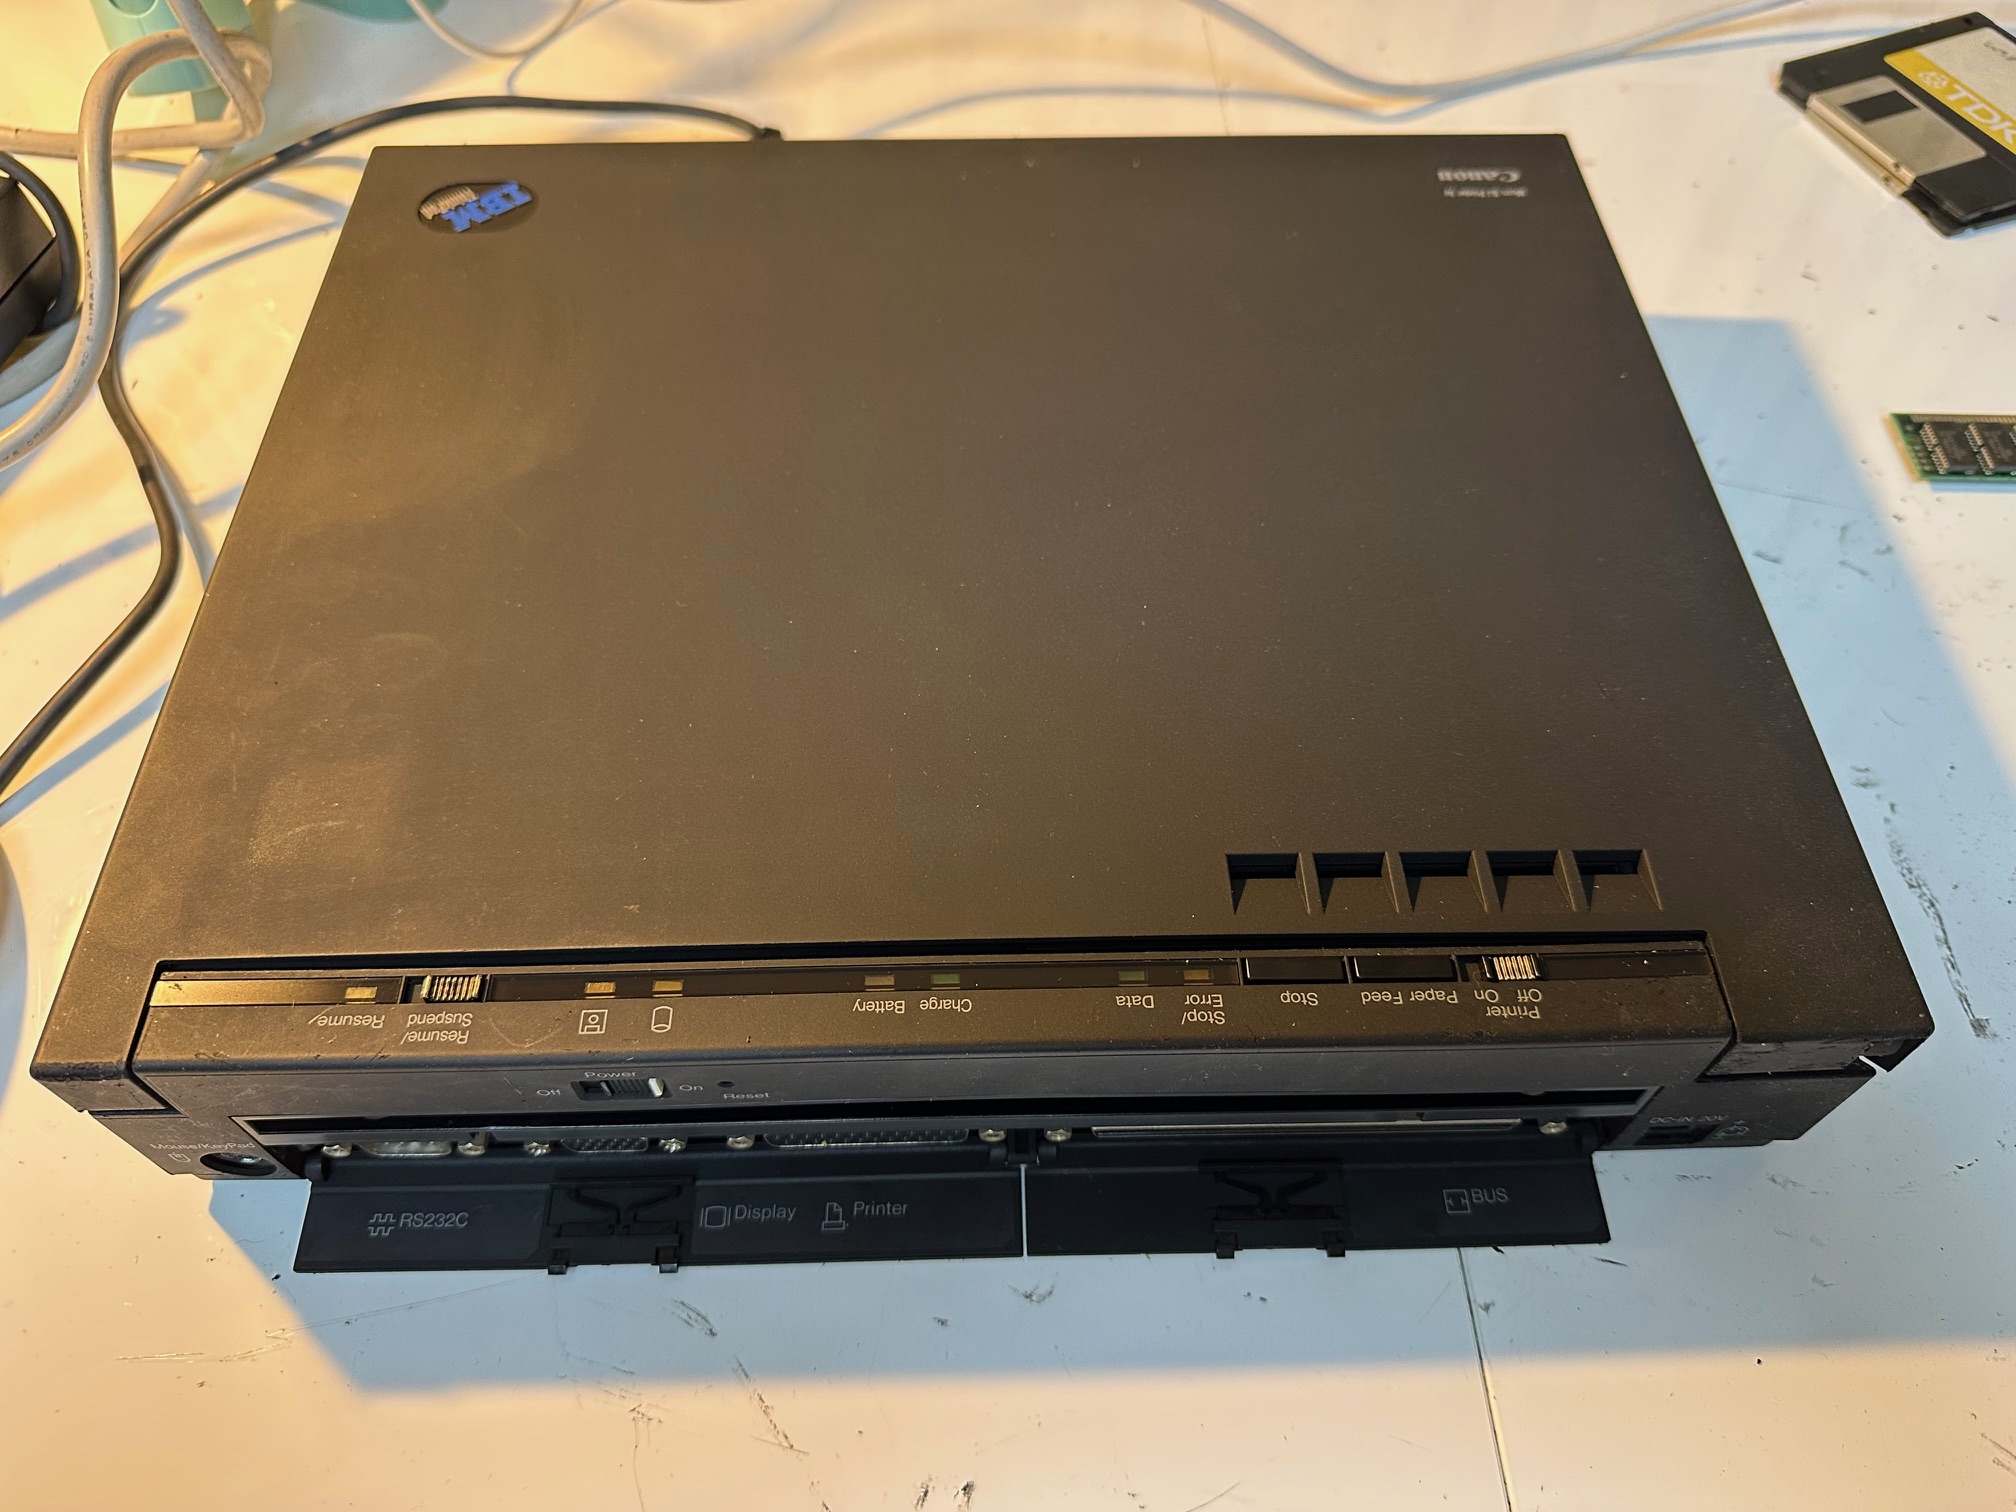
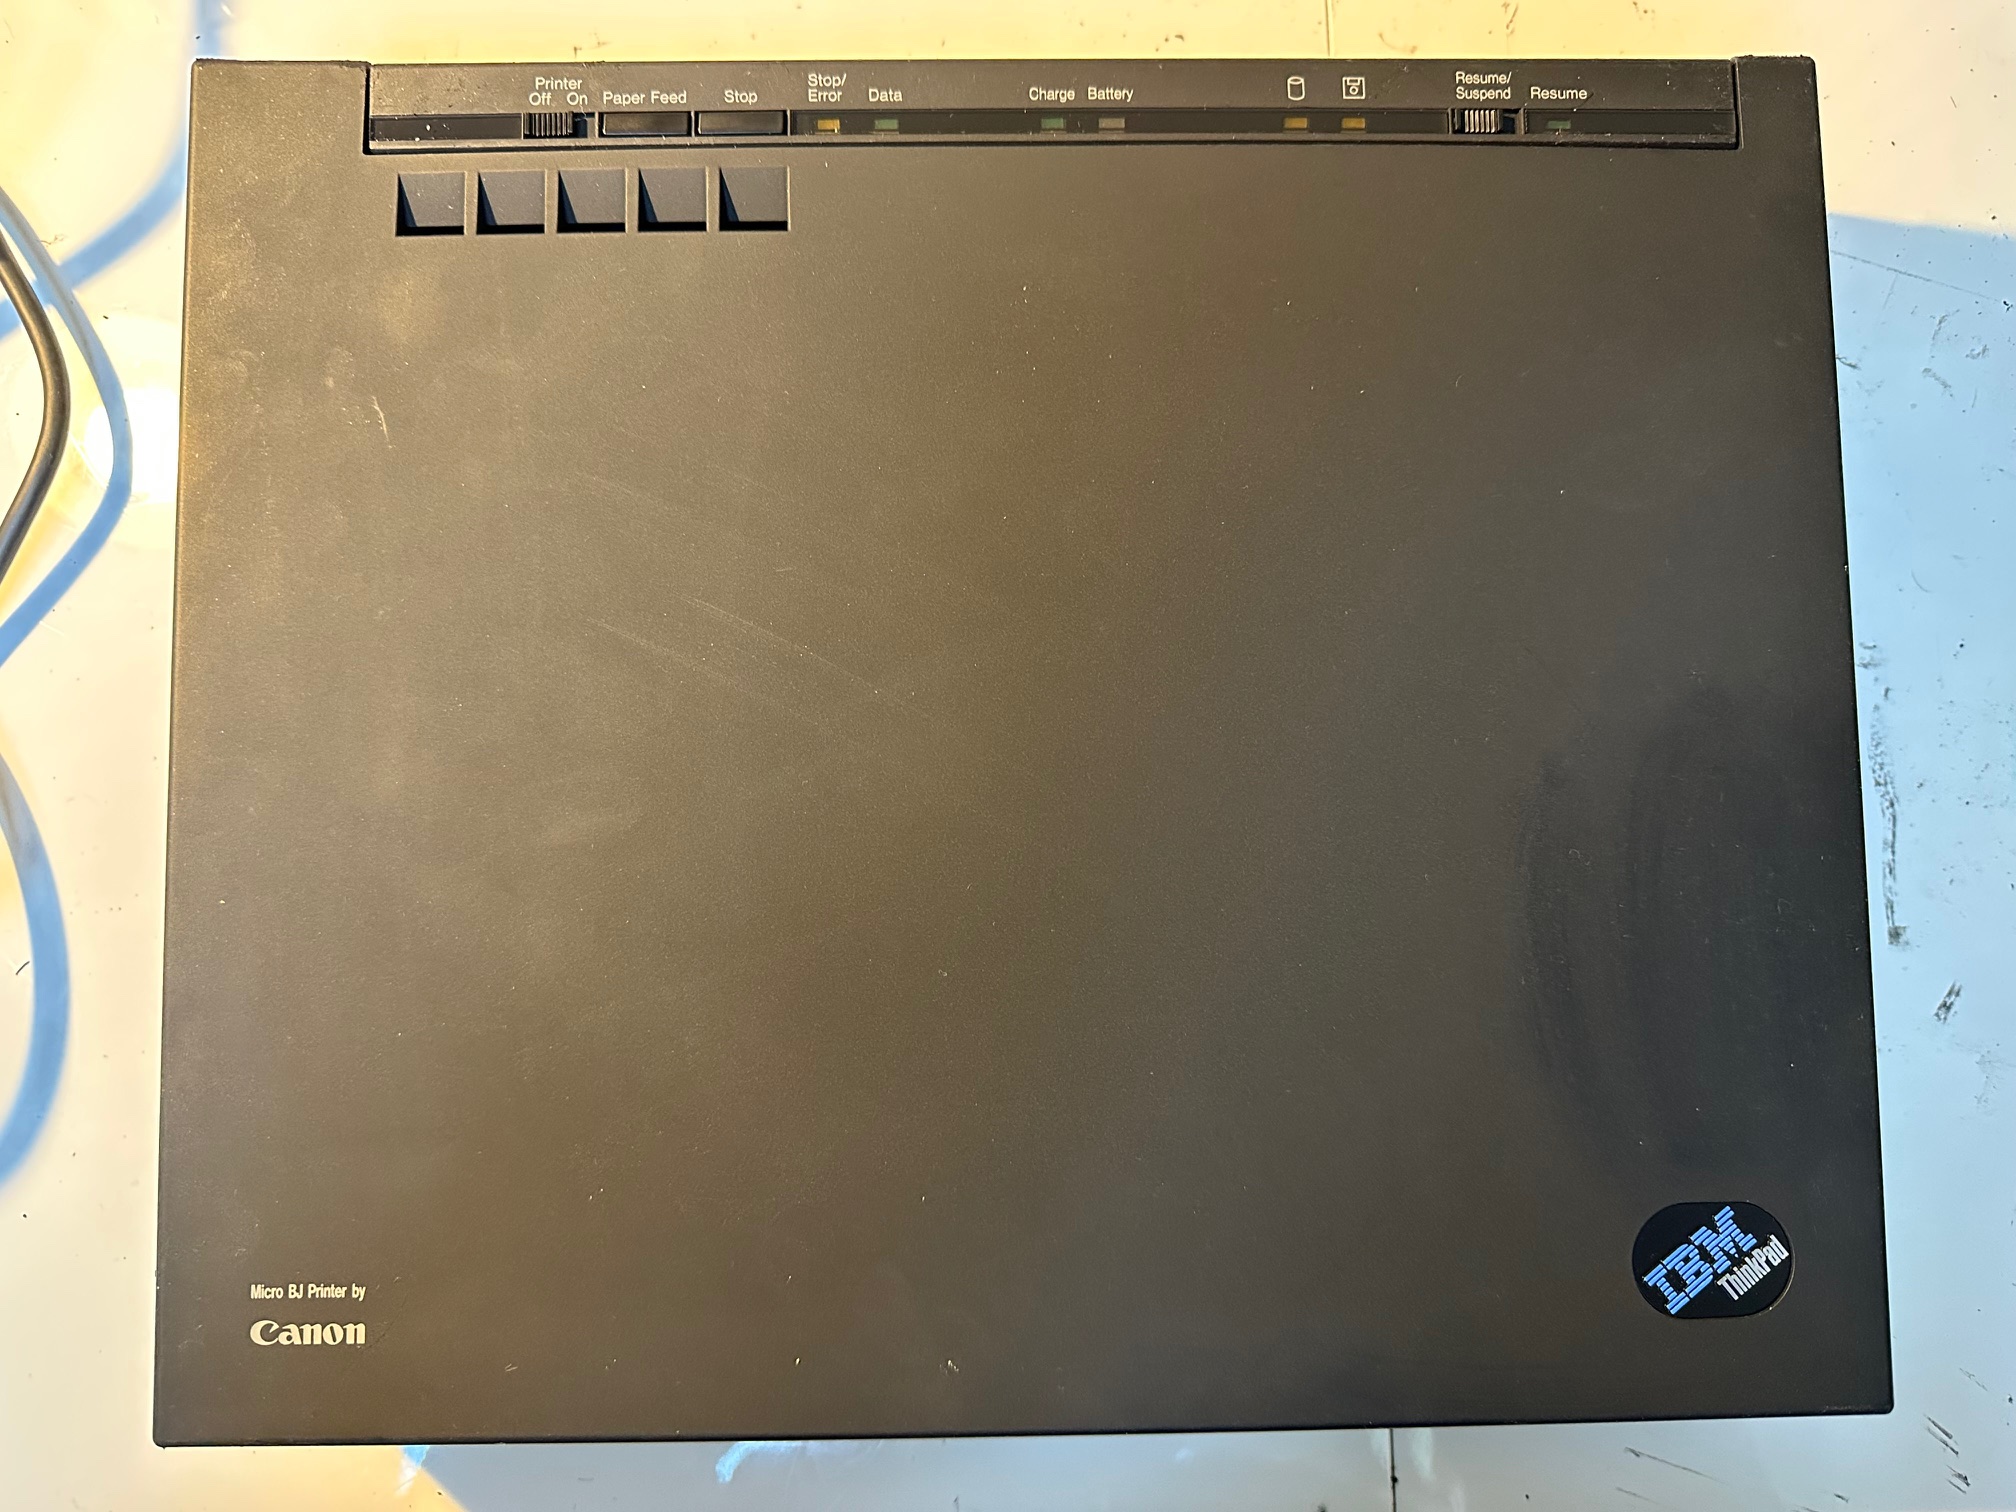
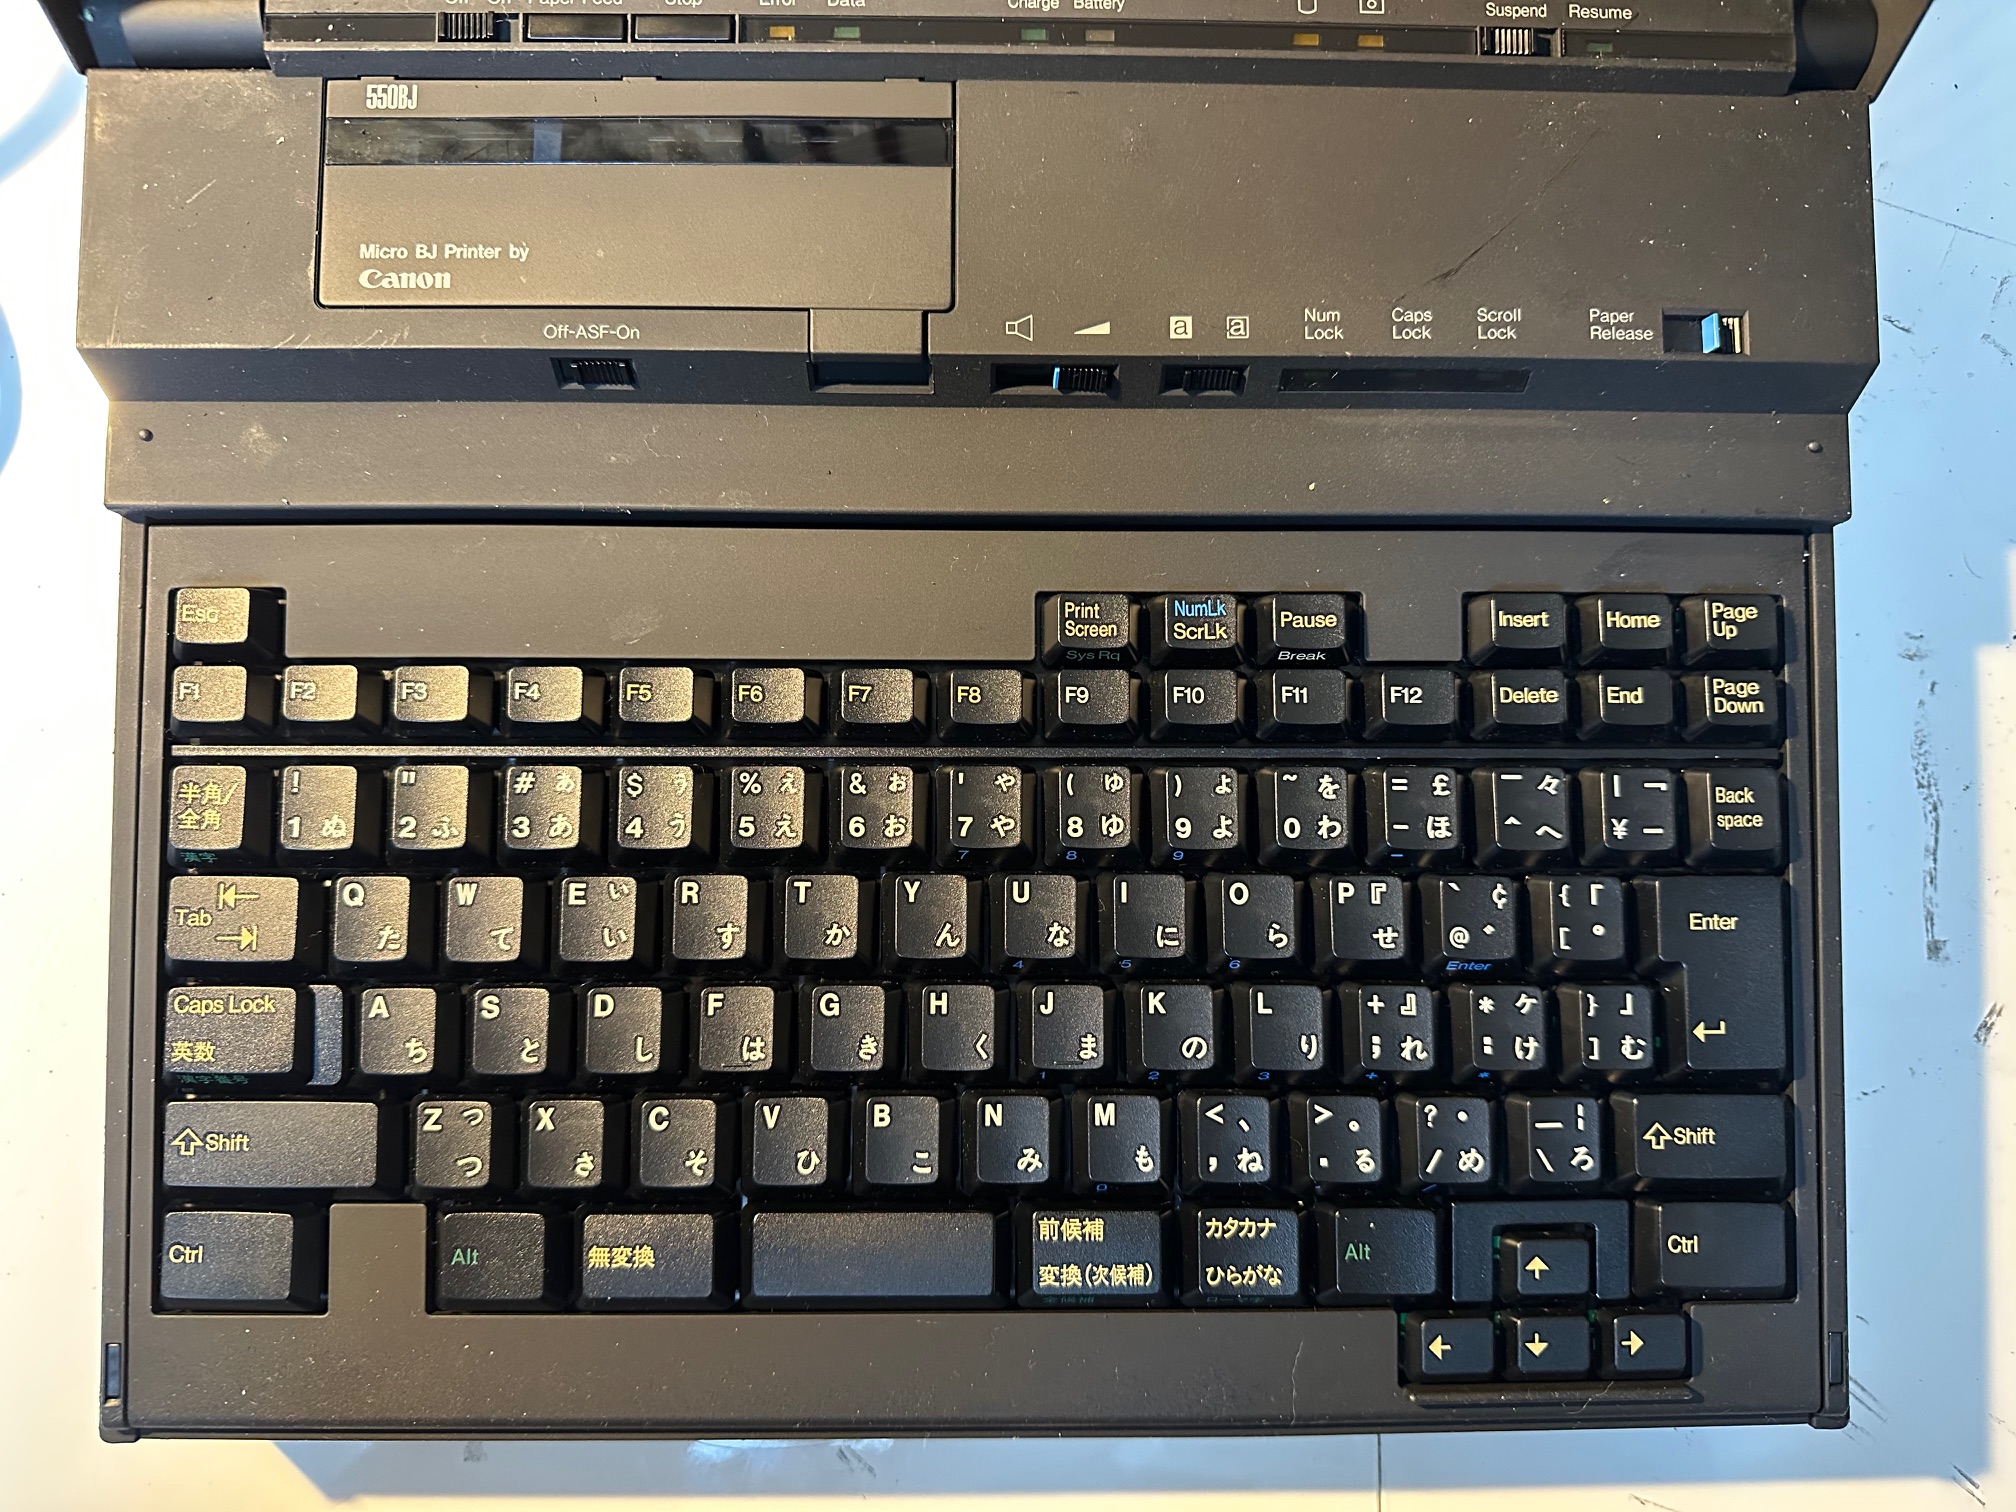
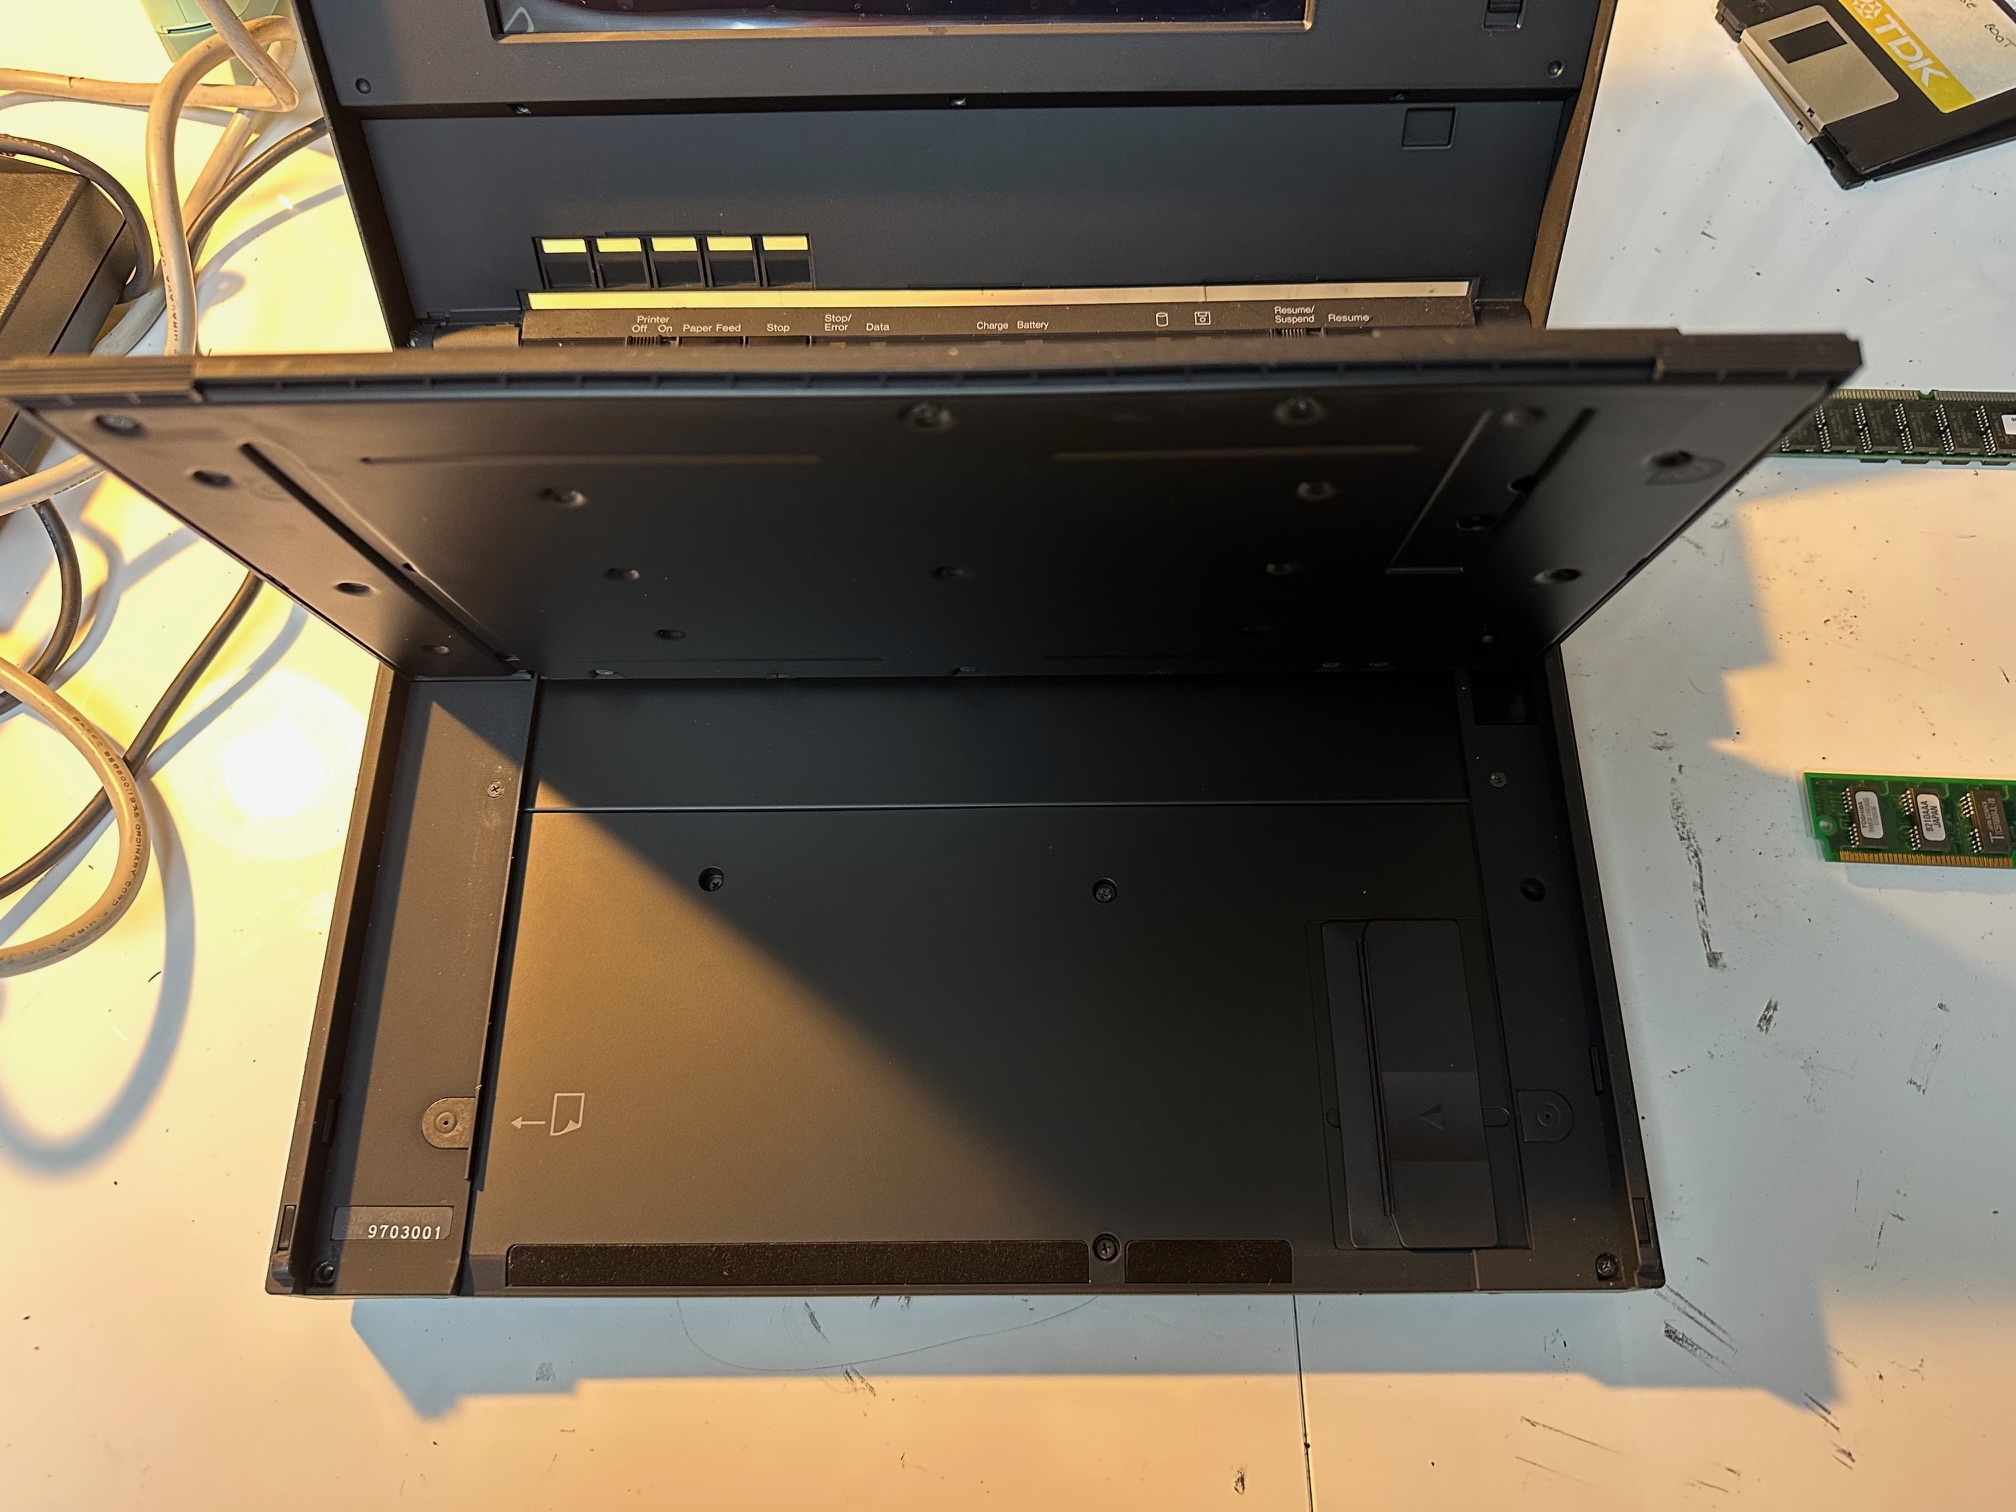
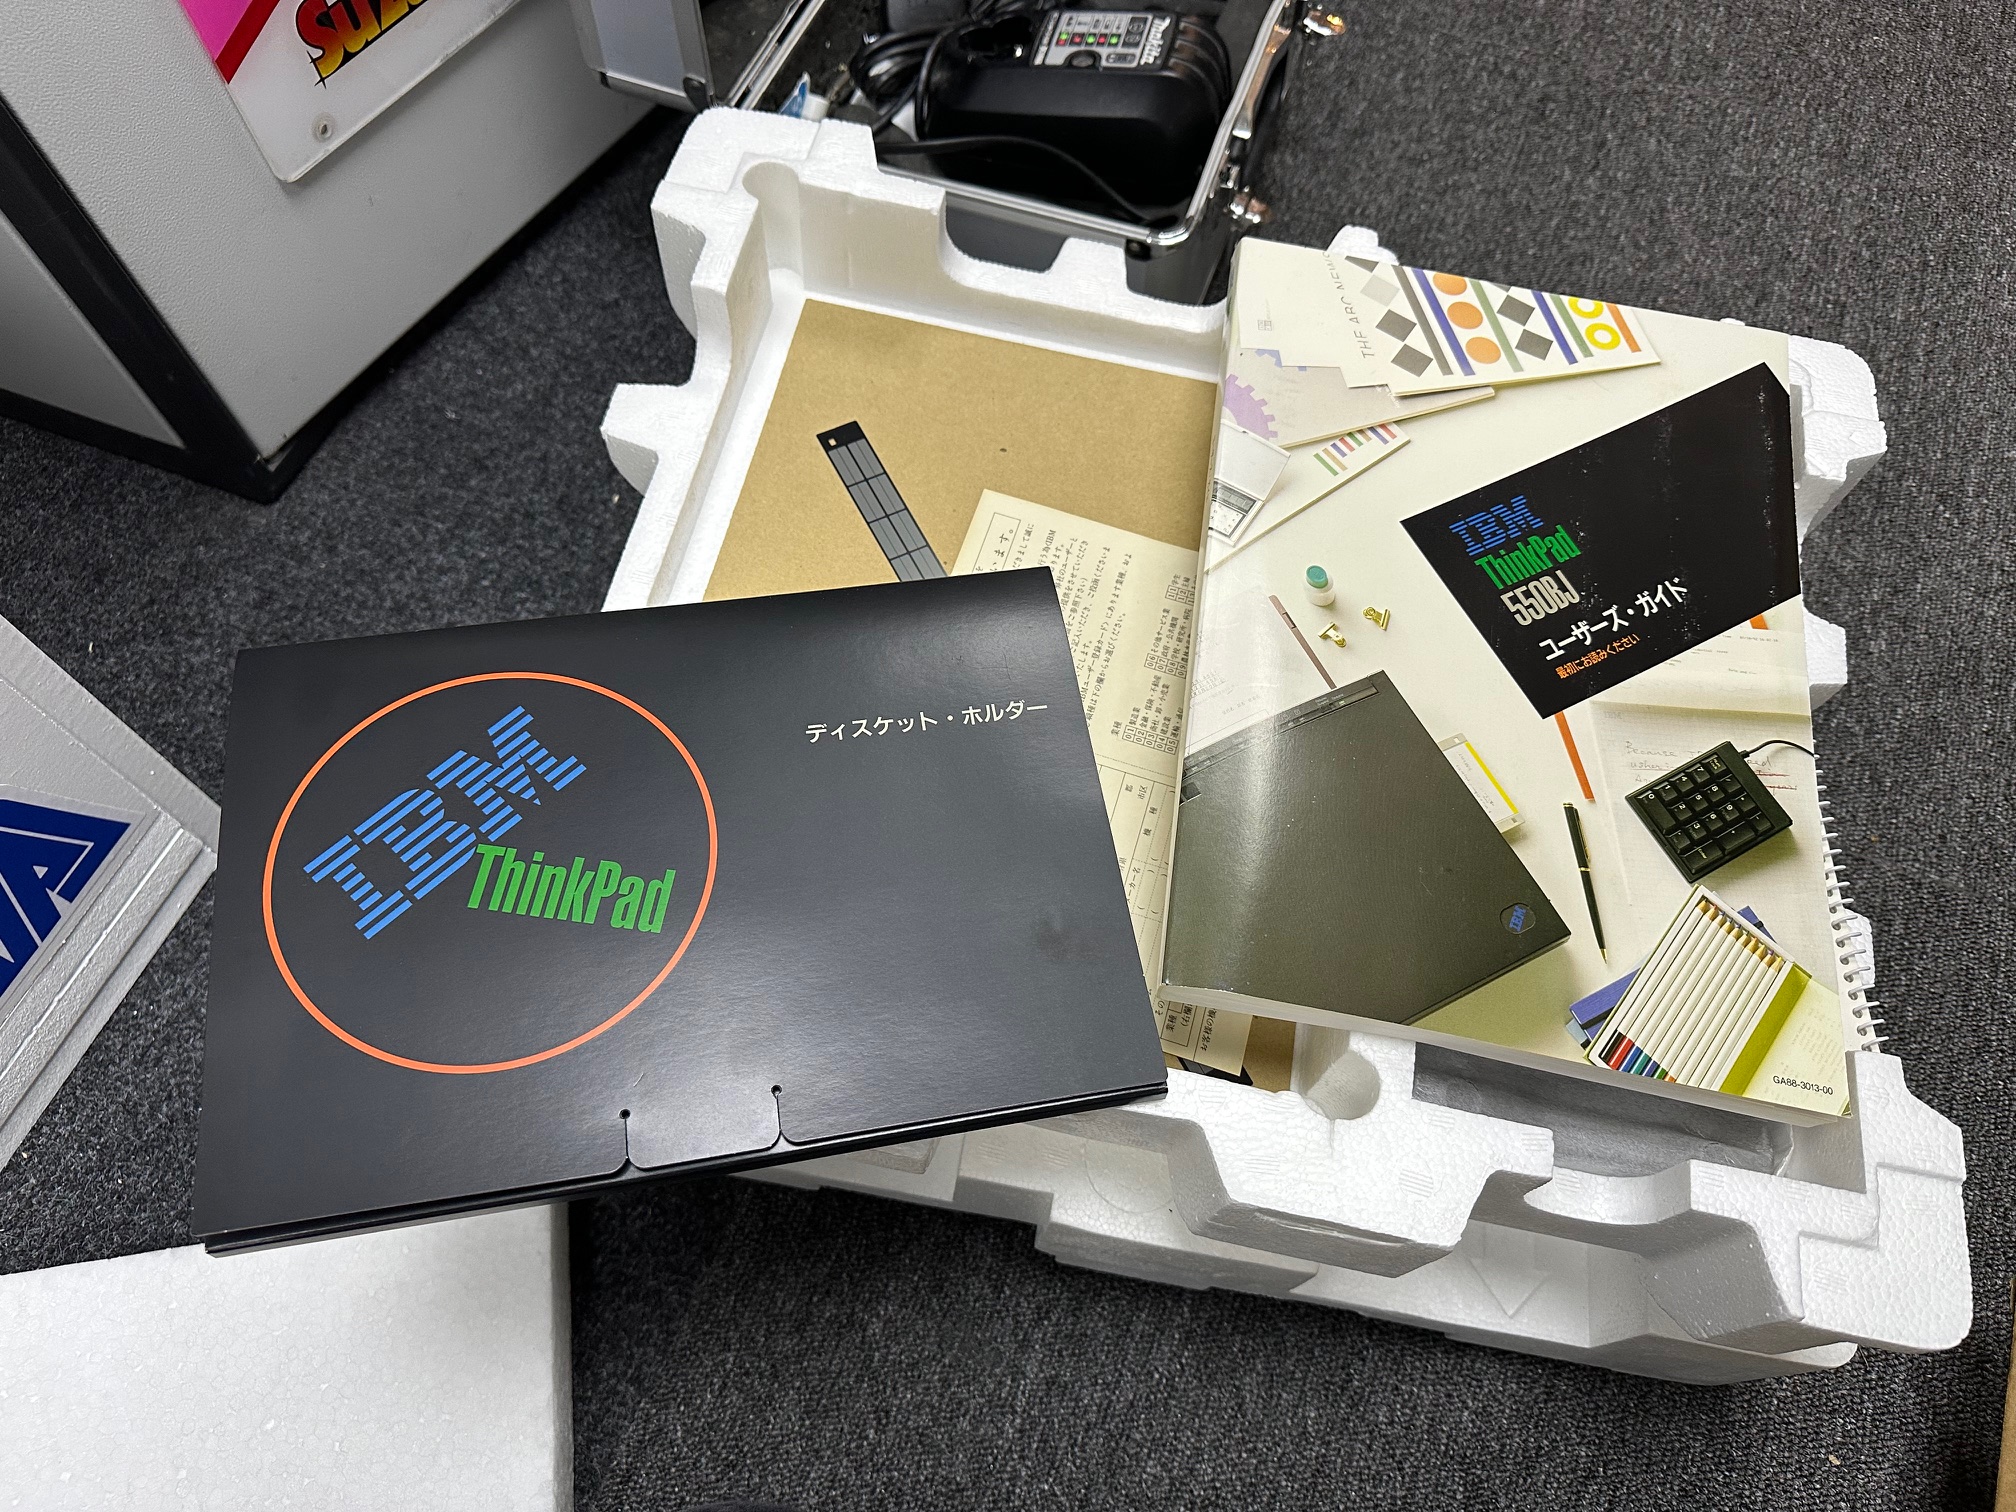
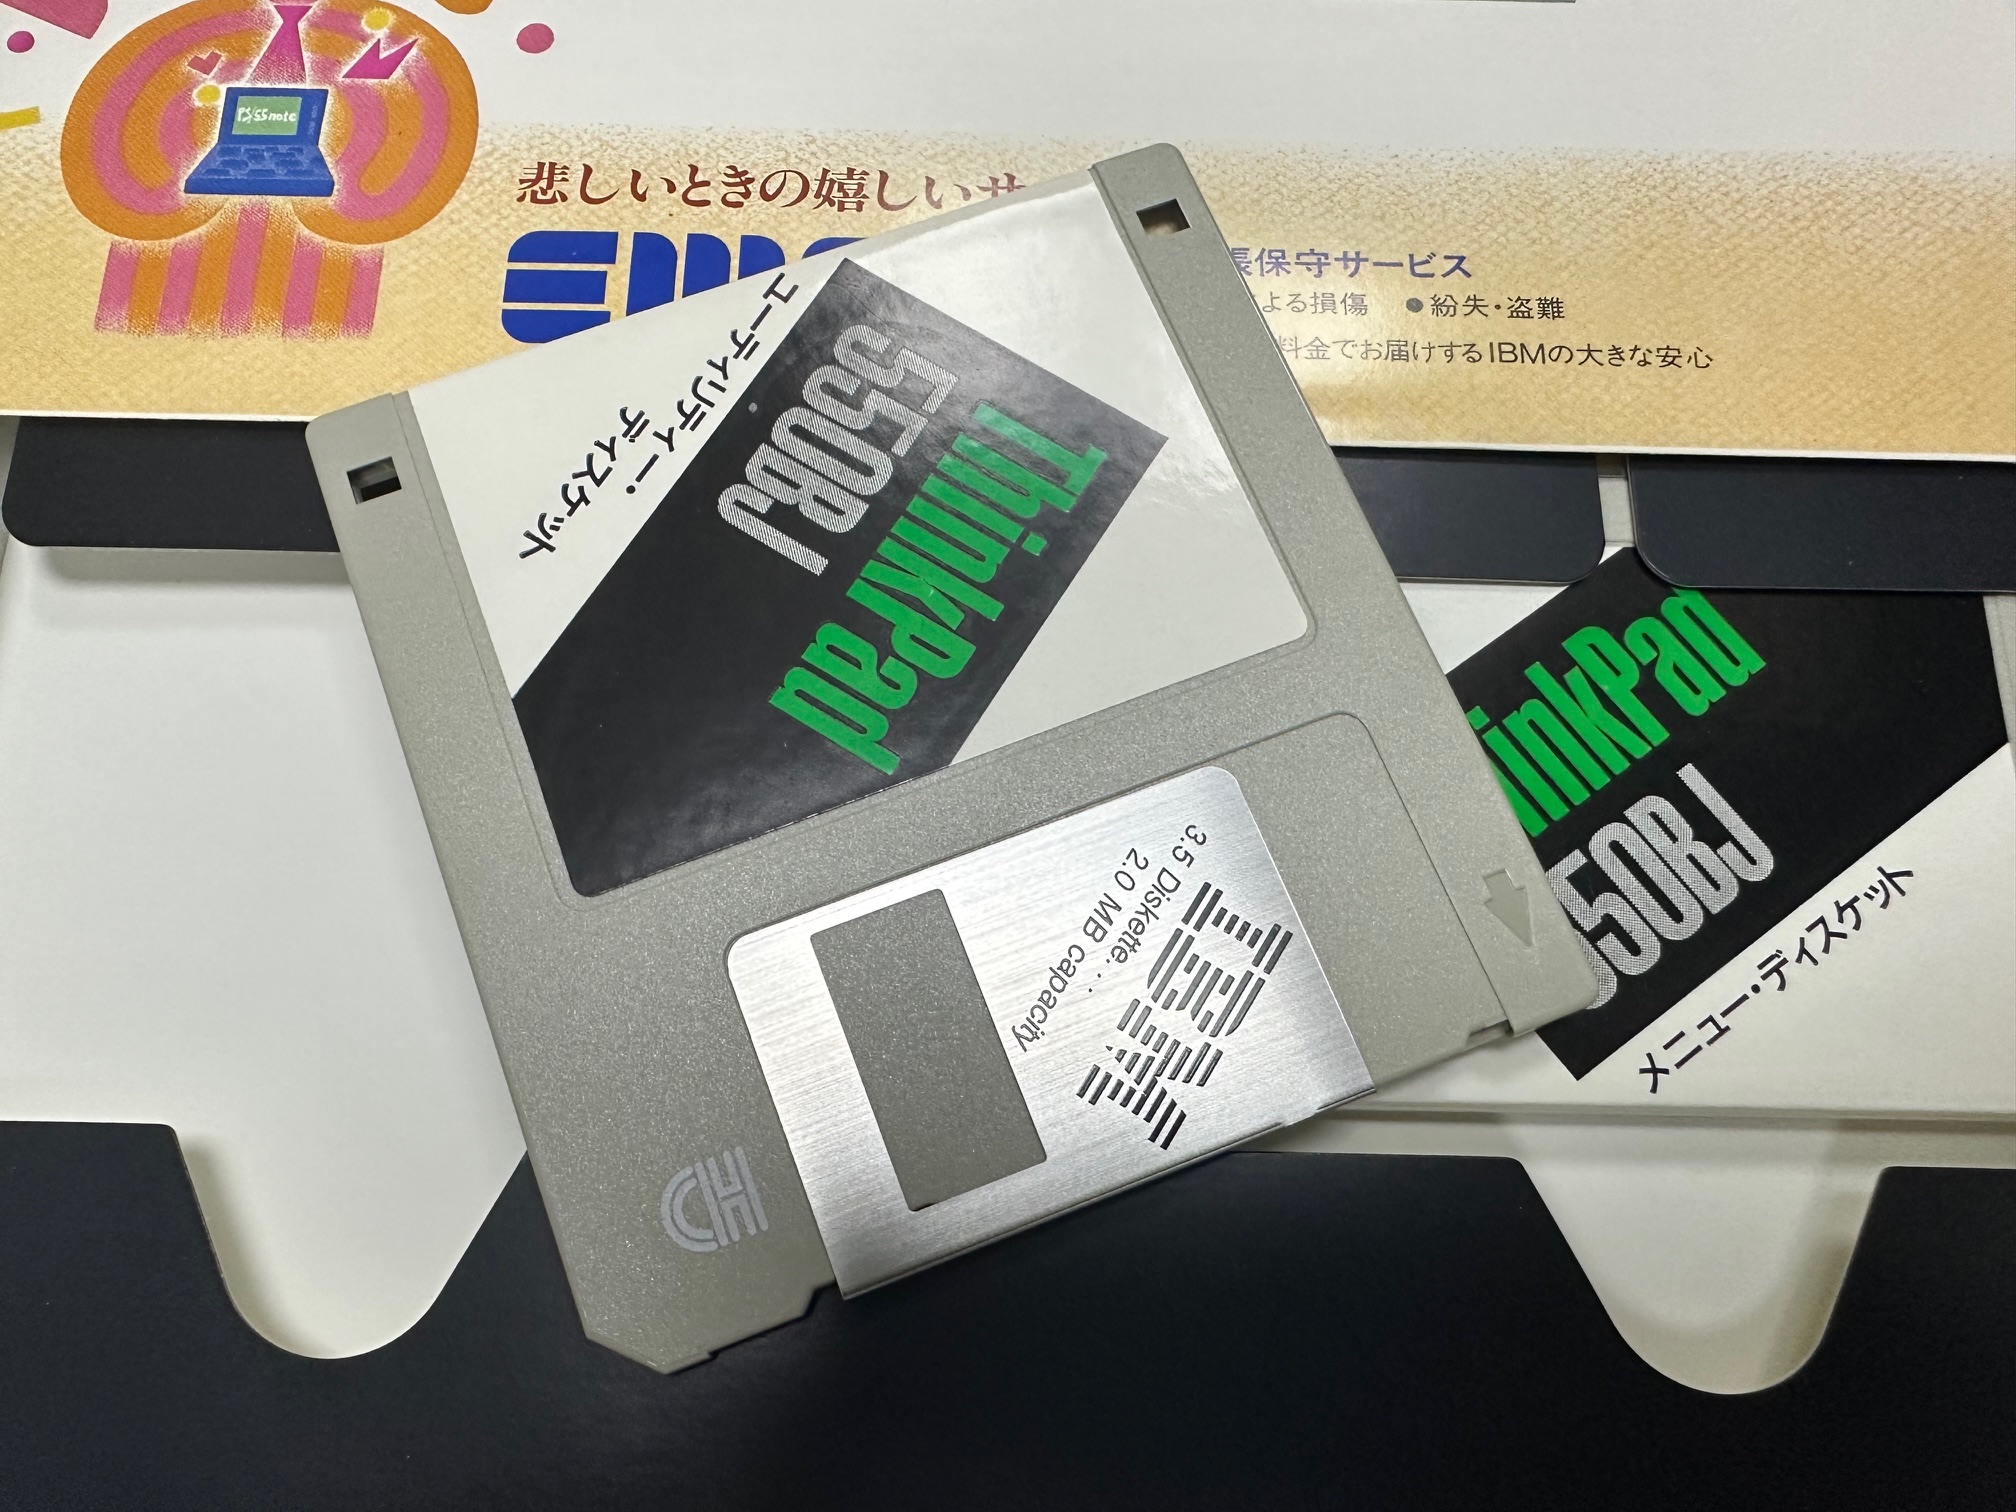
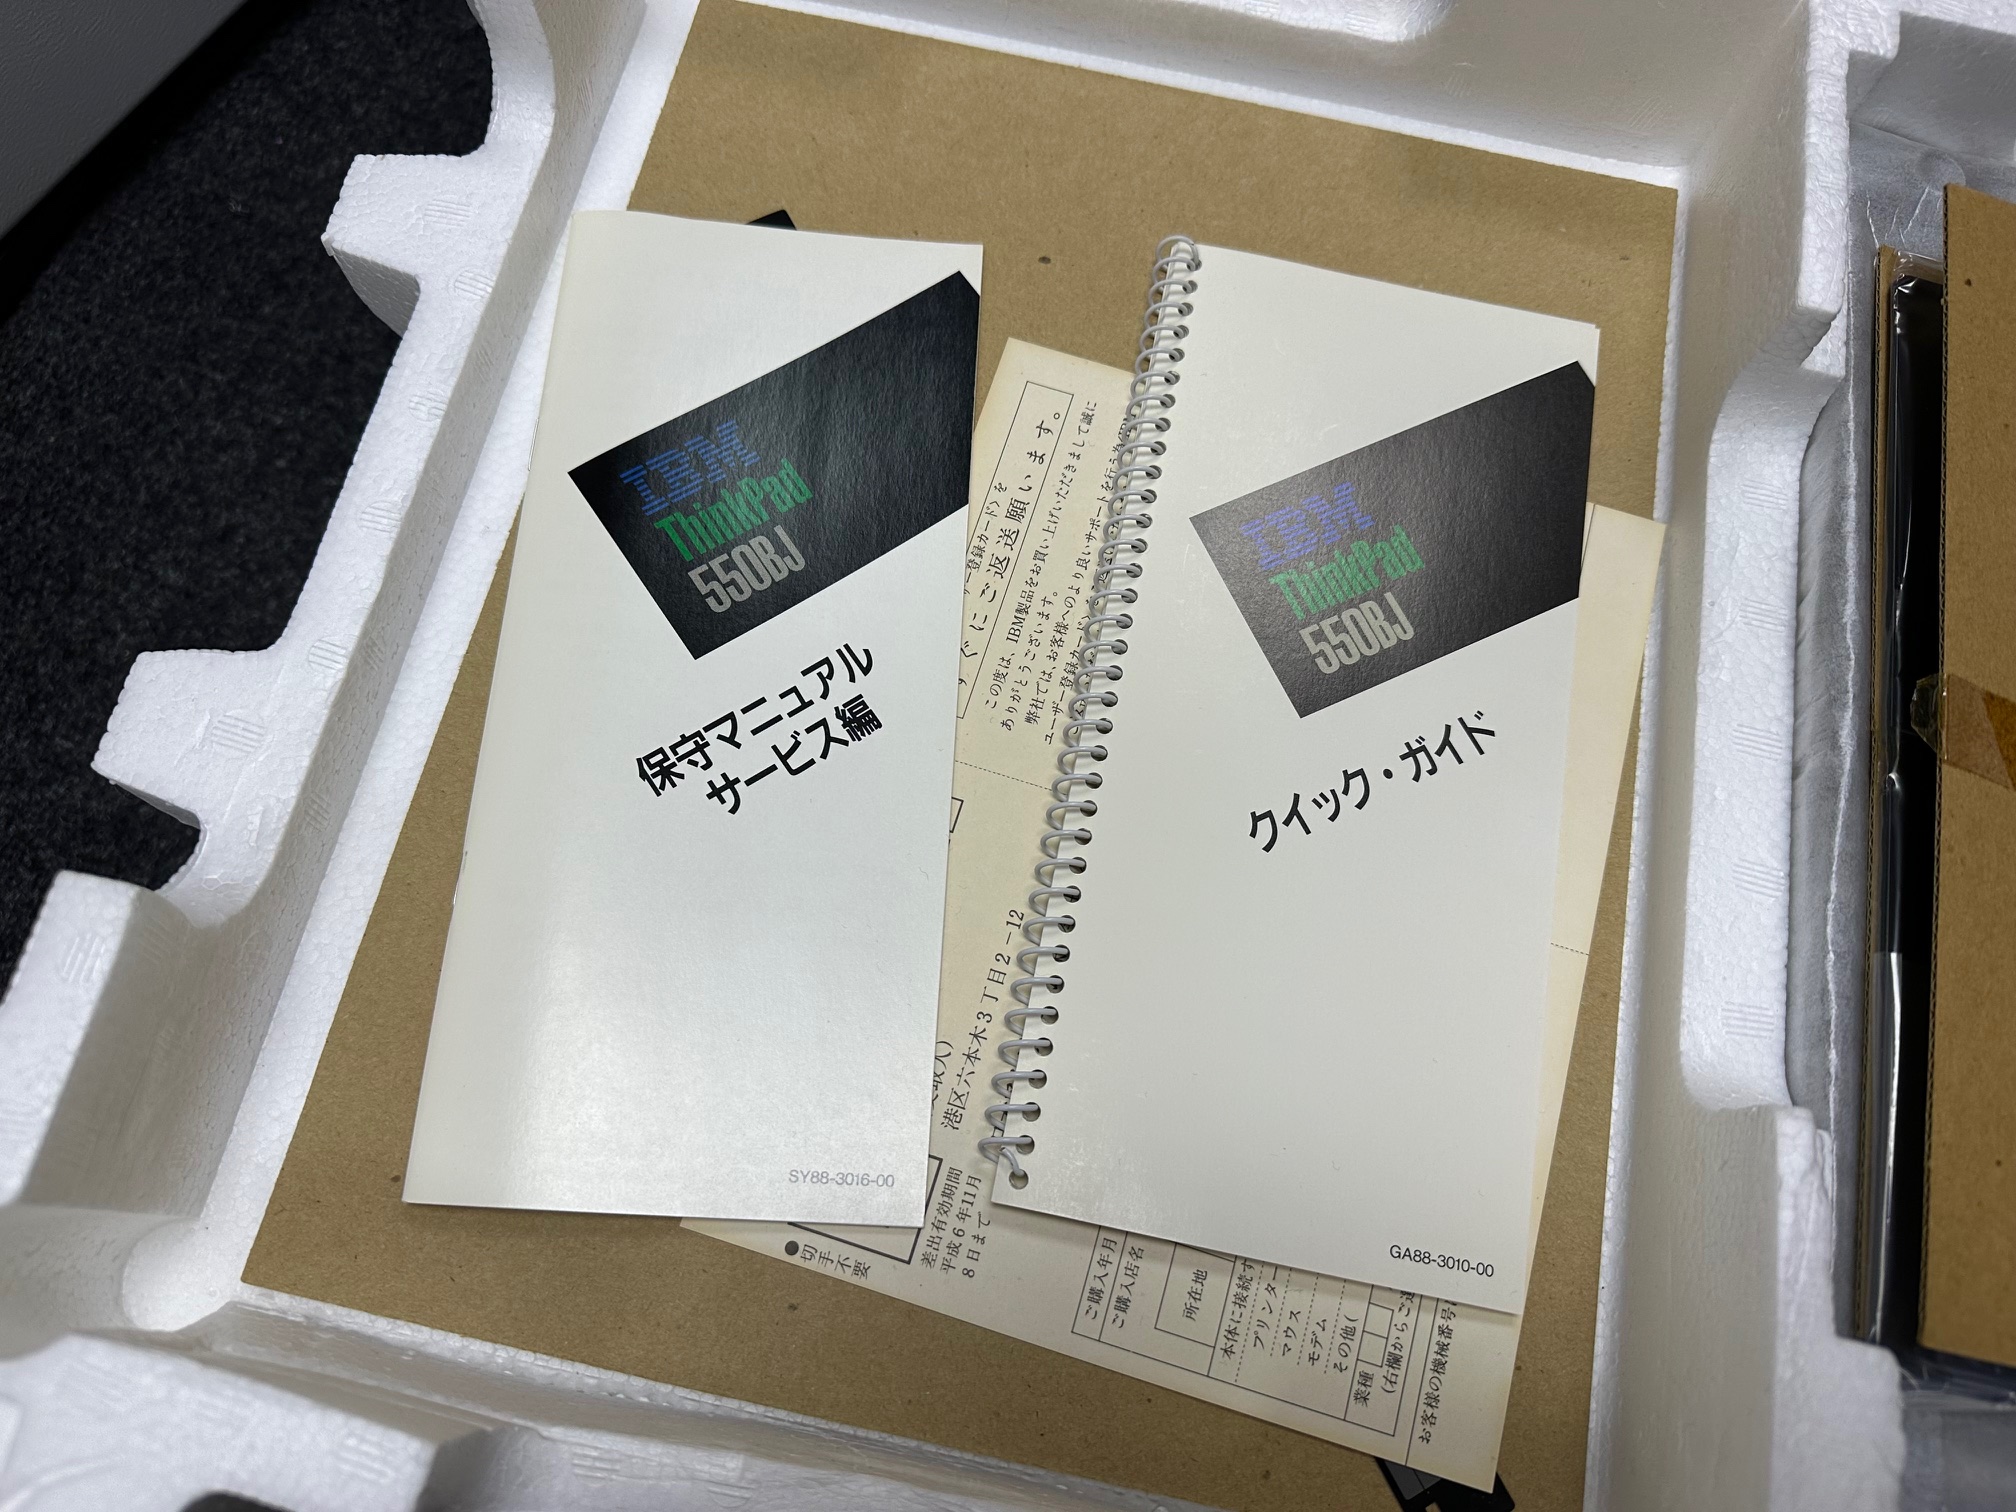
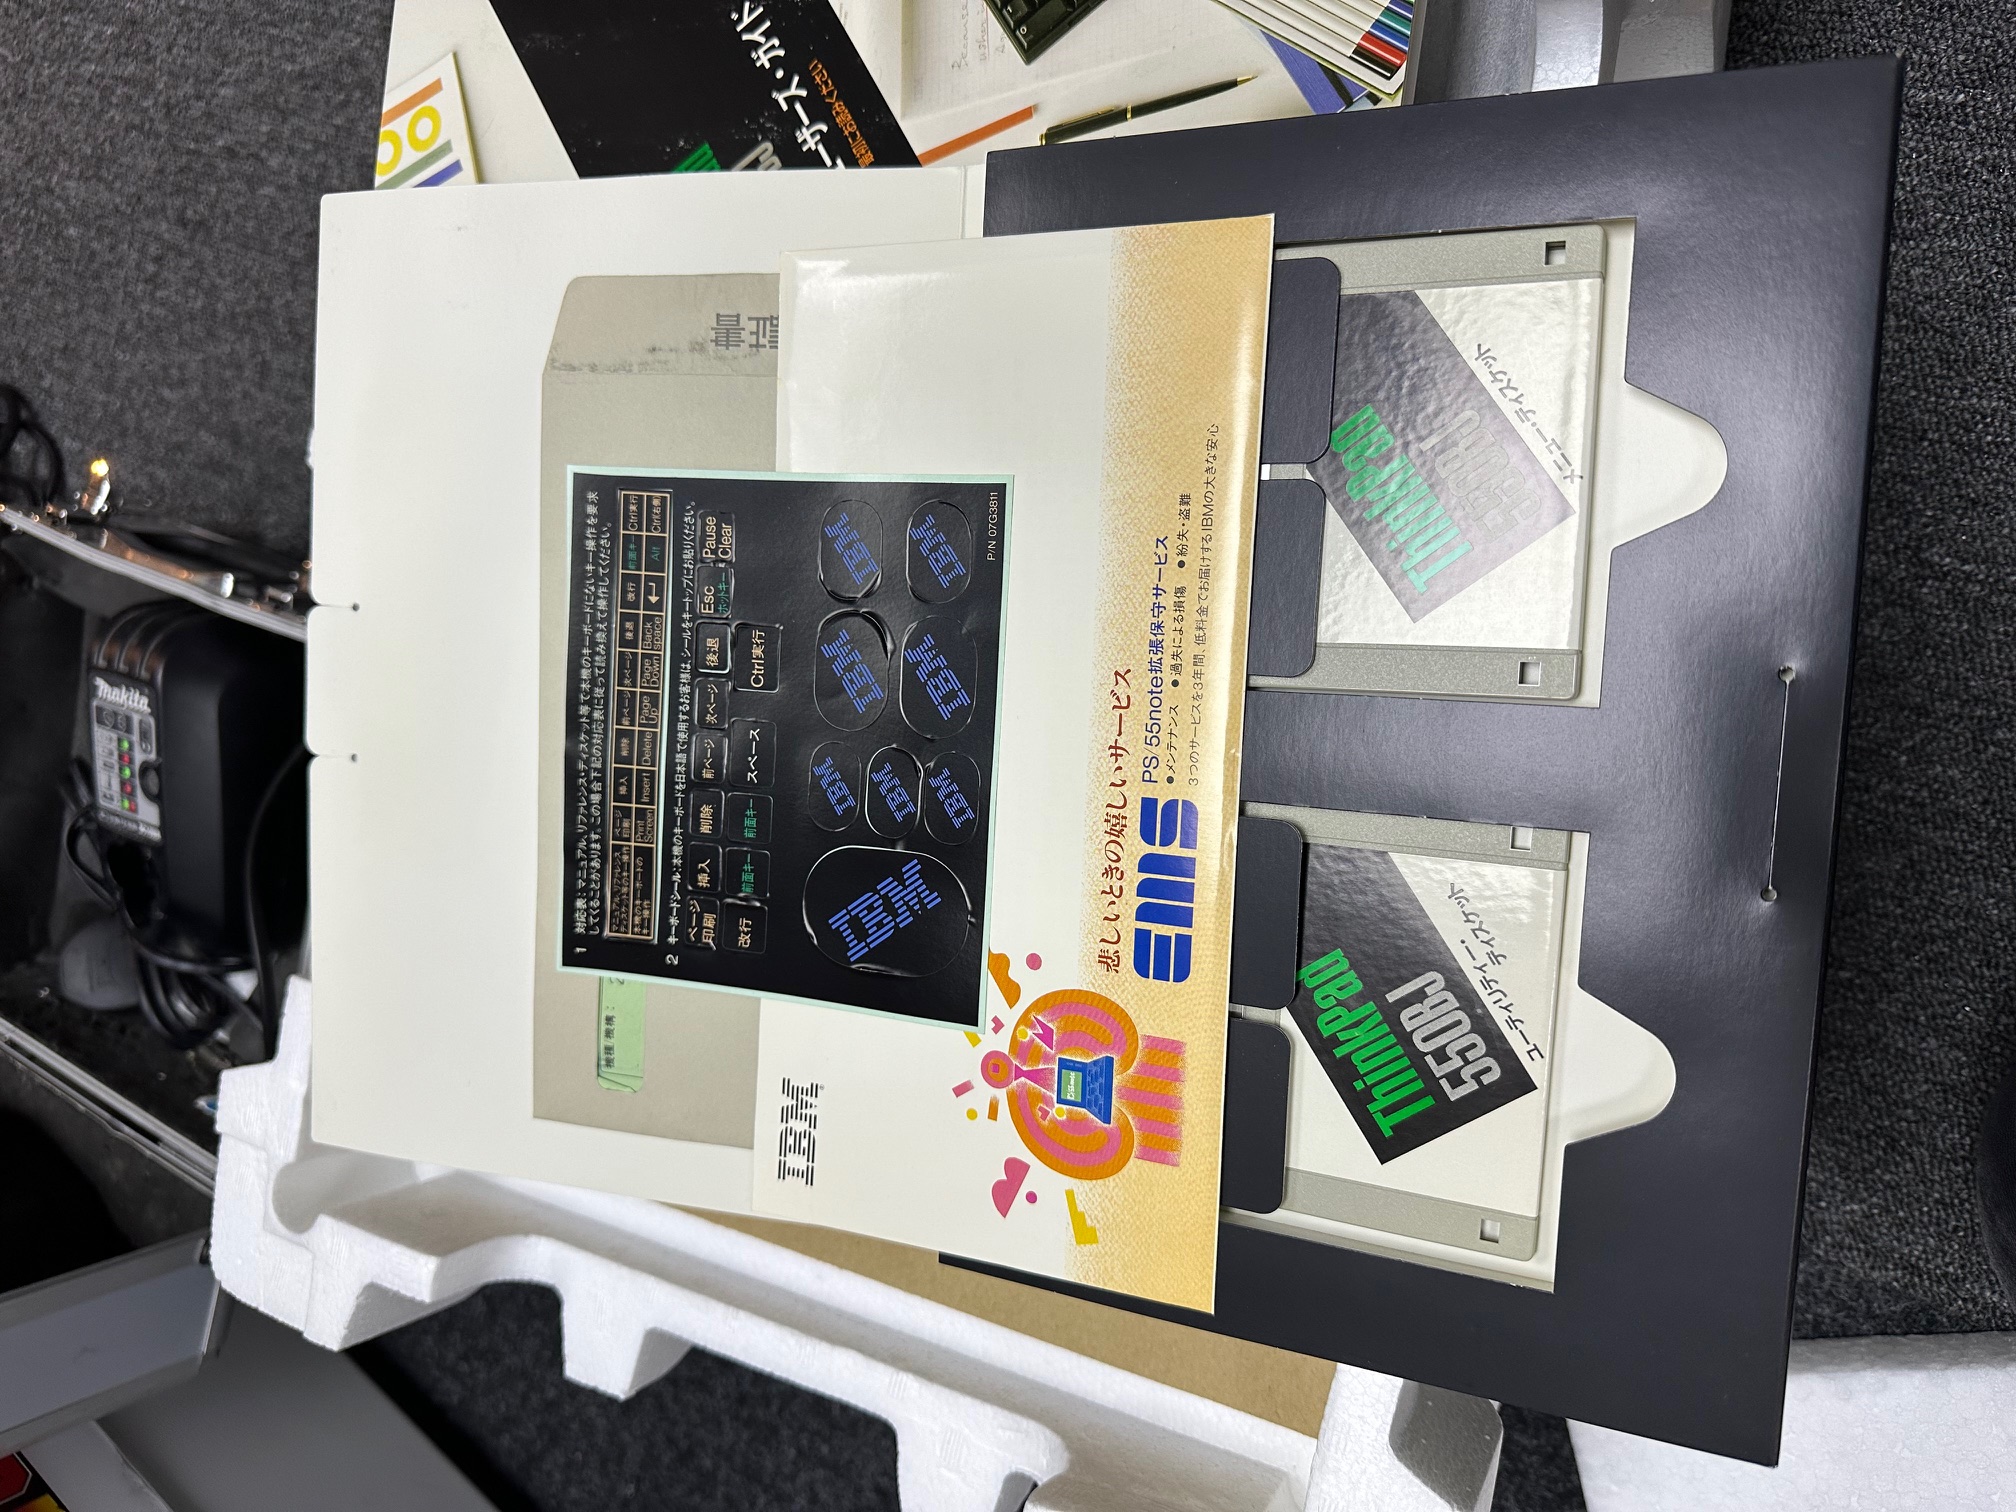
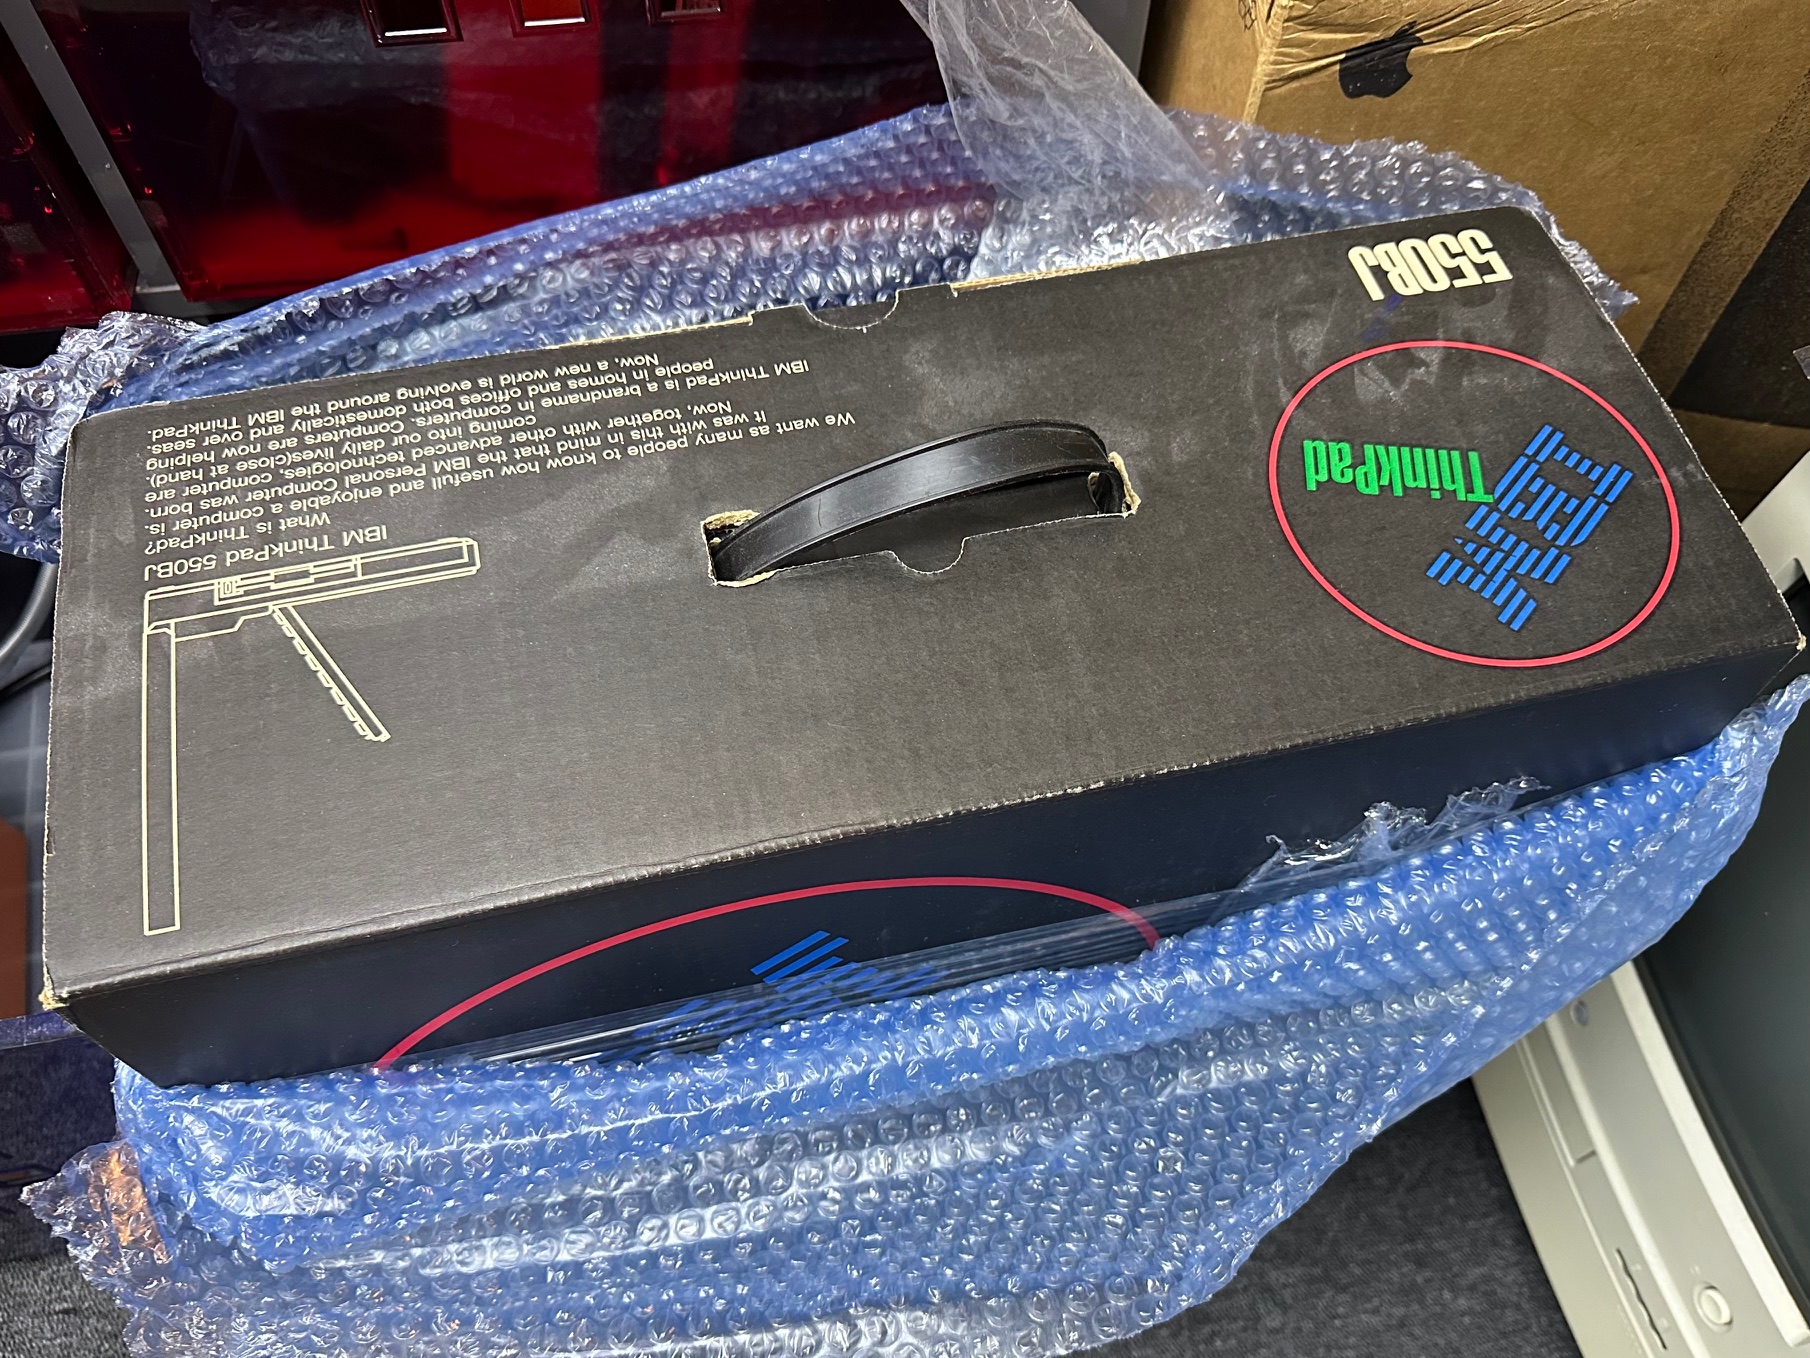
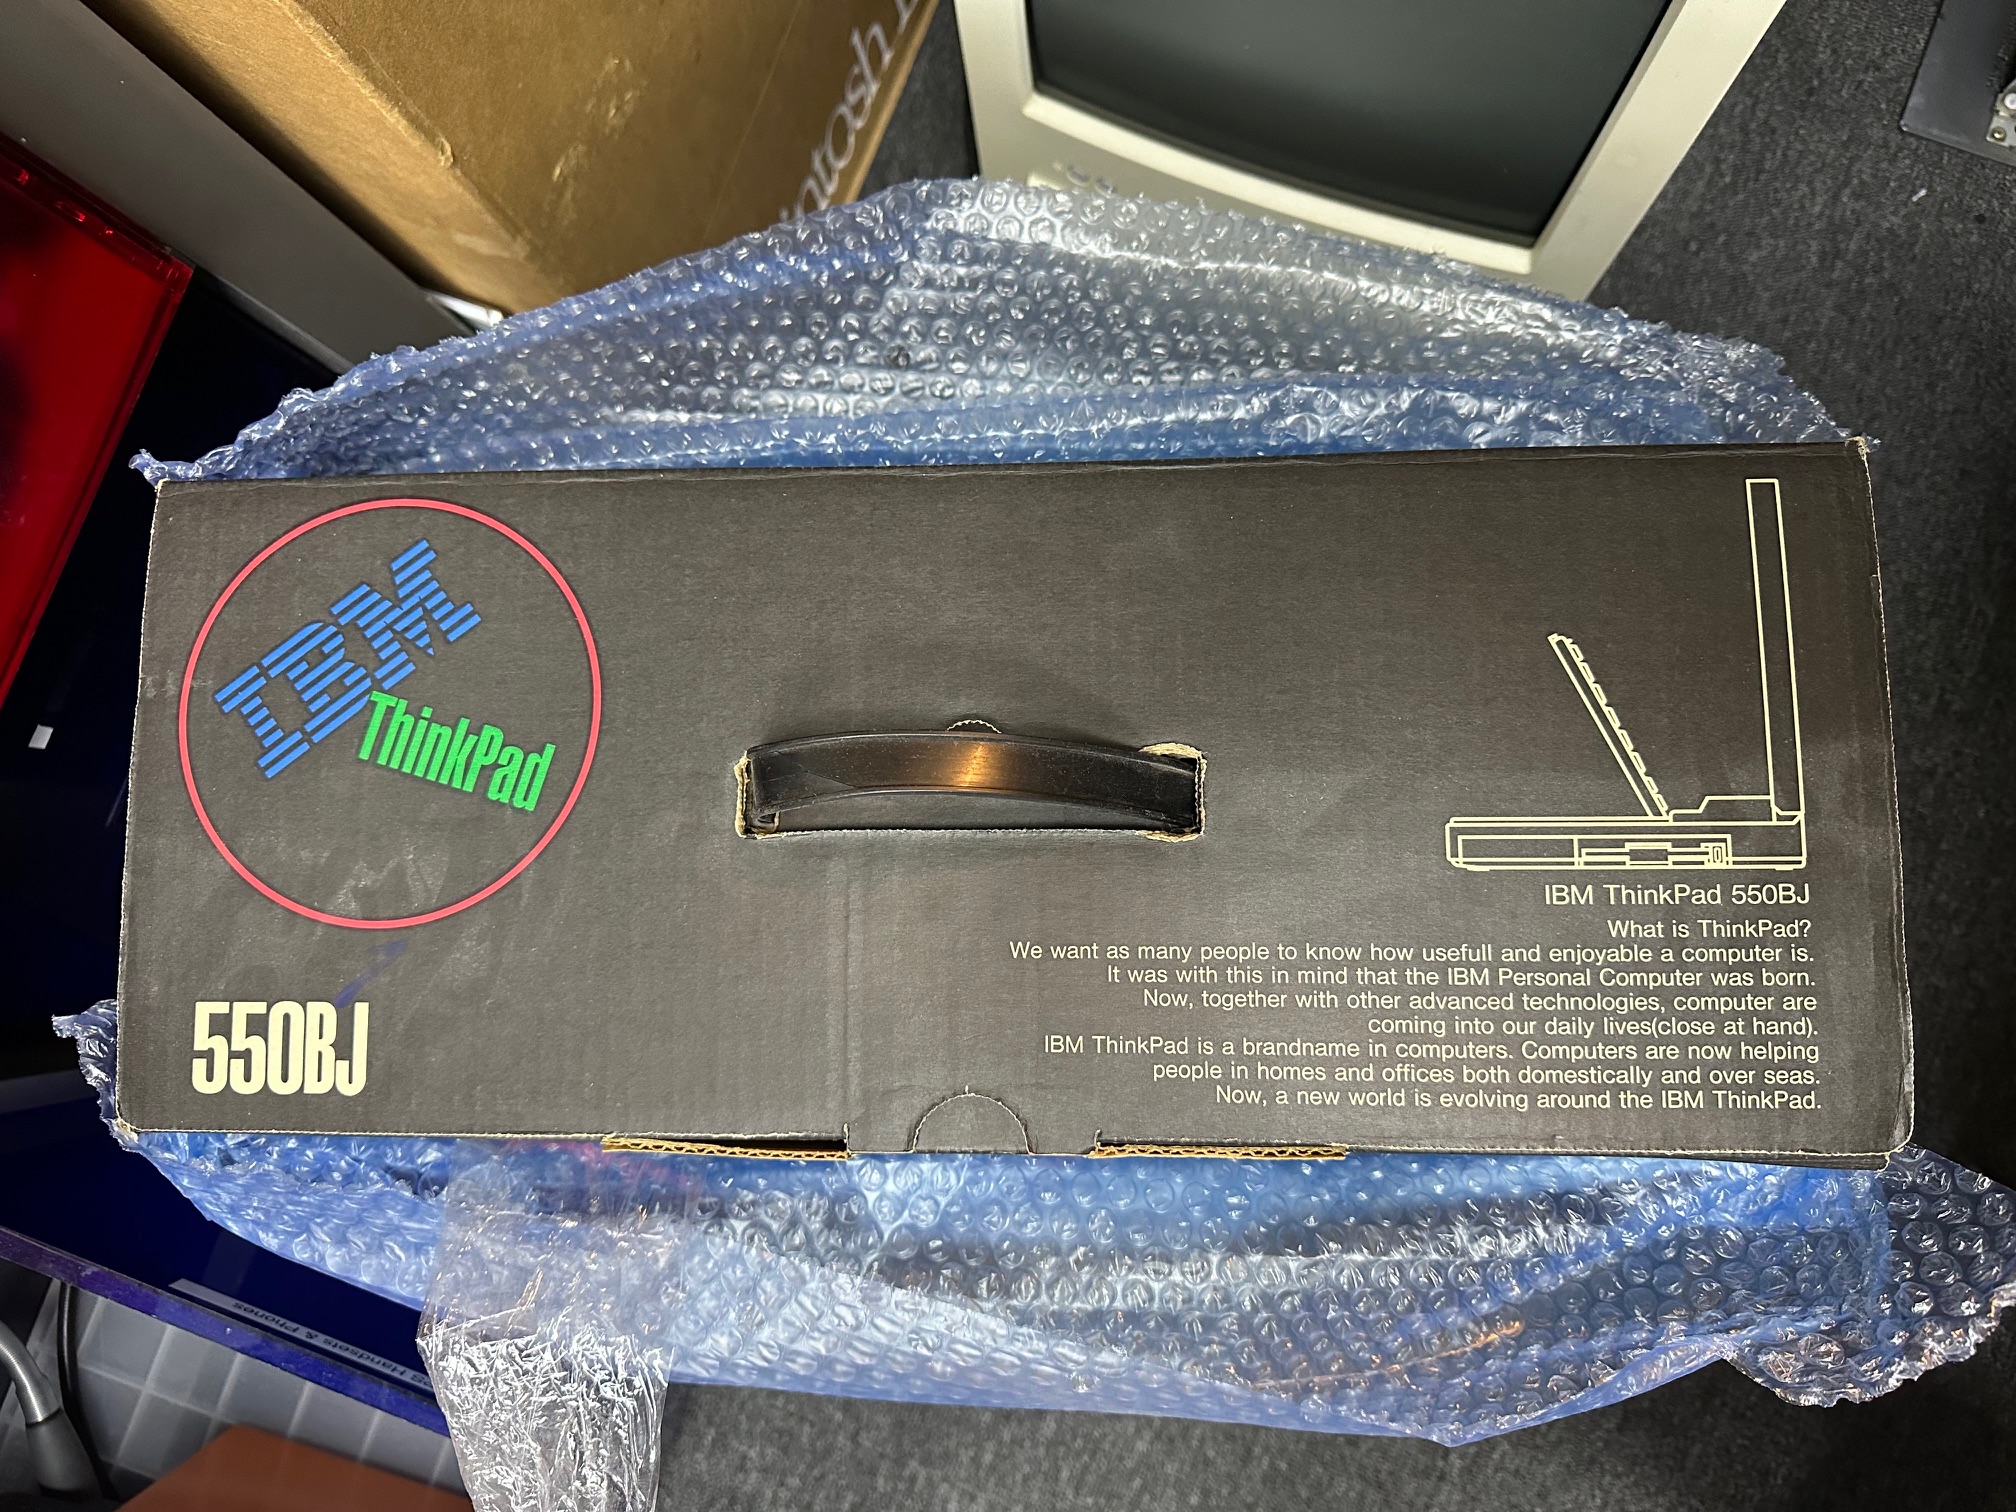
Photo Details
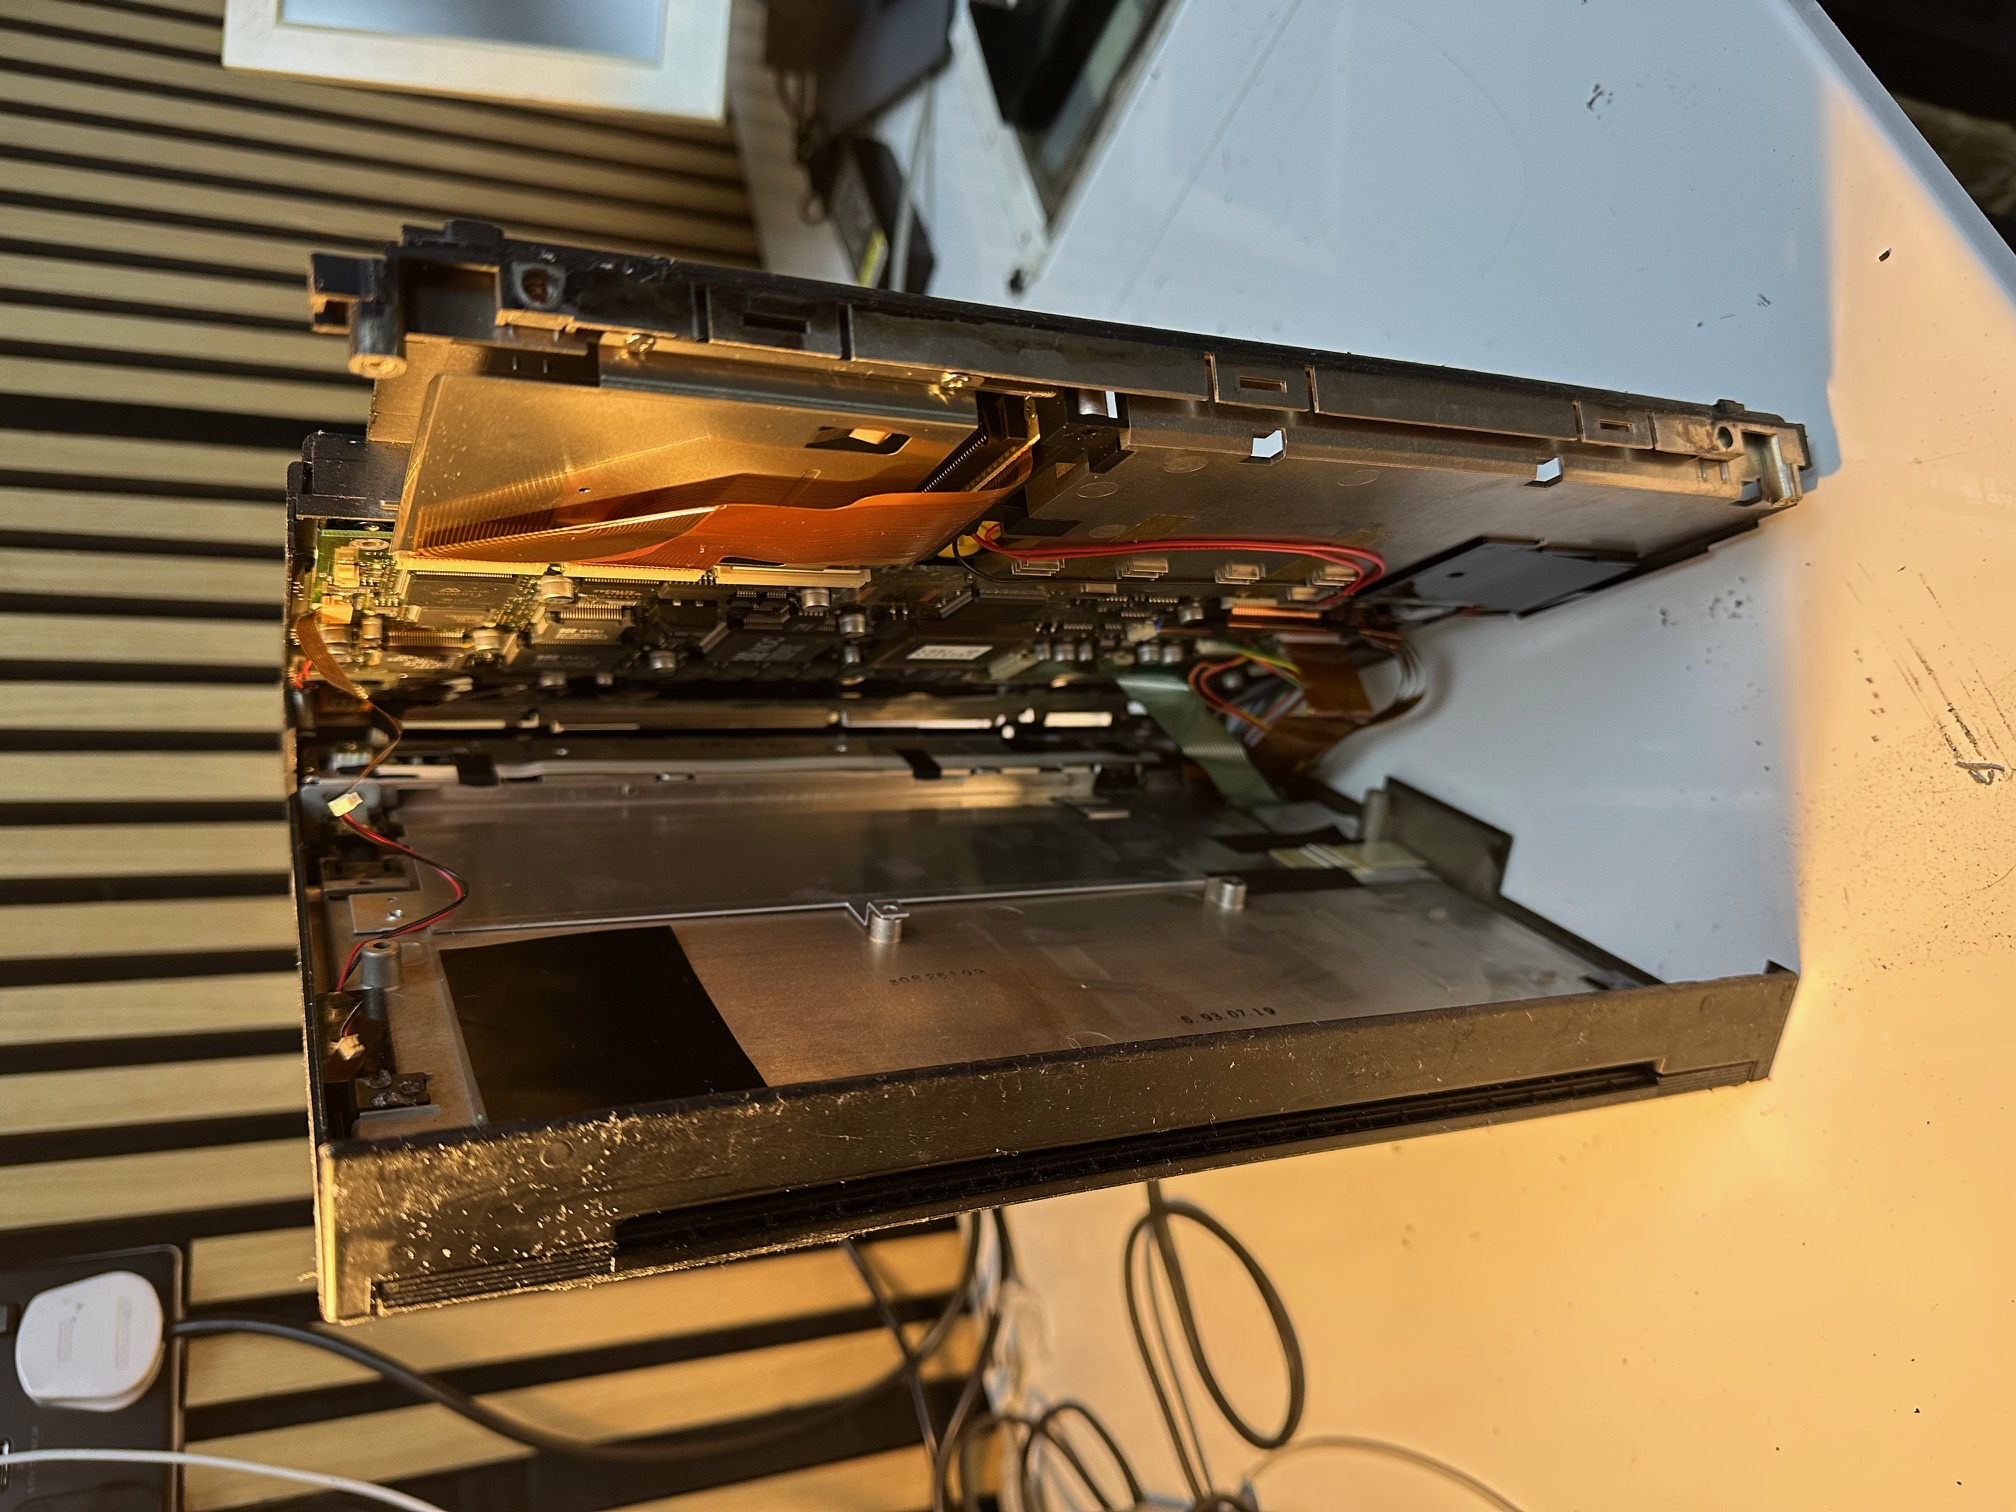
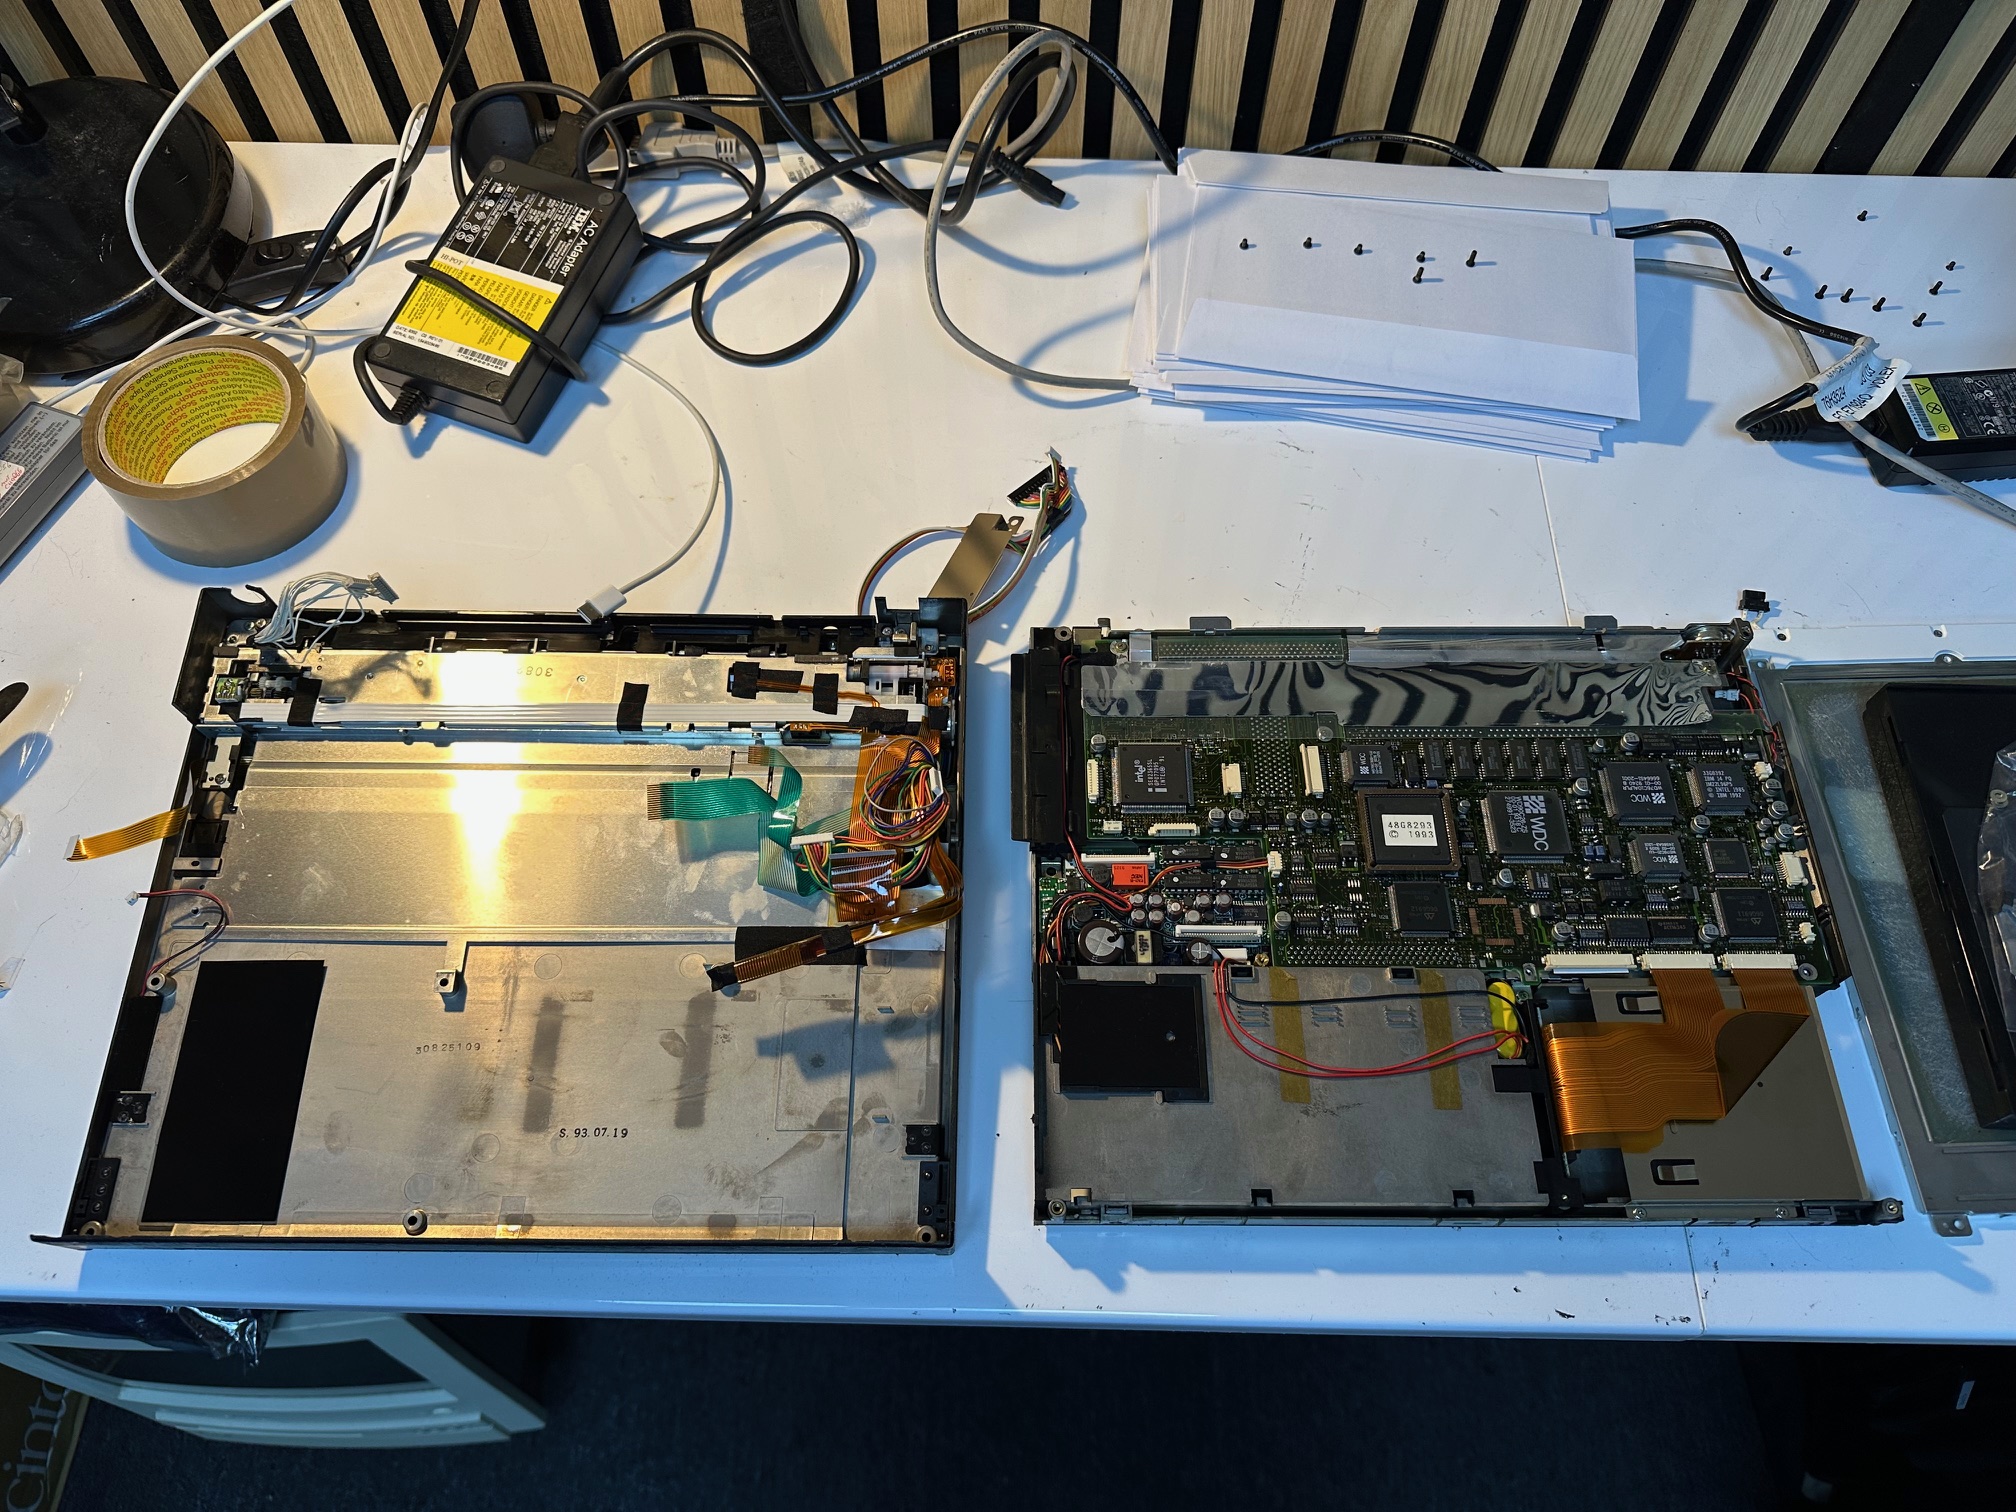
Keyboard Section and Base Section seperated and ready for the cables to be disconnected:
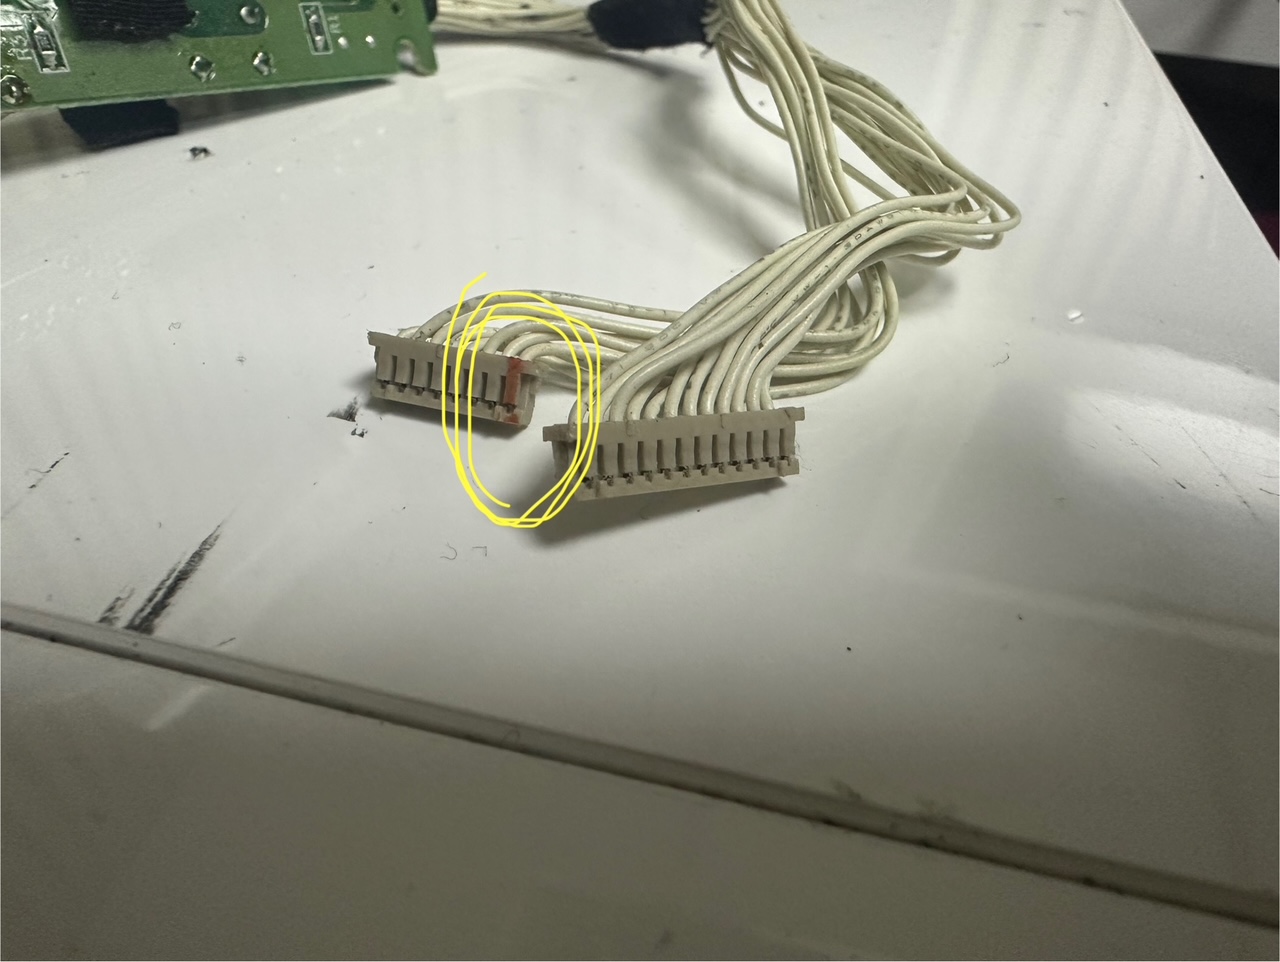
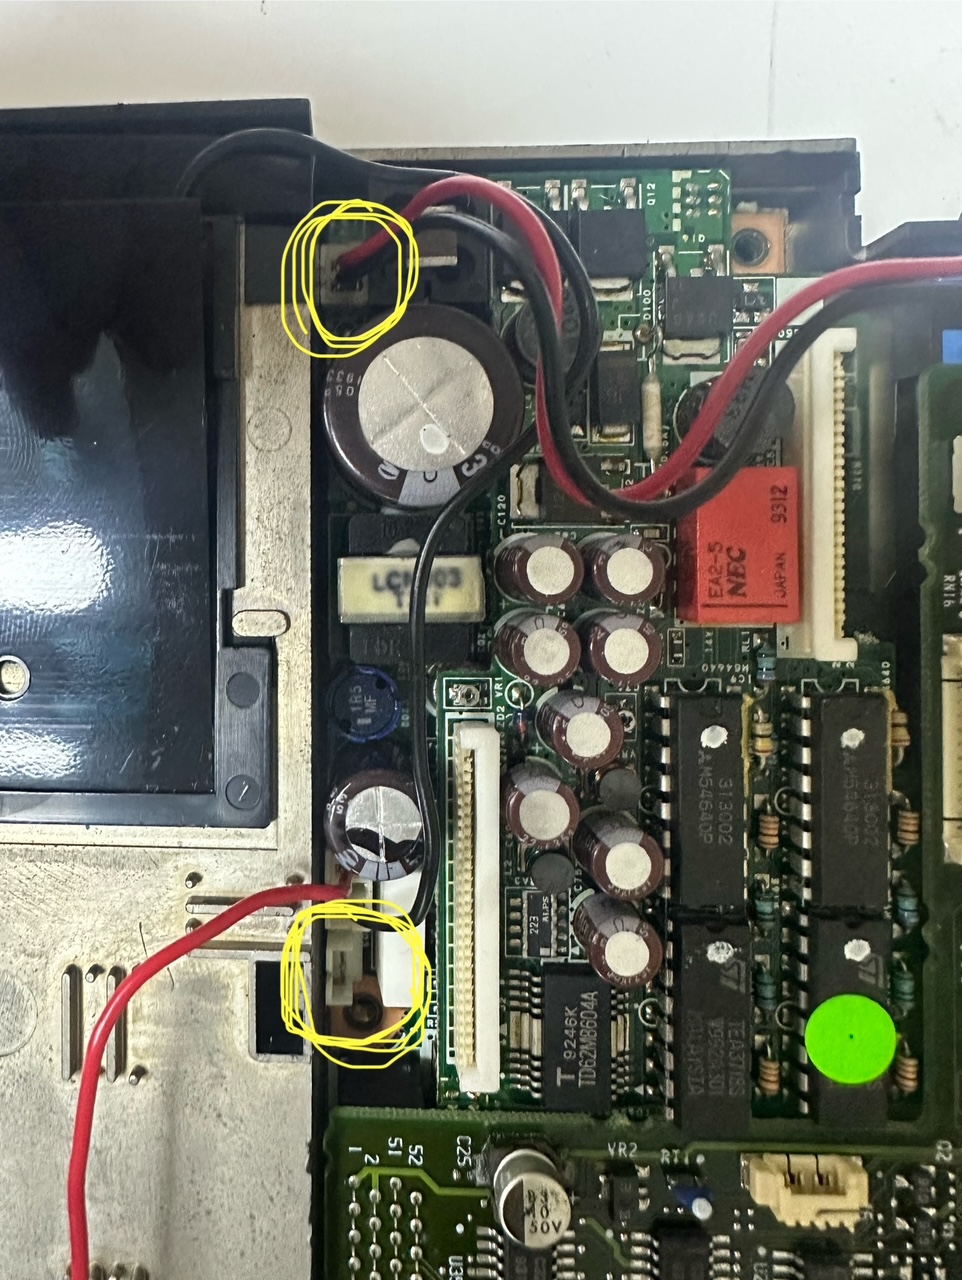
There are many connectors to be disconnected to get the top and bottom apart, but these two white connectors pass through to the bottom and have to be disconnected from within the memory bay. These white connectors are for the switches and LED indicators along the top of the base, including the power switch, which is one end of the smaller of the two white connectors:
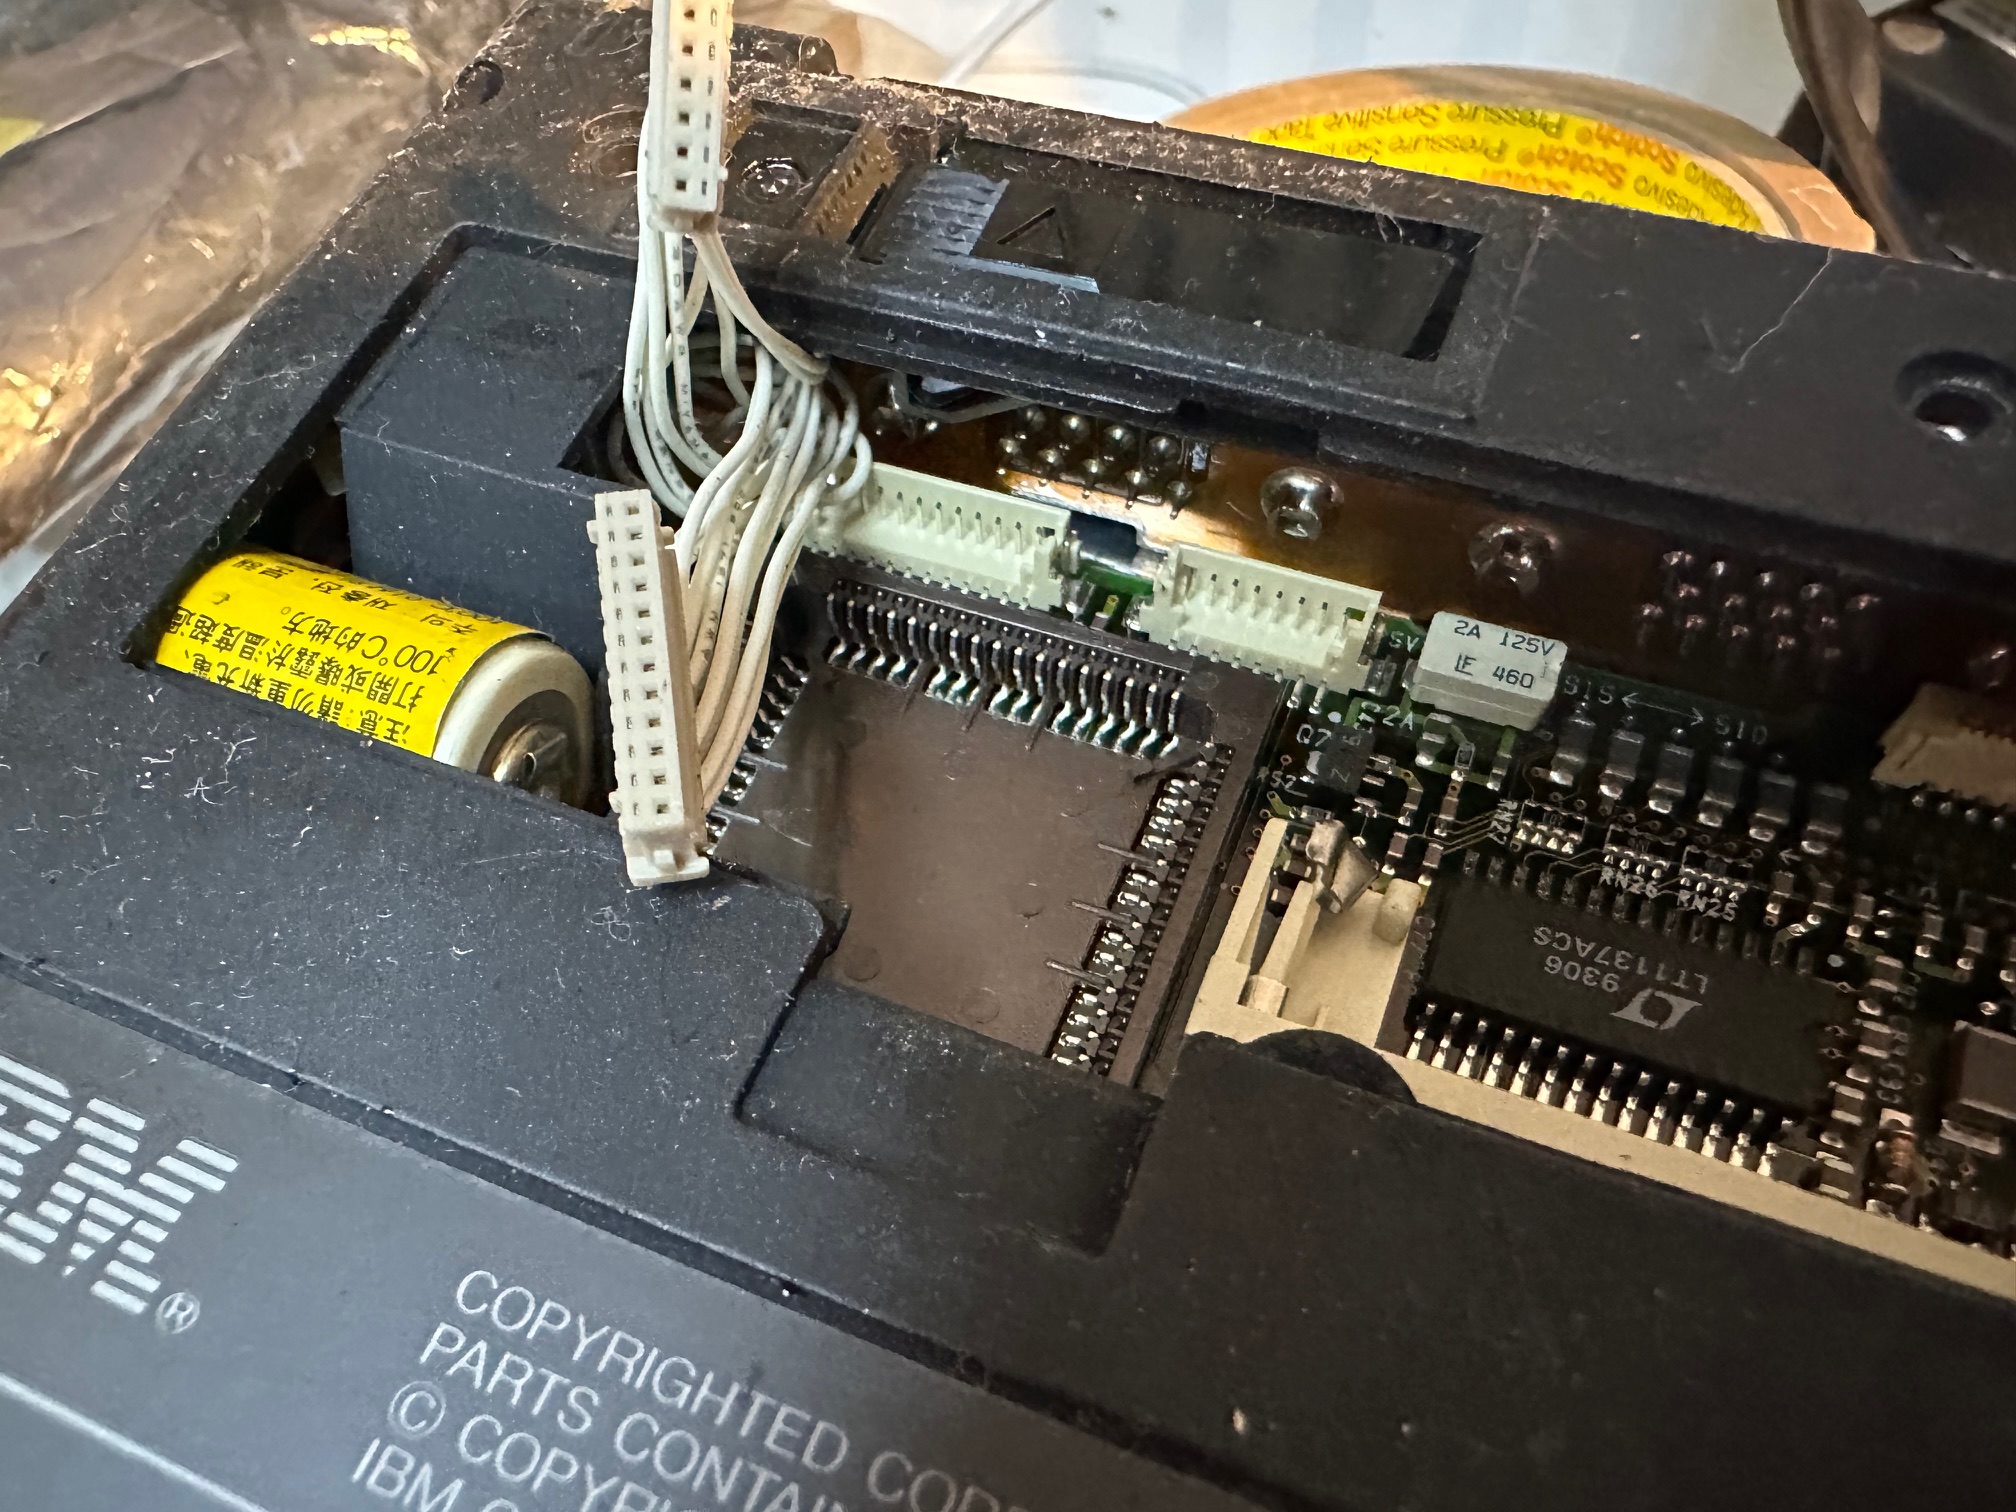
Here the power pin is circled in yellow and marked in red. It is grounded to turn the machine on.
Top and bottom section seperated:
Pay special attention that there are two x 2-pin connectors which are exactly the same. In this picture, the one at the top, by the left-side of the mahcine is for the external power supply connector and the one on at the bottom / middle of the machine is for hibernation battery:
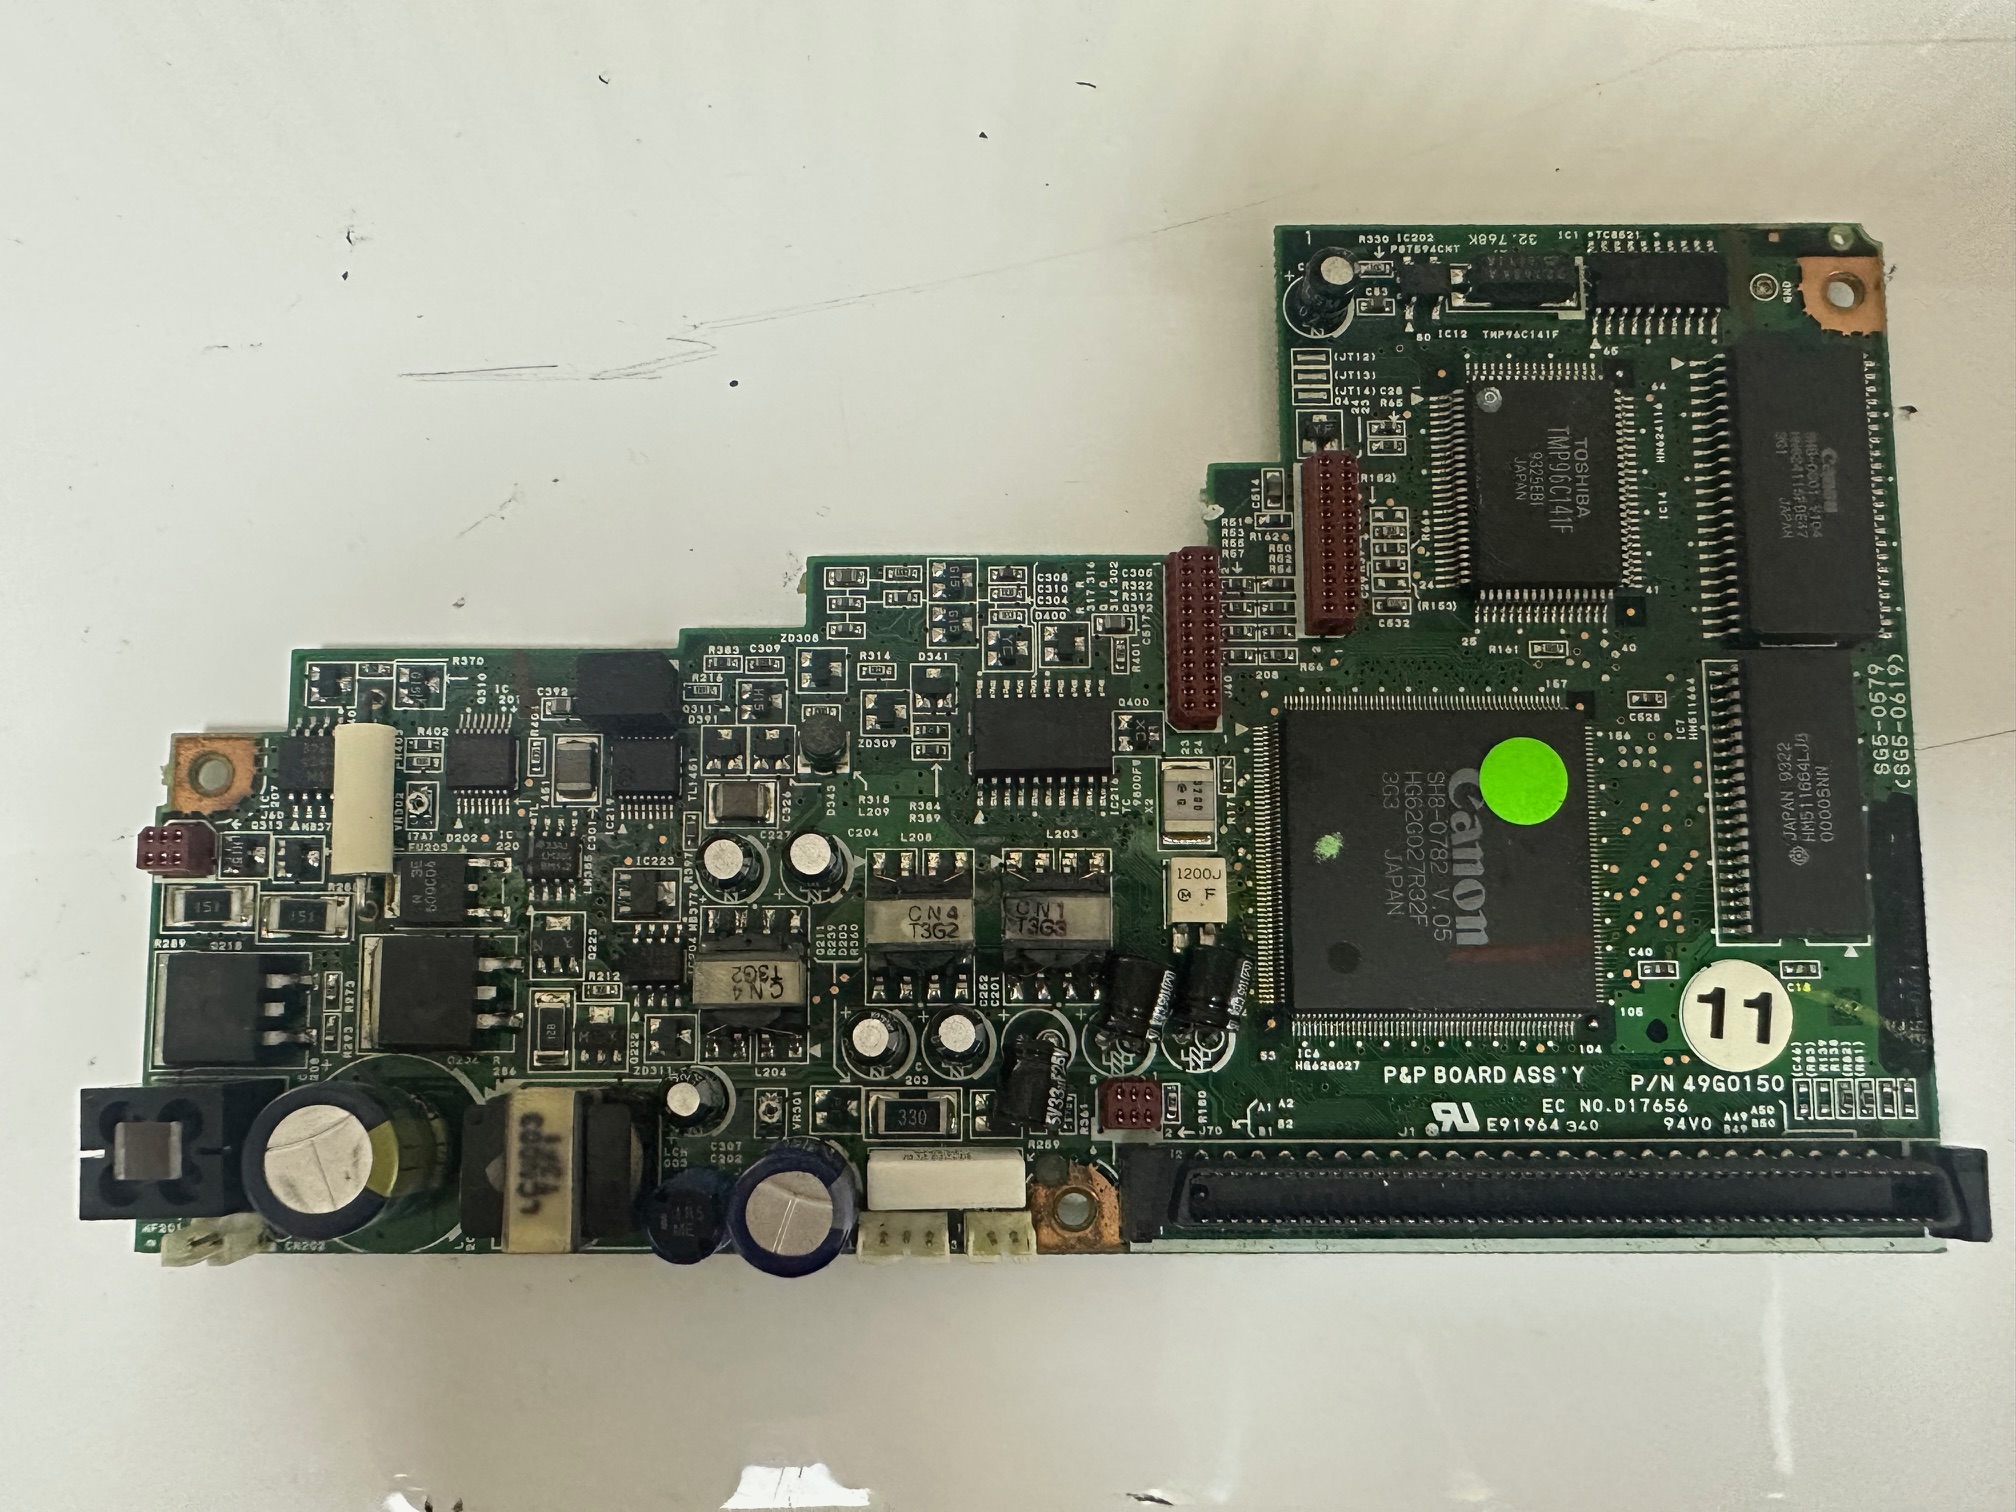
Original (unmodified) 550BJ Mainboard Top:

Recapped 550BJ Mainboard:

Original (unmodified) 550BJ Mainboard Bottom:

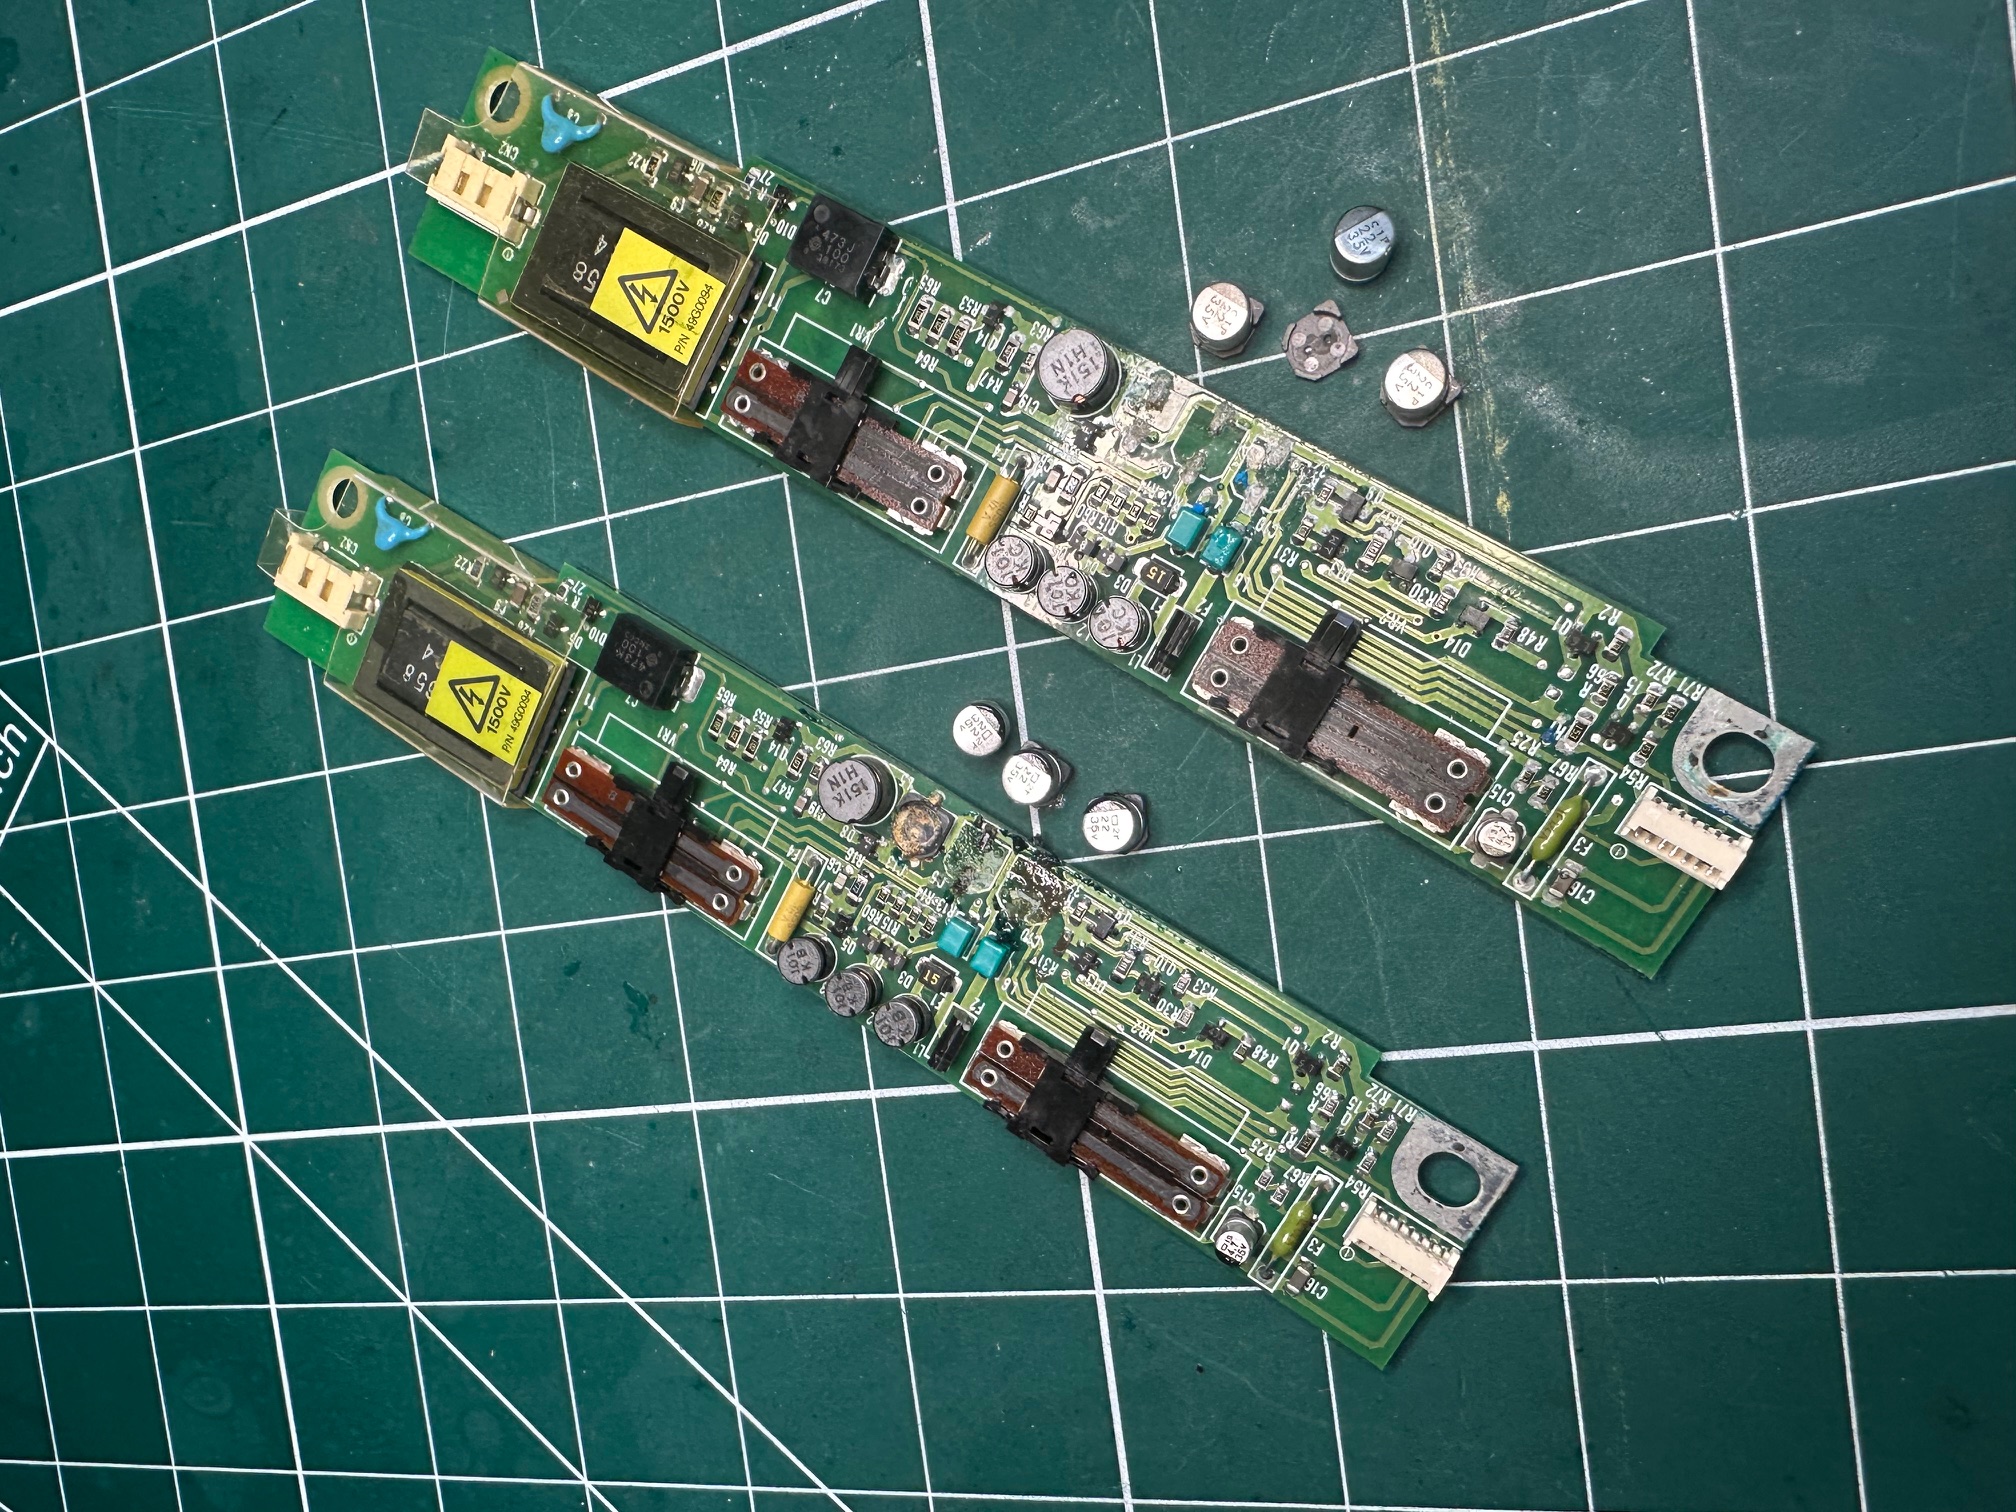
1 of 2 Power Boards (recapped):
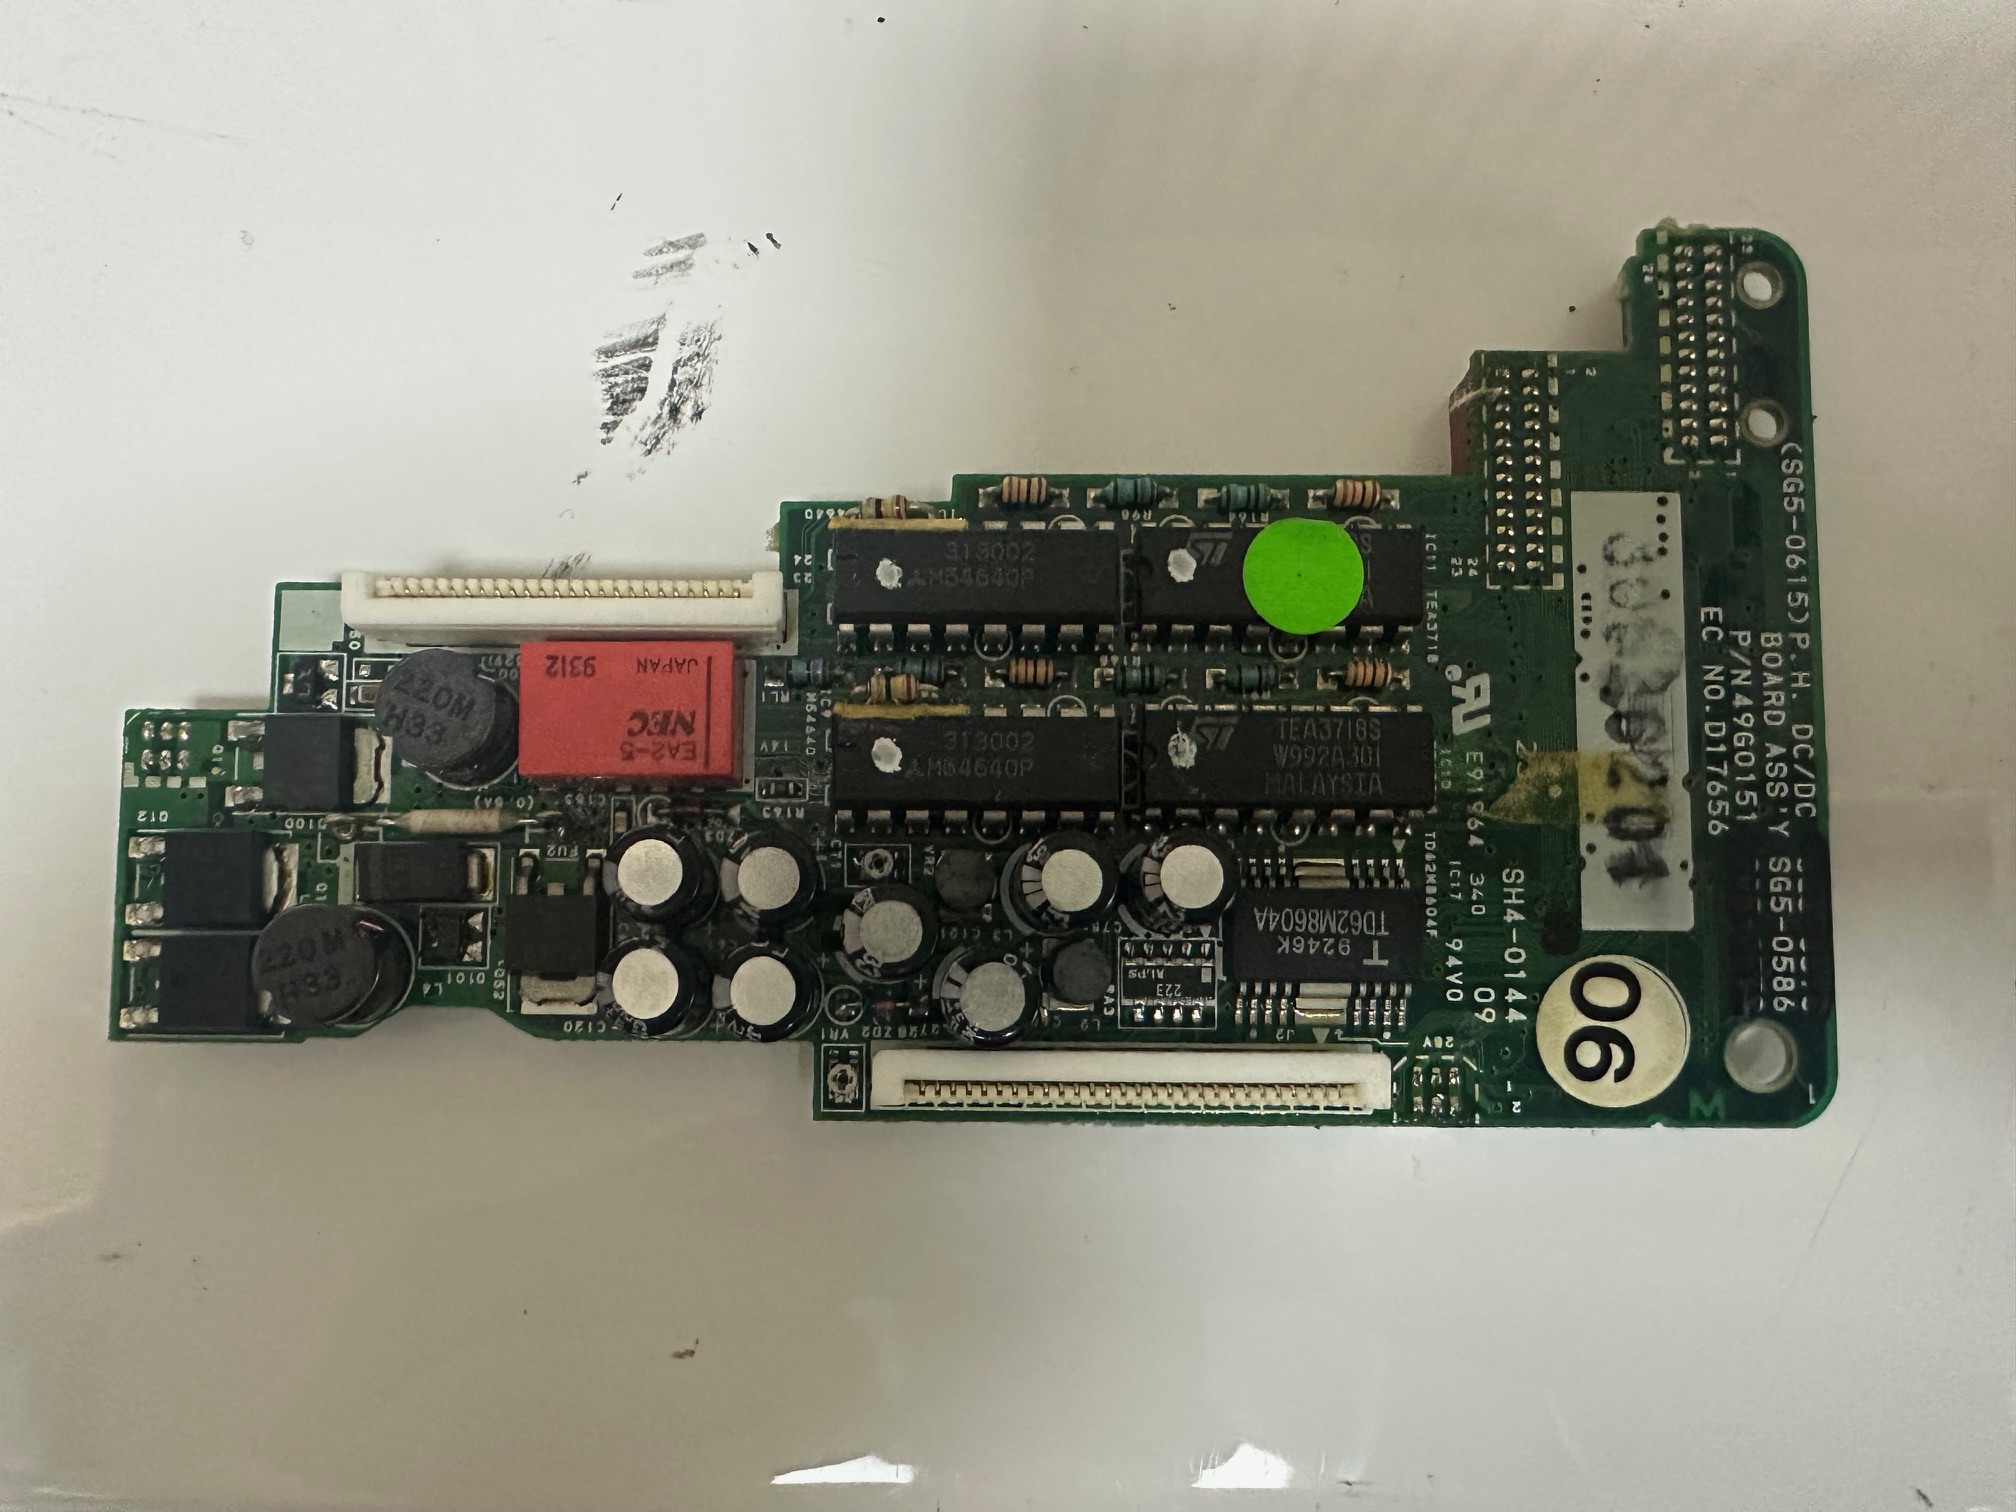
2 of 2 Power Boards (Recapped) - Note: when recapping this board, you have to ensure the caps by the red 6 pin connector at the bottom are extremely low profile, otherwise the two power boards will not connect together properly.
Preservation:
Batteries
There are two internal batteries - one barrel battery for CMOS clock and settings and a 3-cell hibernation battery. I would definitely recommend removing the hibernation battery as this looks like it is prone to leaking through failure.
Capacitors
The top of the mainboard is covered in surface mounted electrolytic caps - most of which on my boards had failed. I replaced all of them with solid state replacements - either tantalum or ceramic equivilents.
The two DC/DC boards had a lot of failed through-hole capacitors.
DC Board Large (with Canon chip)
C208 820uf 35v - leak
C202 470uf 16v
C204 47uf 16v
C227 47uf 16v
C201 33uf 25v
C331 33uf 25v
C250 33uf 25v
C203 47uf 16v
C253 47uf 16v
C307 22uf 35v
C8 47uf 10v
DC Board Small (clips ontop of the large DC board)
C61 22uf 35v
C62 22uf 35v
C120 22uf 35v
CT1(?) next to R164 33uf 25
C75 33uf 25v
C76 33uf 25v
C121 33uf 25v
C60 22uf 35v
Motherboard - all surface mounted
C1 22uf 25v
C10 33uf 25v
C11 47uf 16v
C25 10uf 50v
C13 10uf 25v
C14 33uf 25v
C15 10uf 25v
C8 10uf 25v
C3 10uf 25v
C21 10uf 25v
C17 10uf 25v
C29 47uf 16v
C30 47uf 16v
C16 47uf 16v
C2 47uf 16v
C5 47uf 16v
C9 33uf 25v
C19 33uf 25v
C6 22uf 25v
C22 22uf 25v
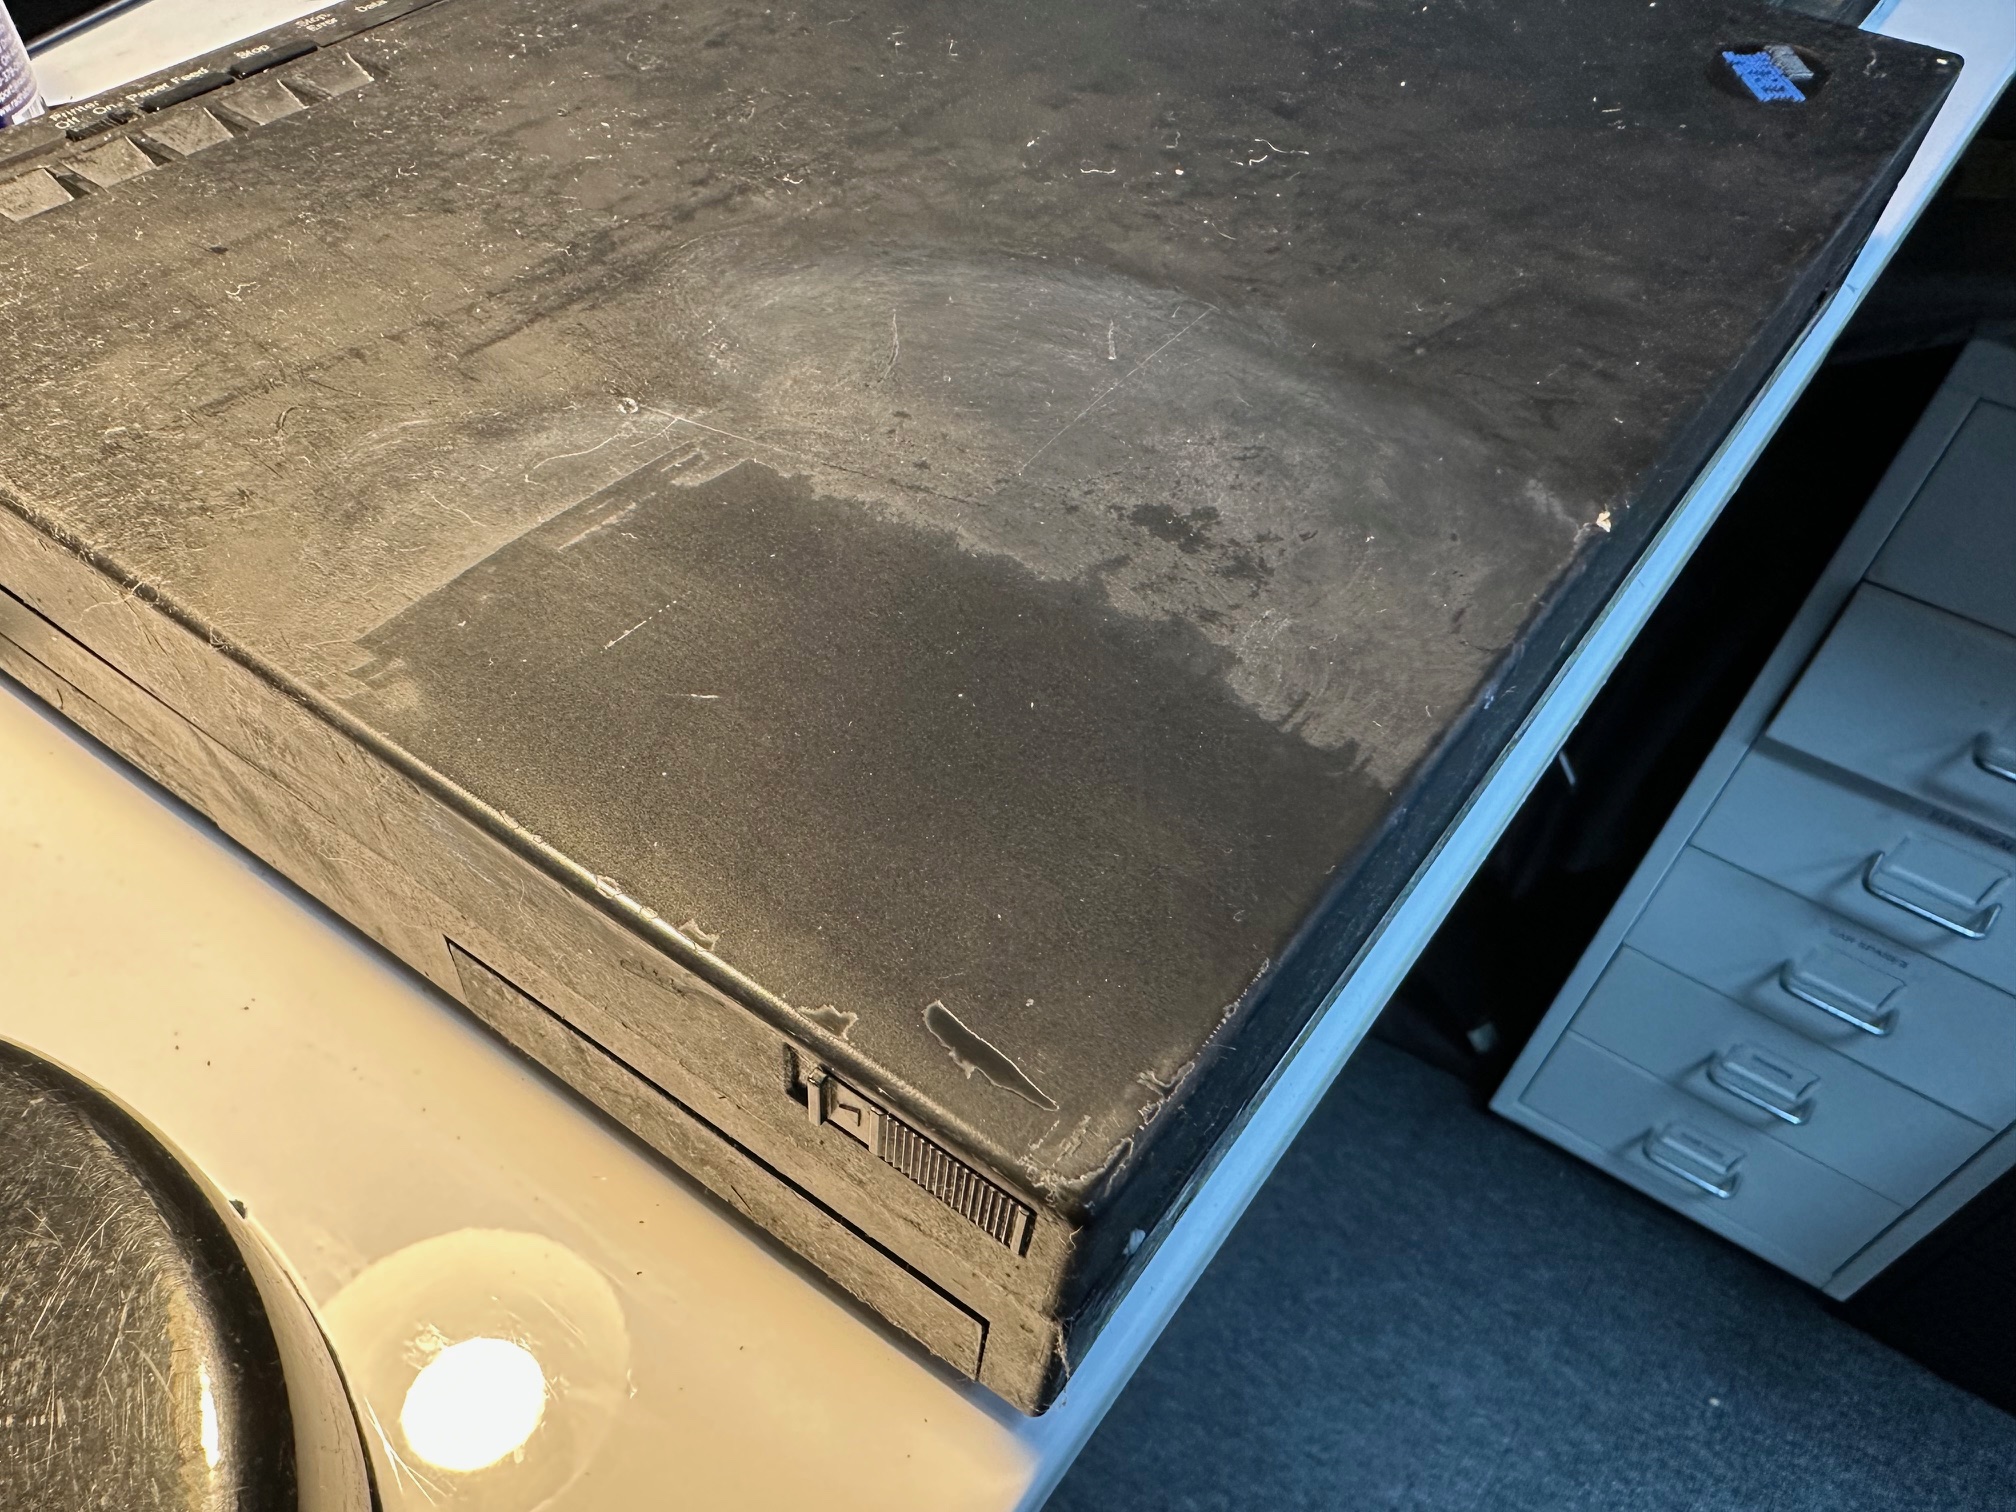
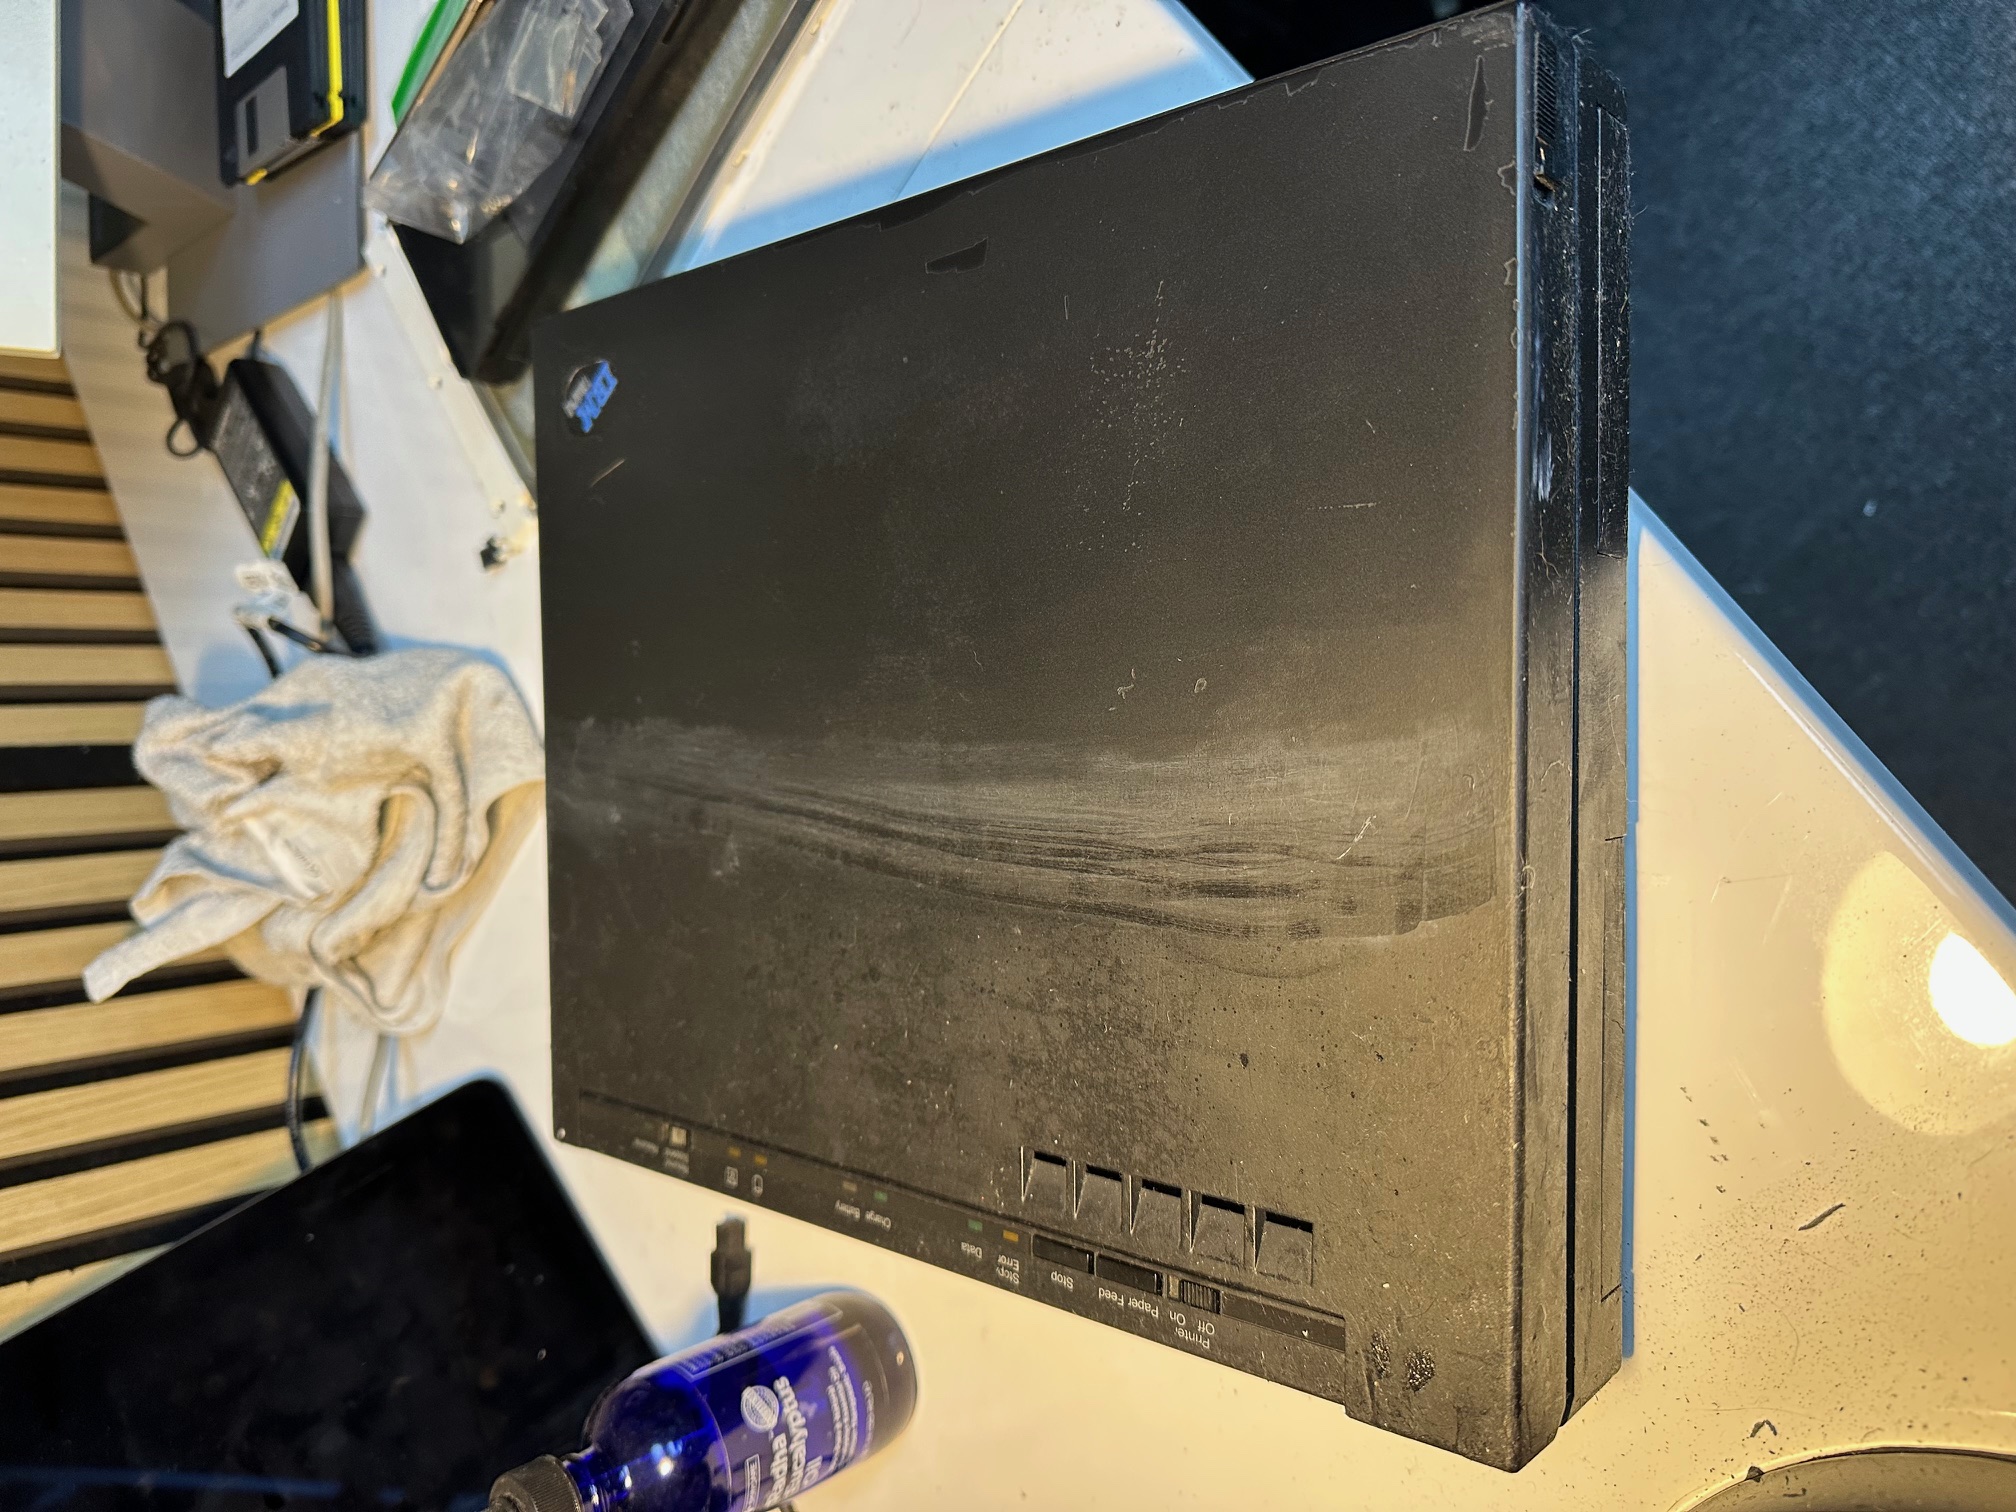
De-rubberising The Case
The case has 3 layers to it:
- Base plastic in glossy black
- Layer 2 - a tough second matt plastic
- Top coat - the soft rubber that goes rotten and sticky.
Here are some pictures showing the removal of the top coat. I used eucalyptus oil, left to penetrate for a few minutes and then either rubbed off with a cloth or something very soft.
This is showing half of the lid stripped back and the other half untouched:
Getting to the Bottom of NO DISPLAY issue on the mainboard
After spending another full day juggling 4 non working mainboards, I began to discover that many of the vias (small holes which pass a trace from one side of the PCB to the other) had succummed to leaking capacitor juice breaking the traces between the capacitors and whatever they're connected to. This issue seemed to cause 2 types of fault:
- 2 boards would power up but not display anything on either internal or external display
- 2 boards would power up but only display on the external display.
So I found these faults were common across most boards:
- Negative end of C10 and 11 are joined and connect to PIN 3 (going right to left) of video connector J5
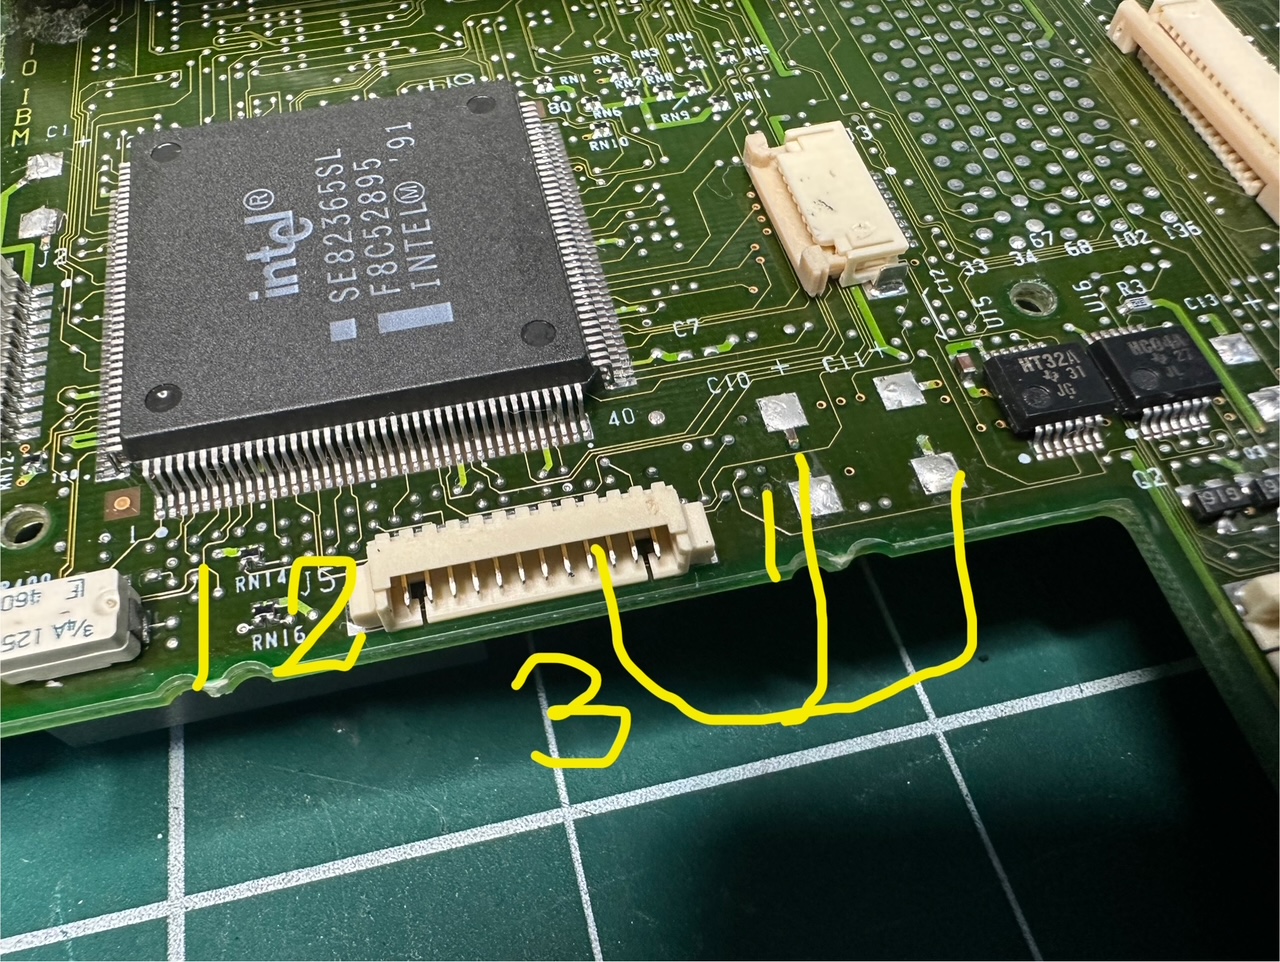
- Positive of C10 goes to underneath a thick trace ending beneath the 9 on J19
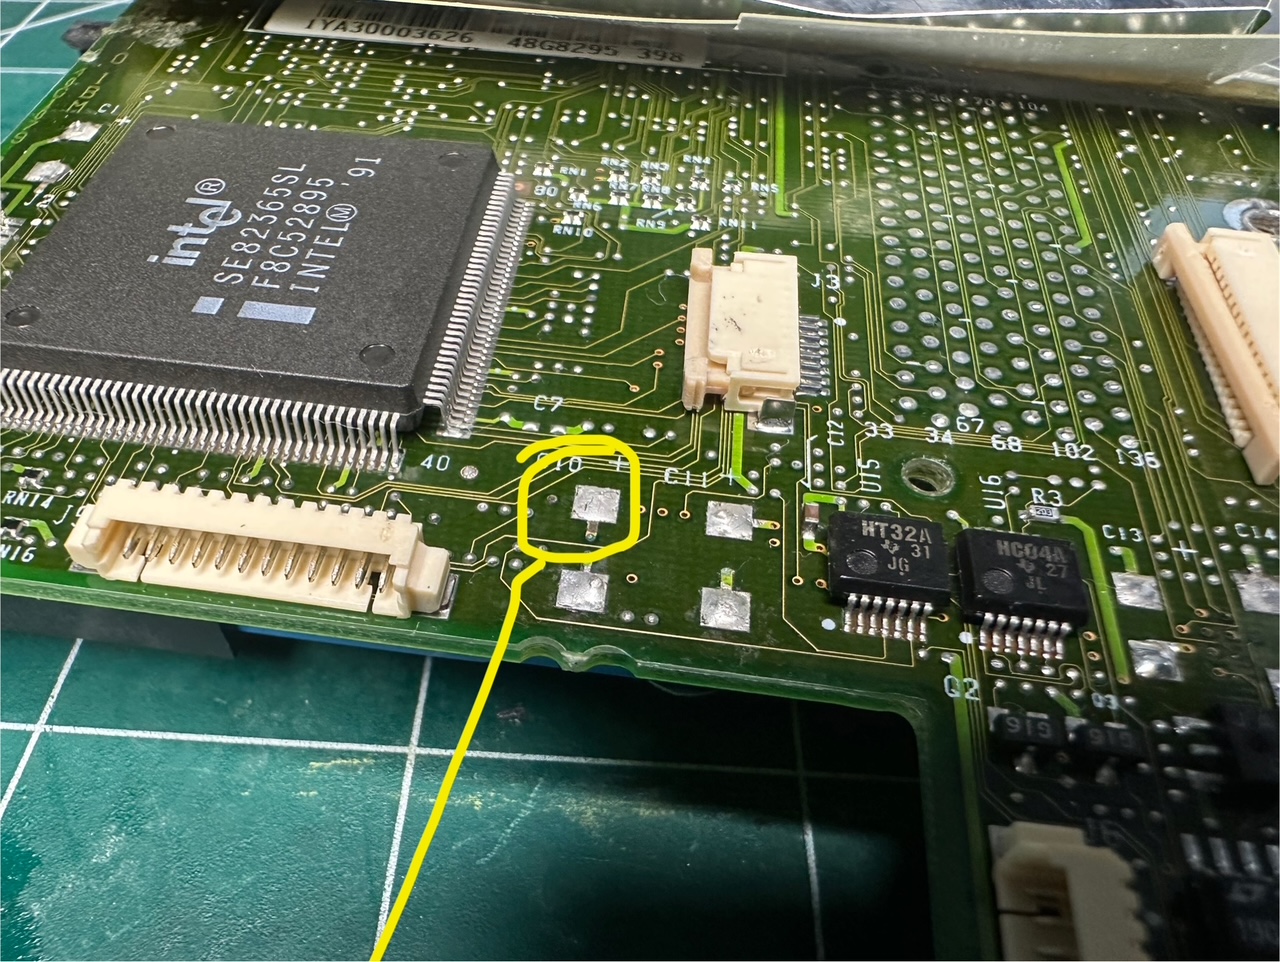
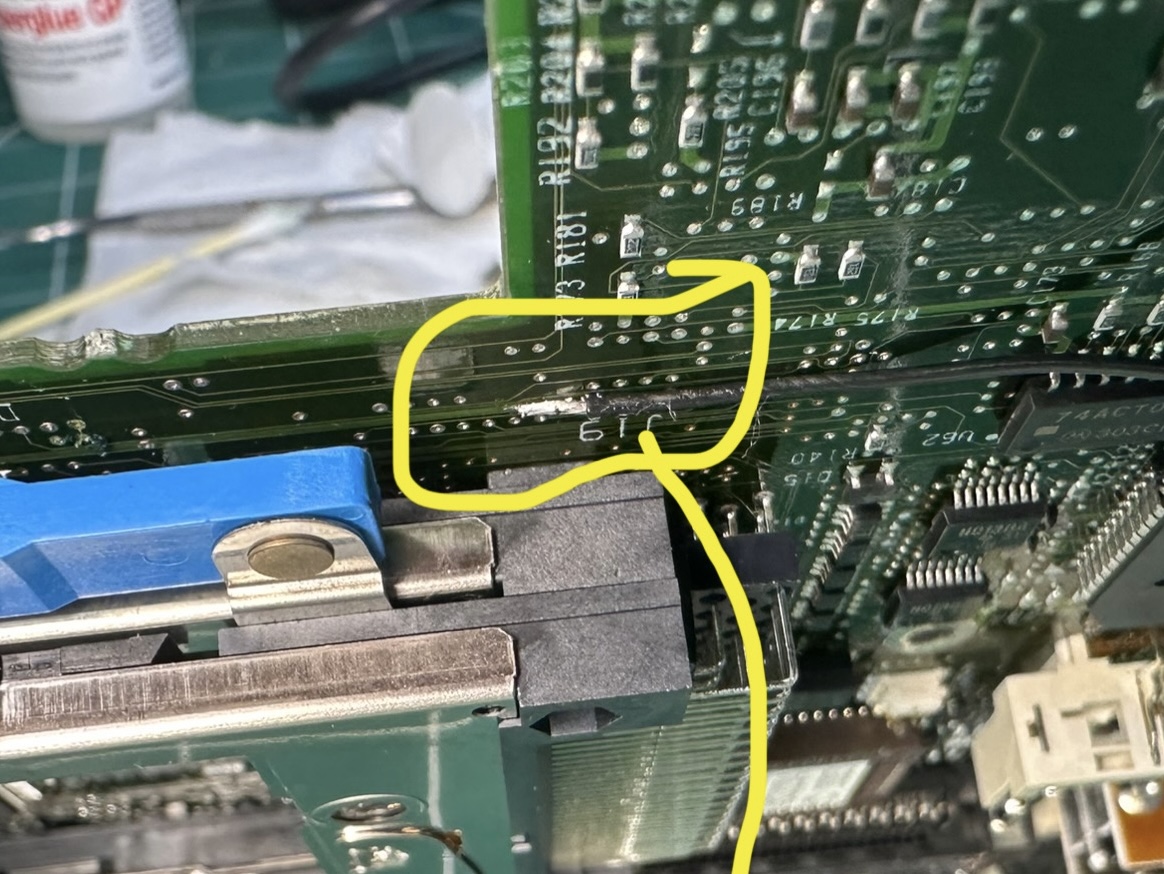
- Positive of c11 goes to the top of the tiny ceramic capacitor to its left and pin 1 of the little IC there with HT32A on it
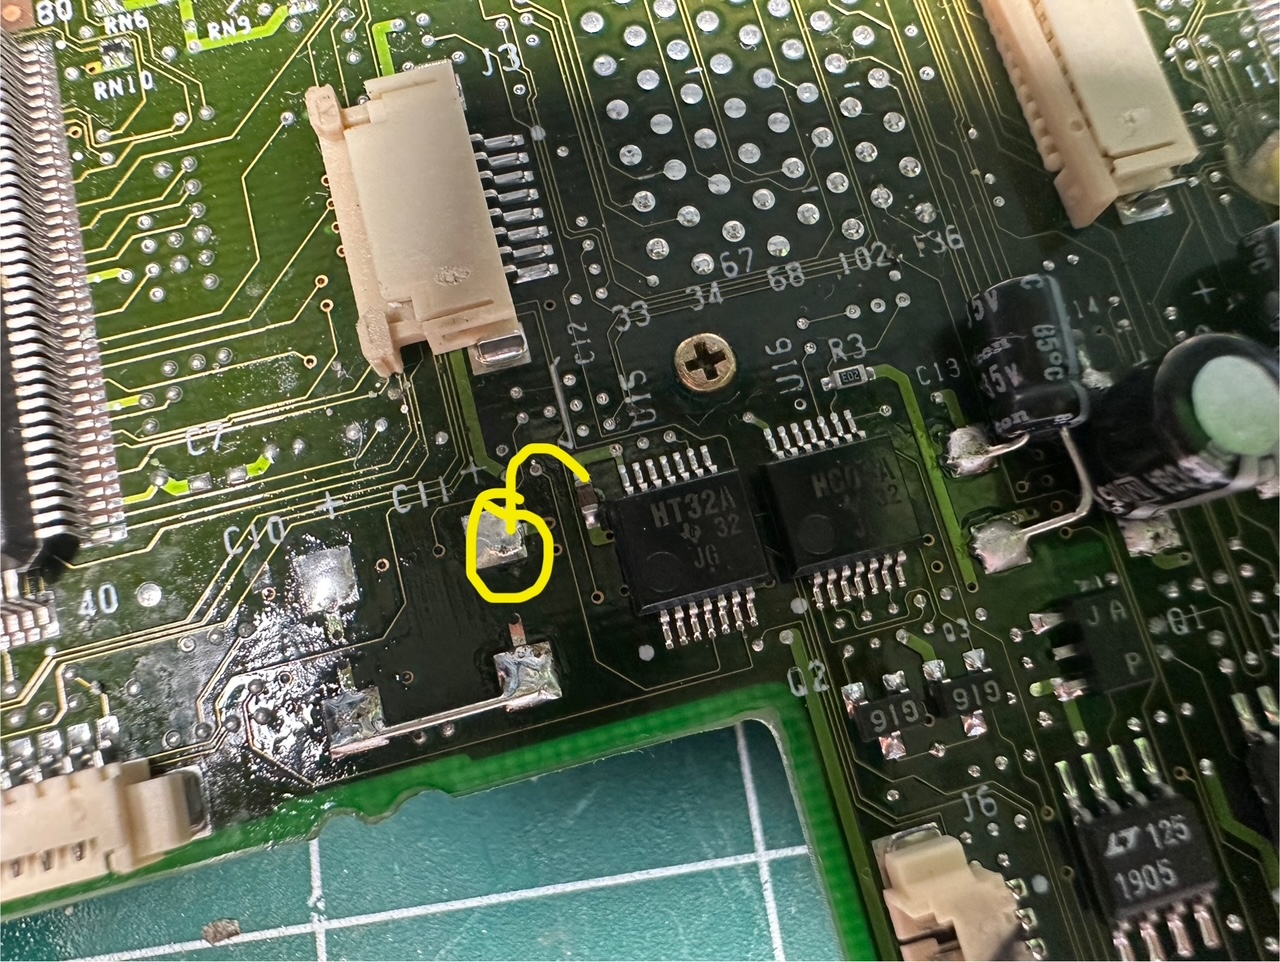
- Negative of C6 goes underneath to the resistor R132
- The negative end of the capacitor down by IC C324G goes to pin 5 (left to right) of the large bottom connector.
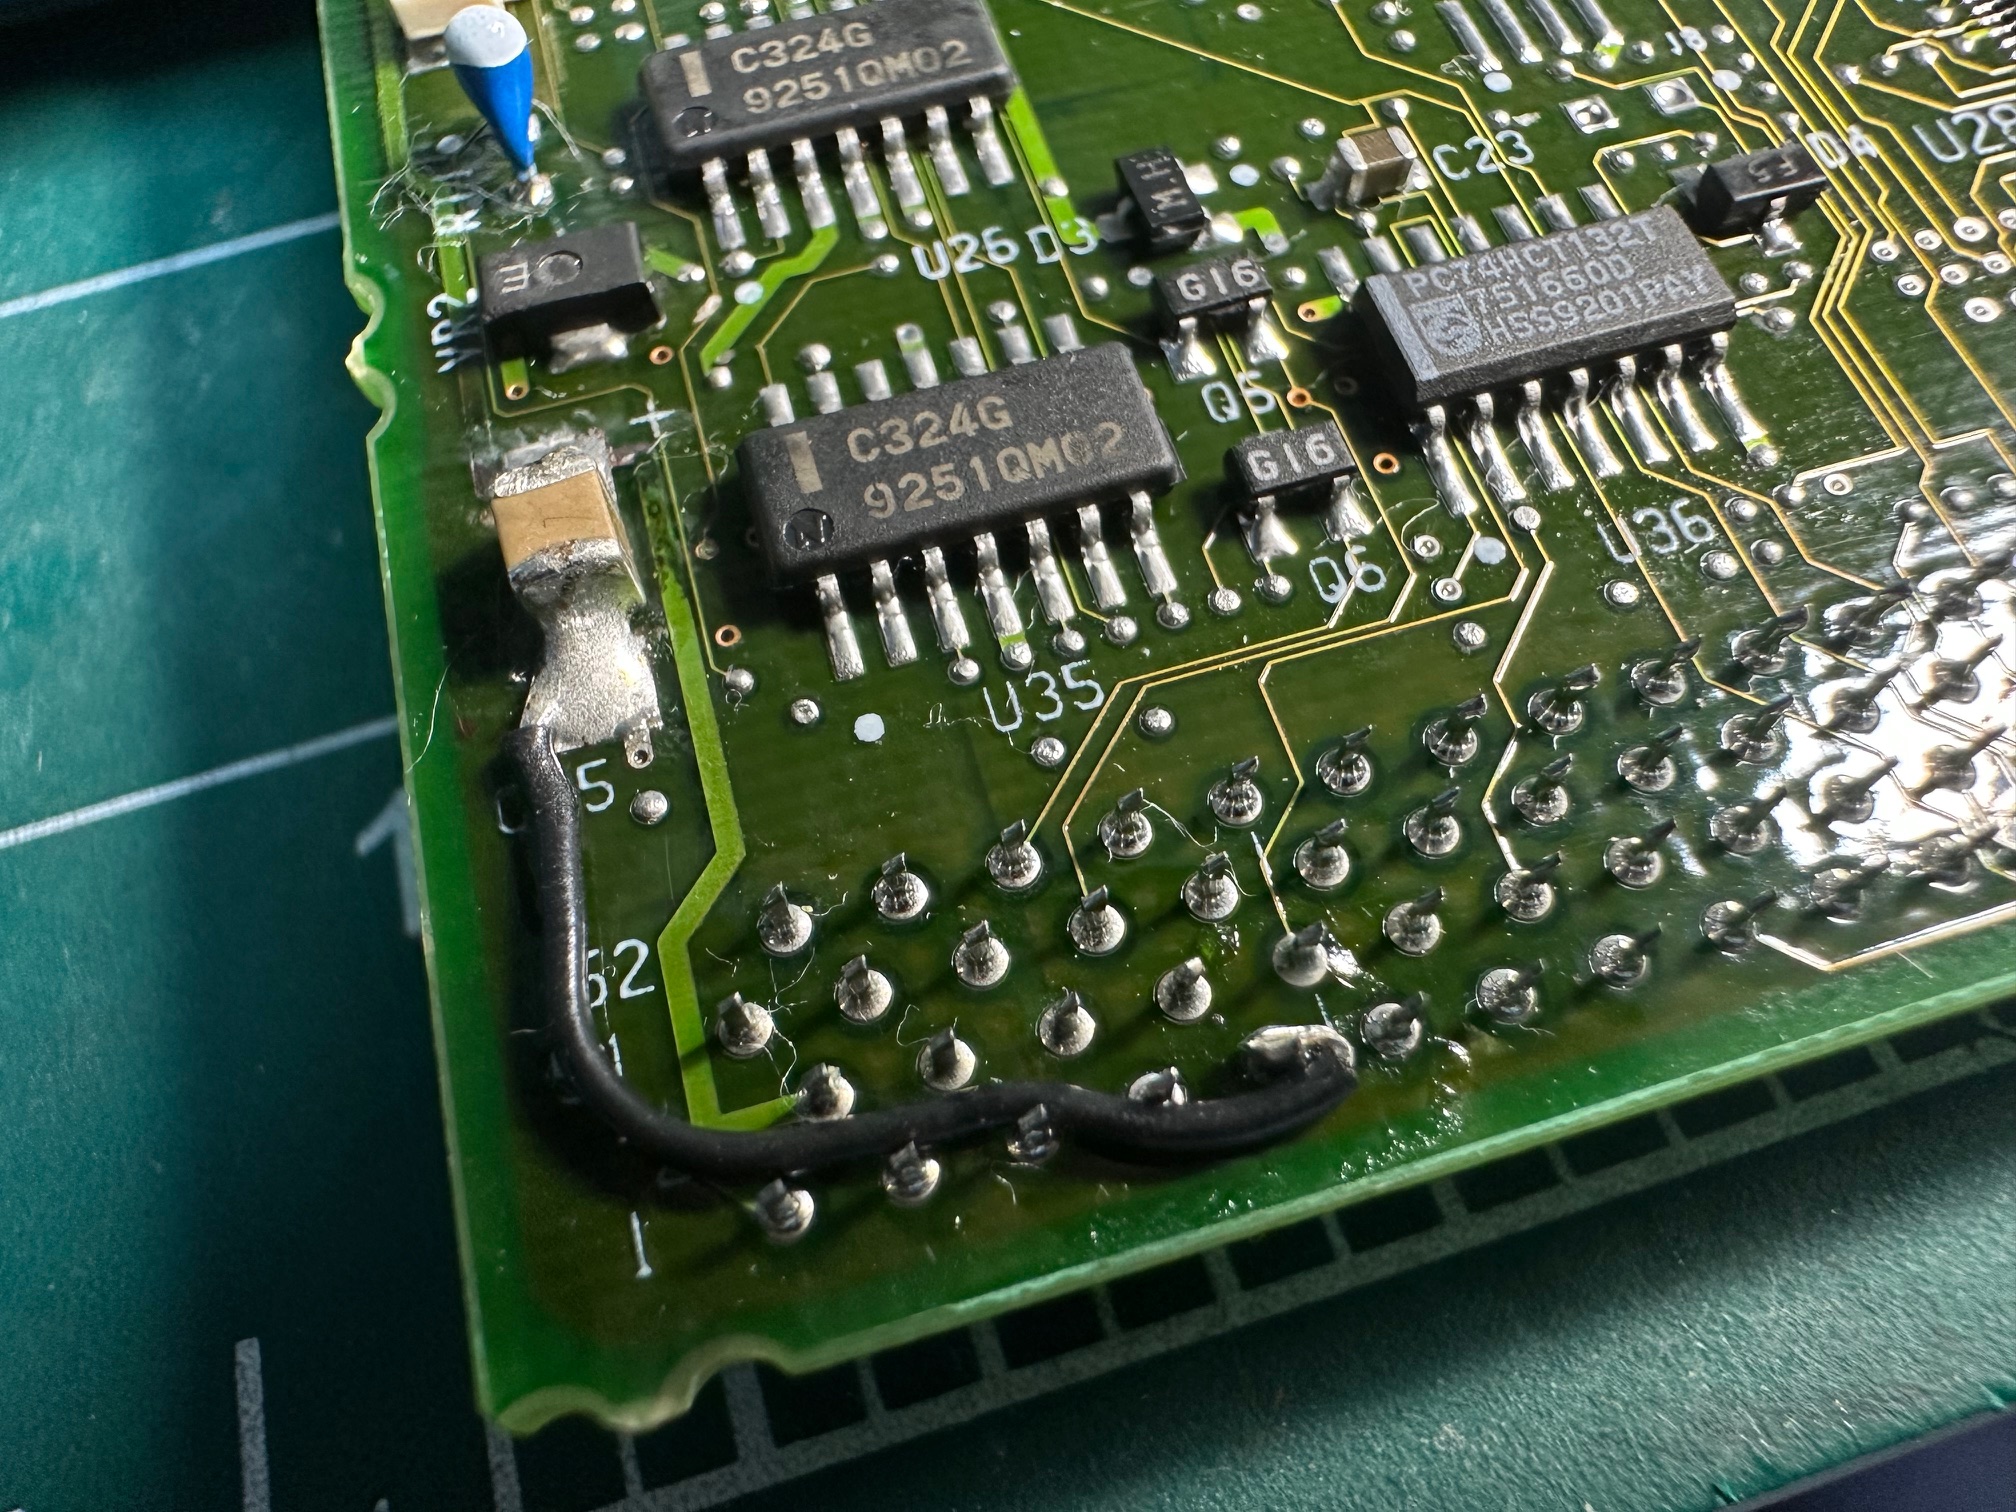
You would need to run a multimeter in continuity mode and check these traces. Most of these are around the 'video end' of the motherboard and I think are likely to be the cause of the internal display not working.
Inverter
The LCD inverter is slowly rotting away, so if you have one and some rudumentary soldering skills, it's not a big job to remedy it.
These two pictures show the rot:
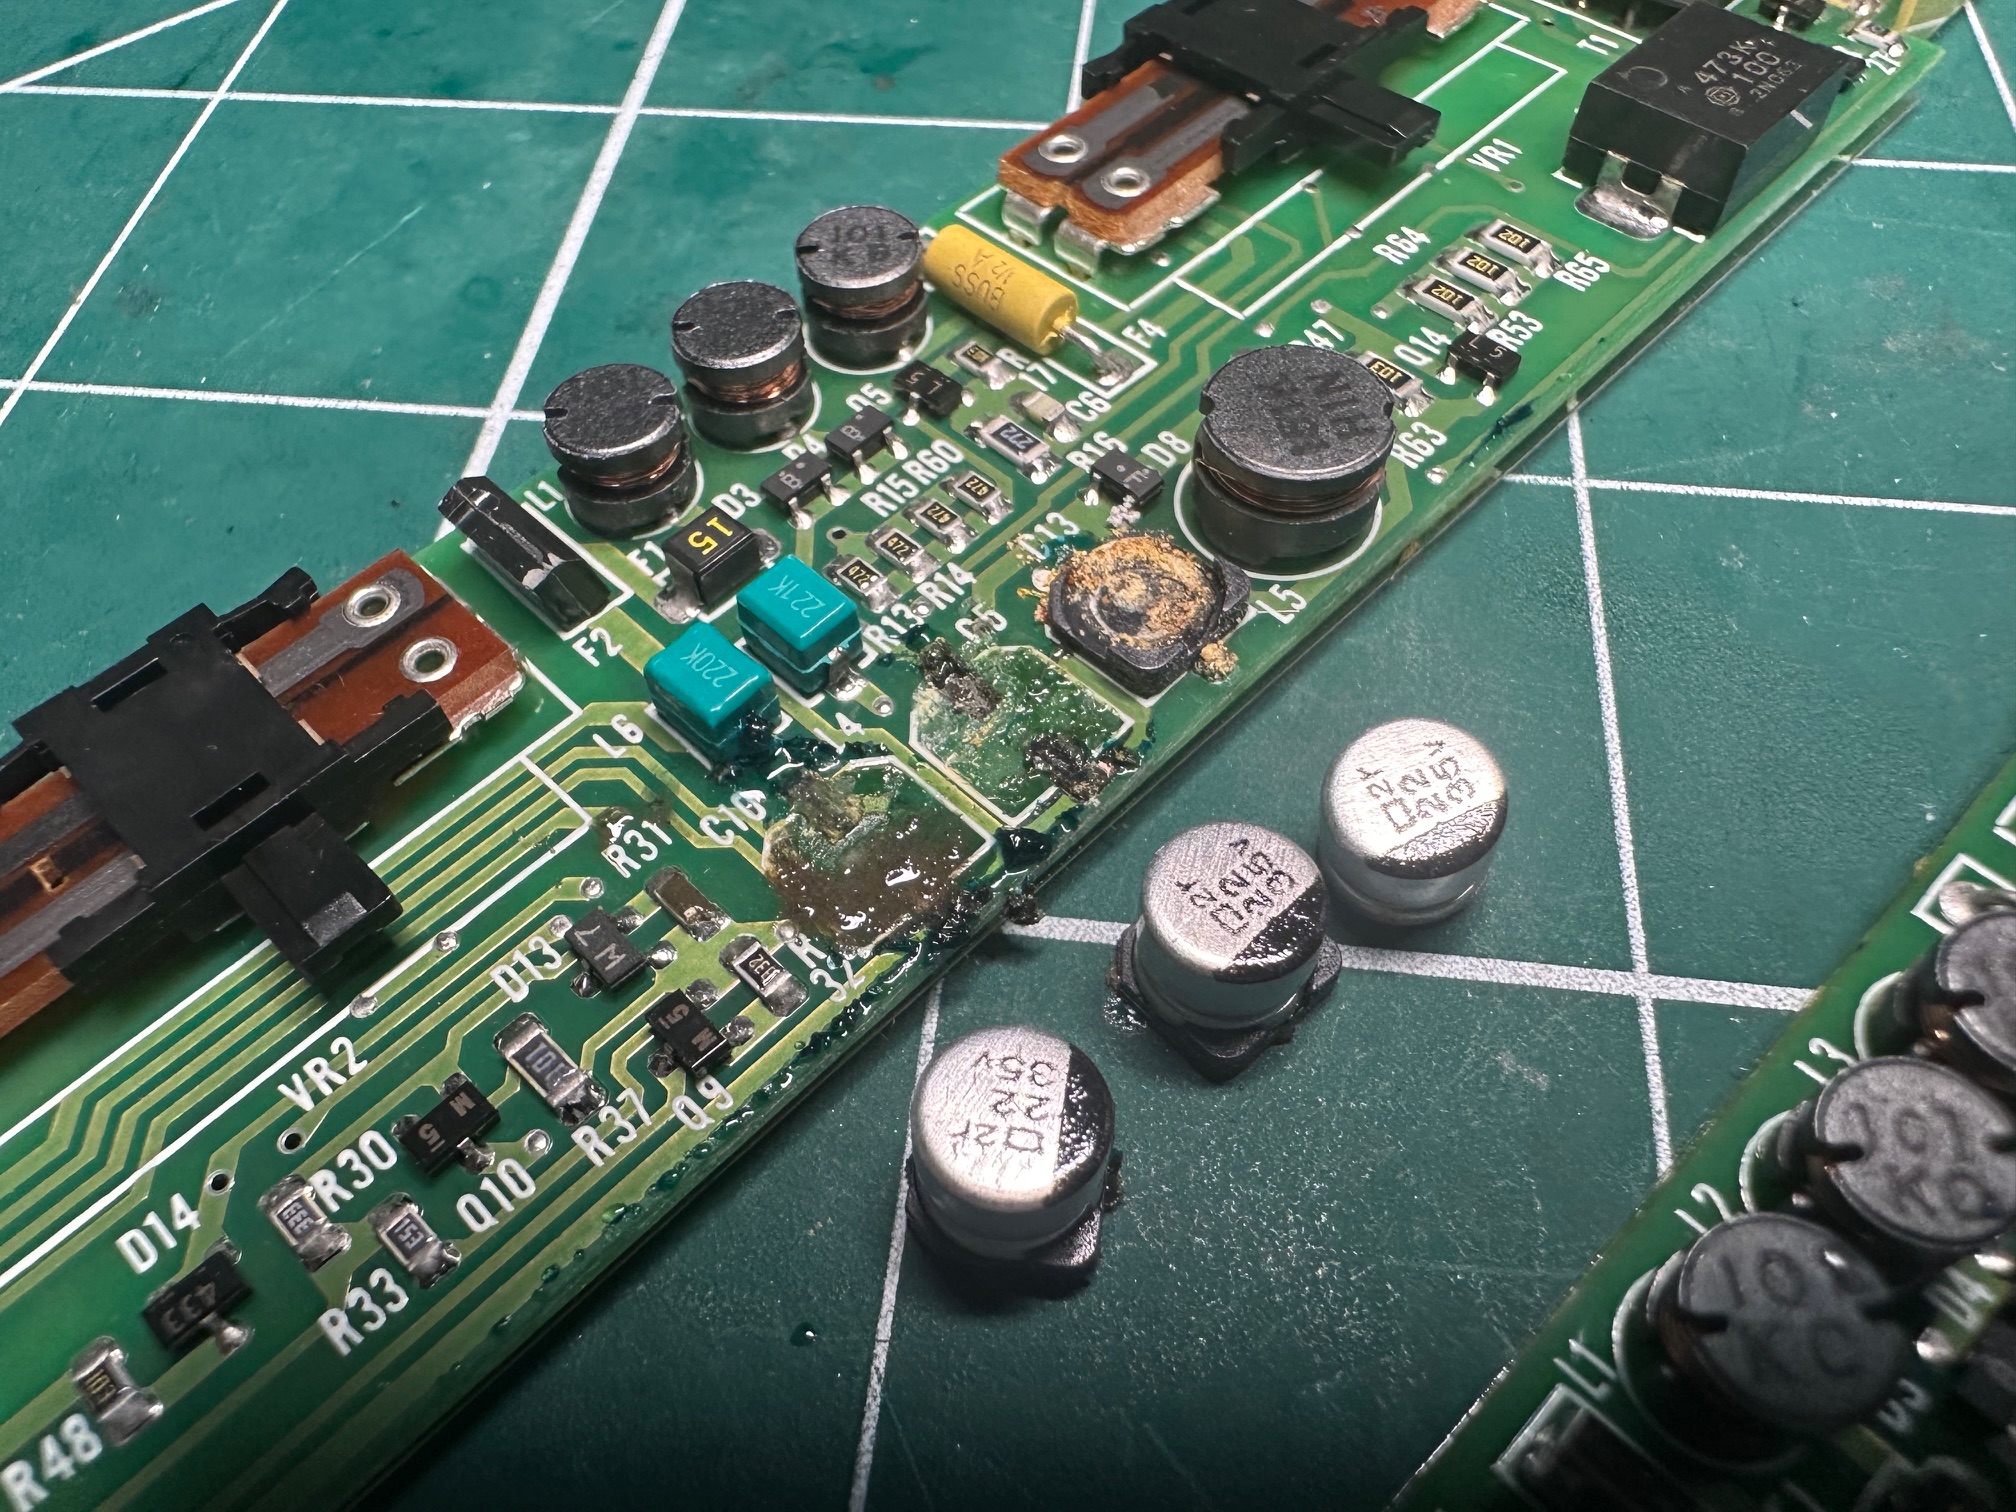
All is not lost - despite the horrible corrosion, the pads do tend to survive. Remember to continuity test the traces after you've cleaned up and before you attach the new capacitors.
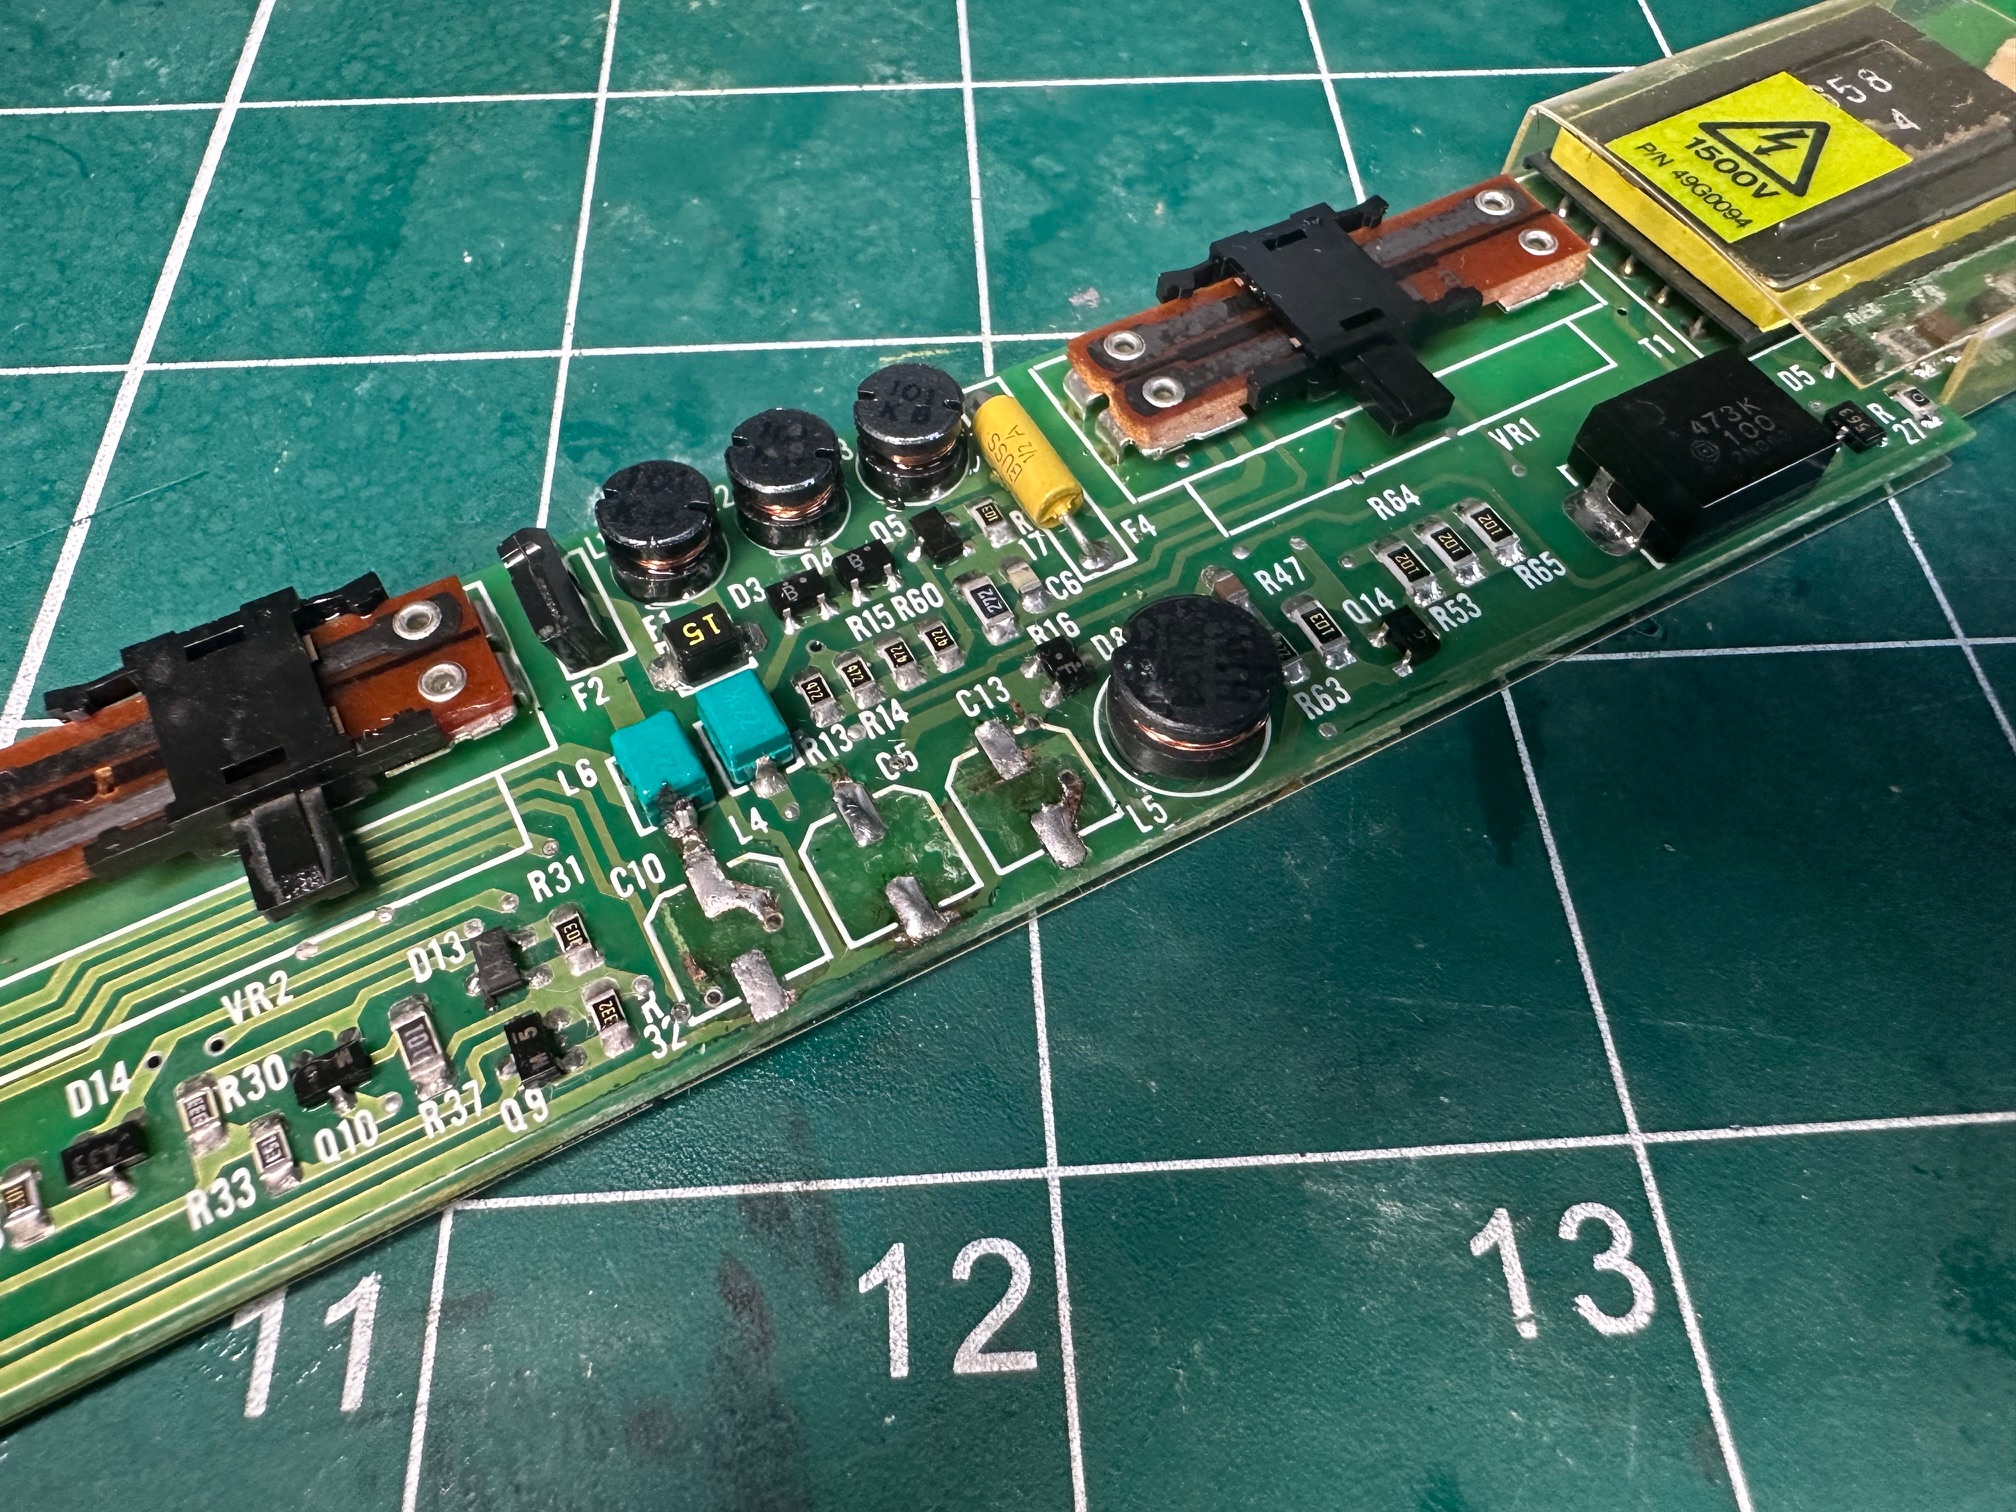
And here the caps are replaced with ceramic equivilents:
Inverter
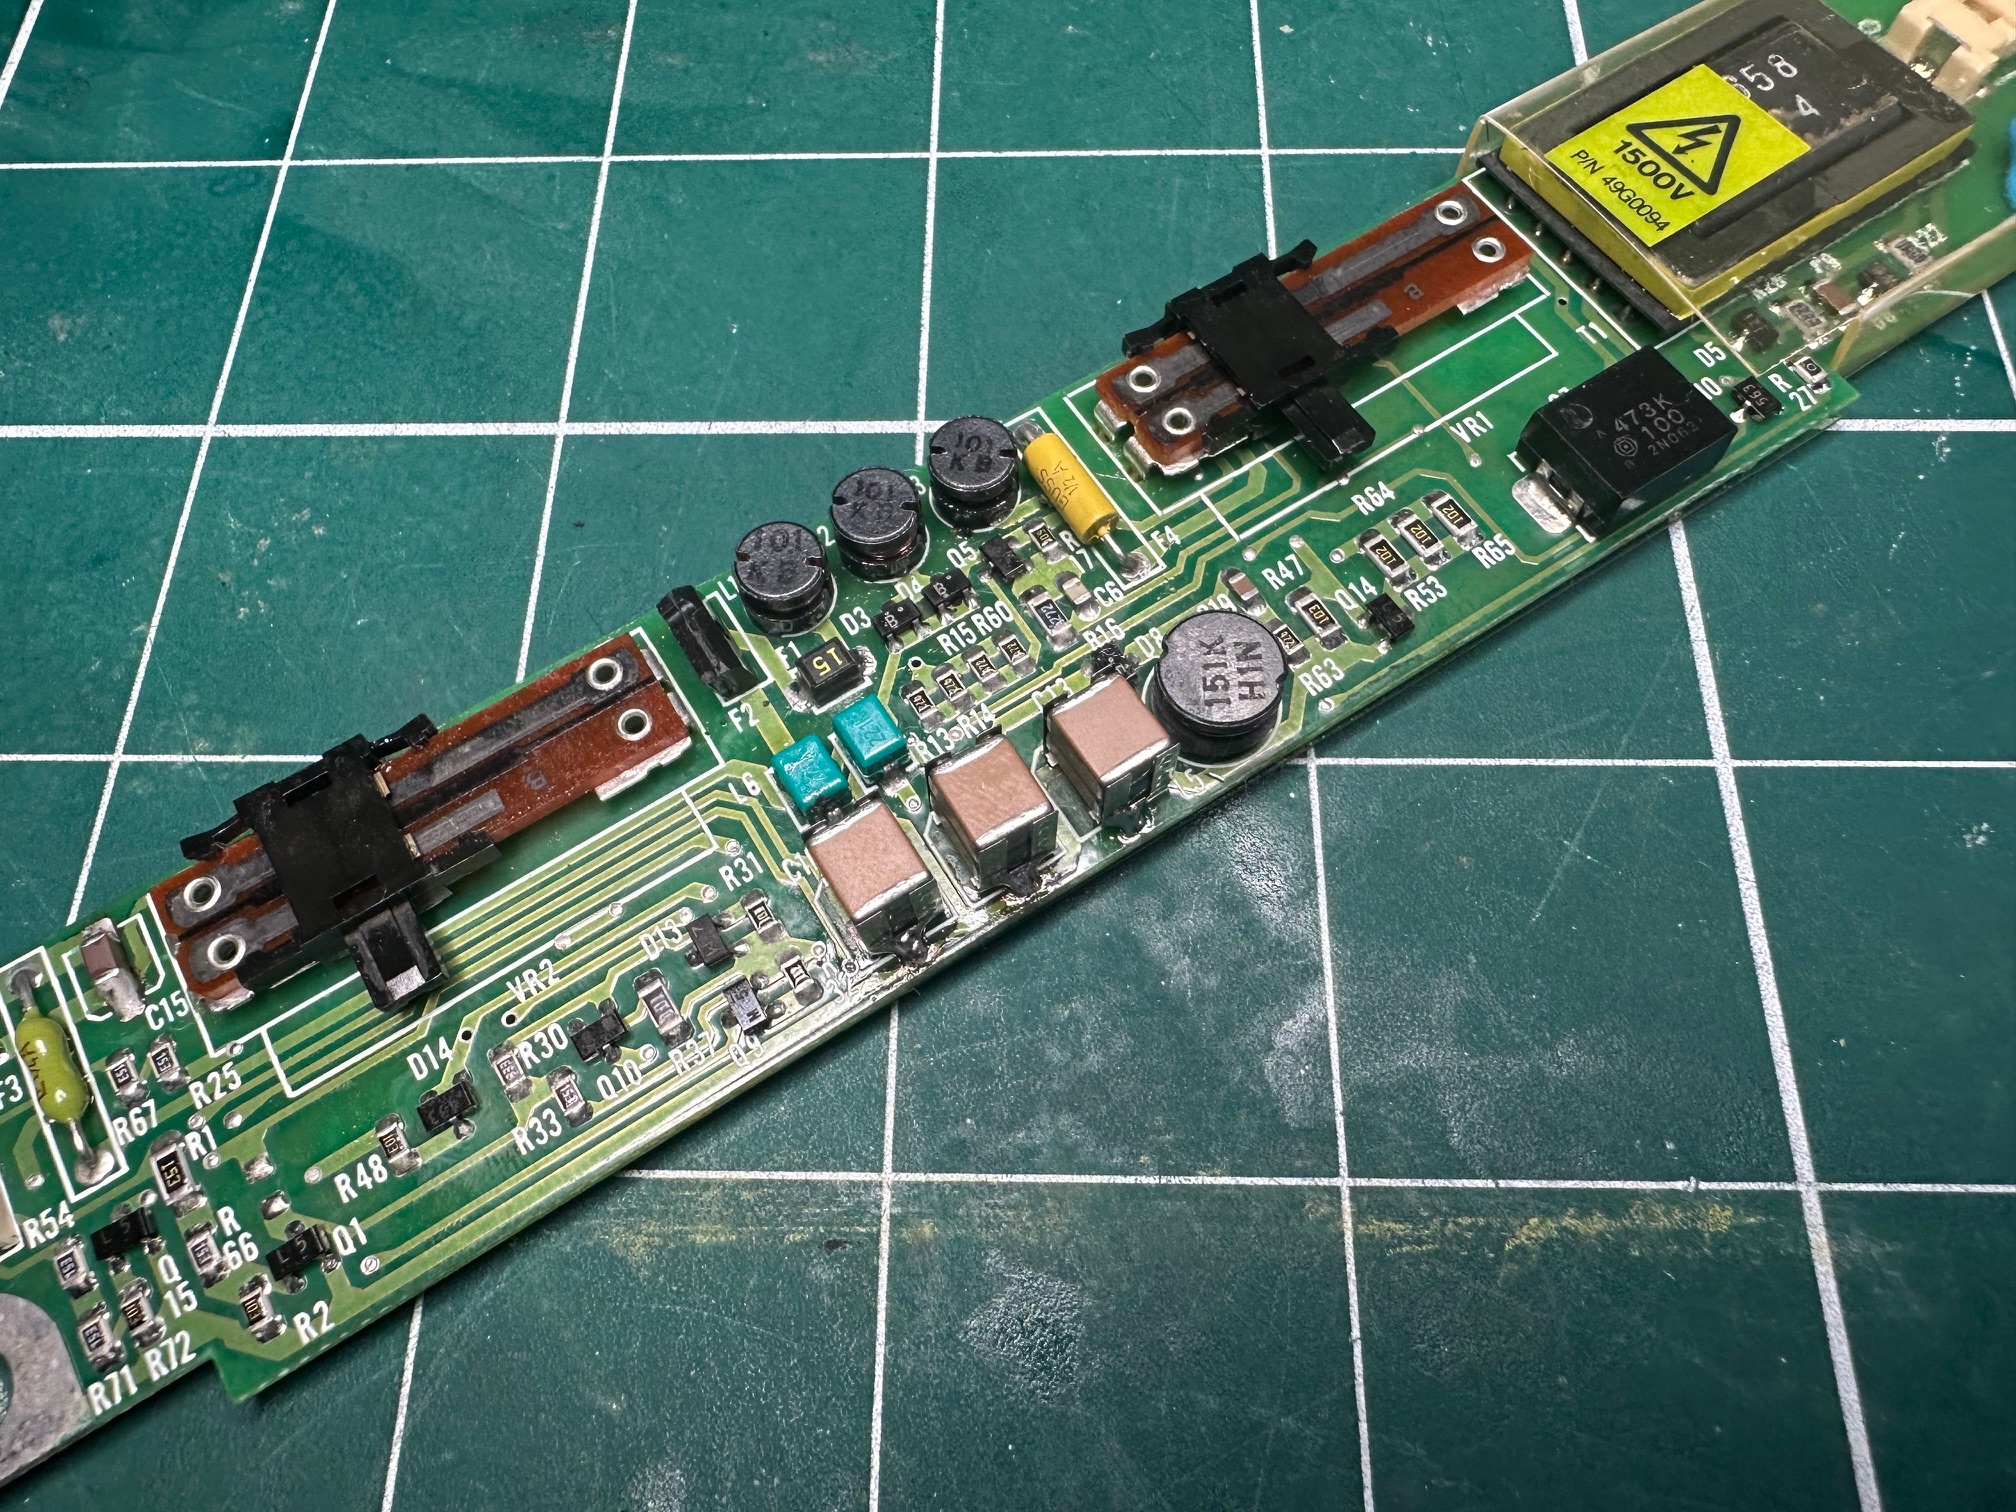
I had lots of problems with the inverters. Some useful bits of info:
- The top linear potentiometer / slider should measure 0k ohms at the bottom and 9-10k ohms at the top
- The bottom slider should measure around 7k at the bottom and 8.5k at the top.
- If you look carefully, you can see around 3 tiny embedded wires inside the sliding rail.
- You measure using the the left metal circles at the top and the bottom.
- There are 4 fuses on the inverter - all different shapes and sizes. I had found F2 / 15amp tiny little block fuse had blown on one of mine.
- Due to the 3 leaking caps in the middle of the board, often tracks and vias get corroded either side of the board near them. You really have to continuity test every trace around them because I found on almost every inverter, the corrosion had got into one trace somewhere.
- I don't really understand what I am doing but it's possible that by using some de-oxit and a pencil erasor on the tracks of the pots, I got the values back to nominal values.
- If the bottom slider isn't doing anything then you can still use the screen, it's just a lot dimmer than it would ordinarily be.
Floppy Disk Drive (FDD)
As is the case with most drives inside IBM machines of this era, there are two quick service jobs you need to do. Clean the drive head with a q-tip and some IPA and replace any electrolytic caps inside.
The FDD inside the 550BJ seems to just have one leaky cap inside, which is on a small circuit board you can get to by removing a few screws off the top and bottom, lifting the top and bottom plates off and then removing 3 little ribbon cables with pliers and undoing 2 screws and 1 final ribbon. It's pretty easy - if you've done one, you've done them all.
Here is a pic of the cap you need to change. It's already leaking:
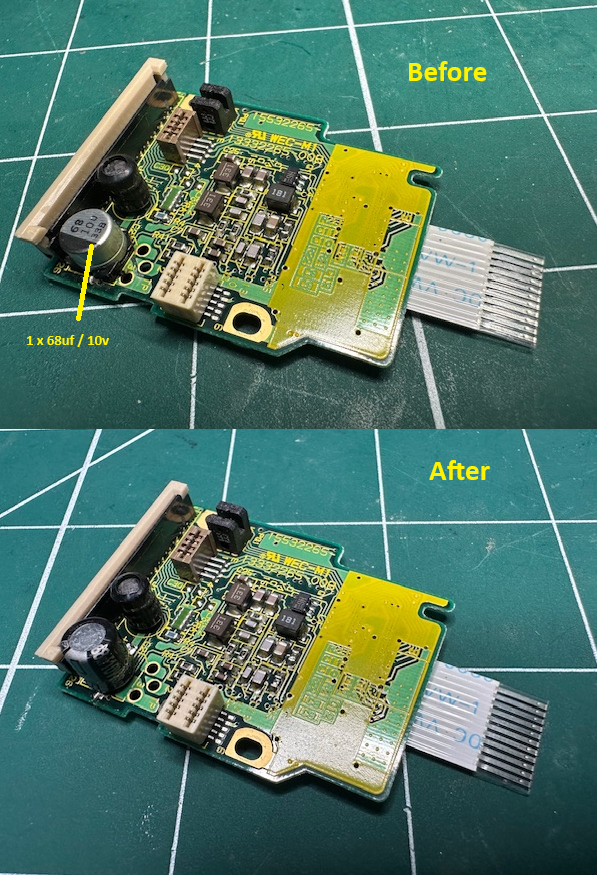
I only had 68uf through holes at the time so I used this, but i've ordered some tantalums to do the rest of them. Notice my cap was about 1/3 taller than the surface mounted one I removed but the shape of the FDD chassis leaves room for quite a big cap to sit there, so you don't need to be too precious about height.